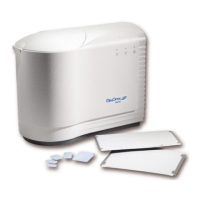
System Operating Instructions
032-0265-EN Rev 1 4-3
• If you have a soft vinyl cassette, simply remove both intensifying
screens from the cassette.
• If you have a hard sided cassette, remove intensifying screens (these
are usually glued).
• Cassettes without intensifying screens are also available from
Gendex.
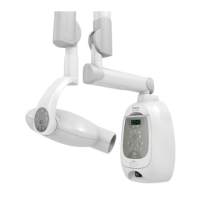
Contact your local dental dealer or the panoramic/cephalometric equipment
manufacturer for additional assistance.
Erasing the Imaging Plate
Imaging plates should be erased just prior to use. Scanning an imaging plate does not erase all
the image information. To completely erase the imaging plate, expose the front surface (blue or
white in color) to direct, intense light for 2 minutes. Fluorescent light is highly recommended.
An effective way to erase the imaging plate is to use a lightbox such as the RINN® Universal
Viewer. We recommend fixing the lightbox under a cabinet. Make sure to lay the imaging plate
down with the ACTIVE SIDE UP (blue or white face) facing the lightbox shining down. Expose the
plates to light for 2 minutes.
Alternatively, place the imaging plates within 8 inches of a lamp equipped with a lit 100-watt
bulb for two minutes, minimum. The imaging plates are now completely erased and are ready
for reuse.
To avoid scratching the imaging plates, DO NOT lay the imaging plate active (“blue or white”)
face down on a lightbox.
NOTE: Erasing time will vary depending on the quality and intensity of the erasing light.
For more detailed information, see appendix B.
Infection Control
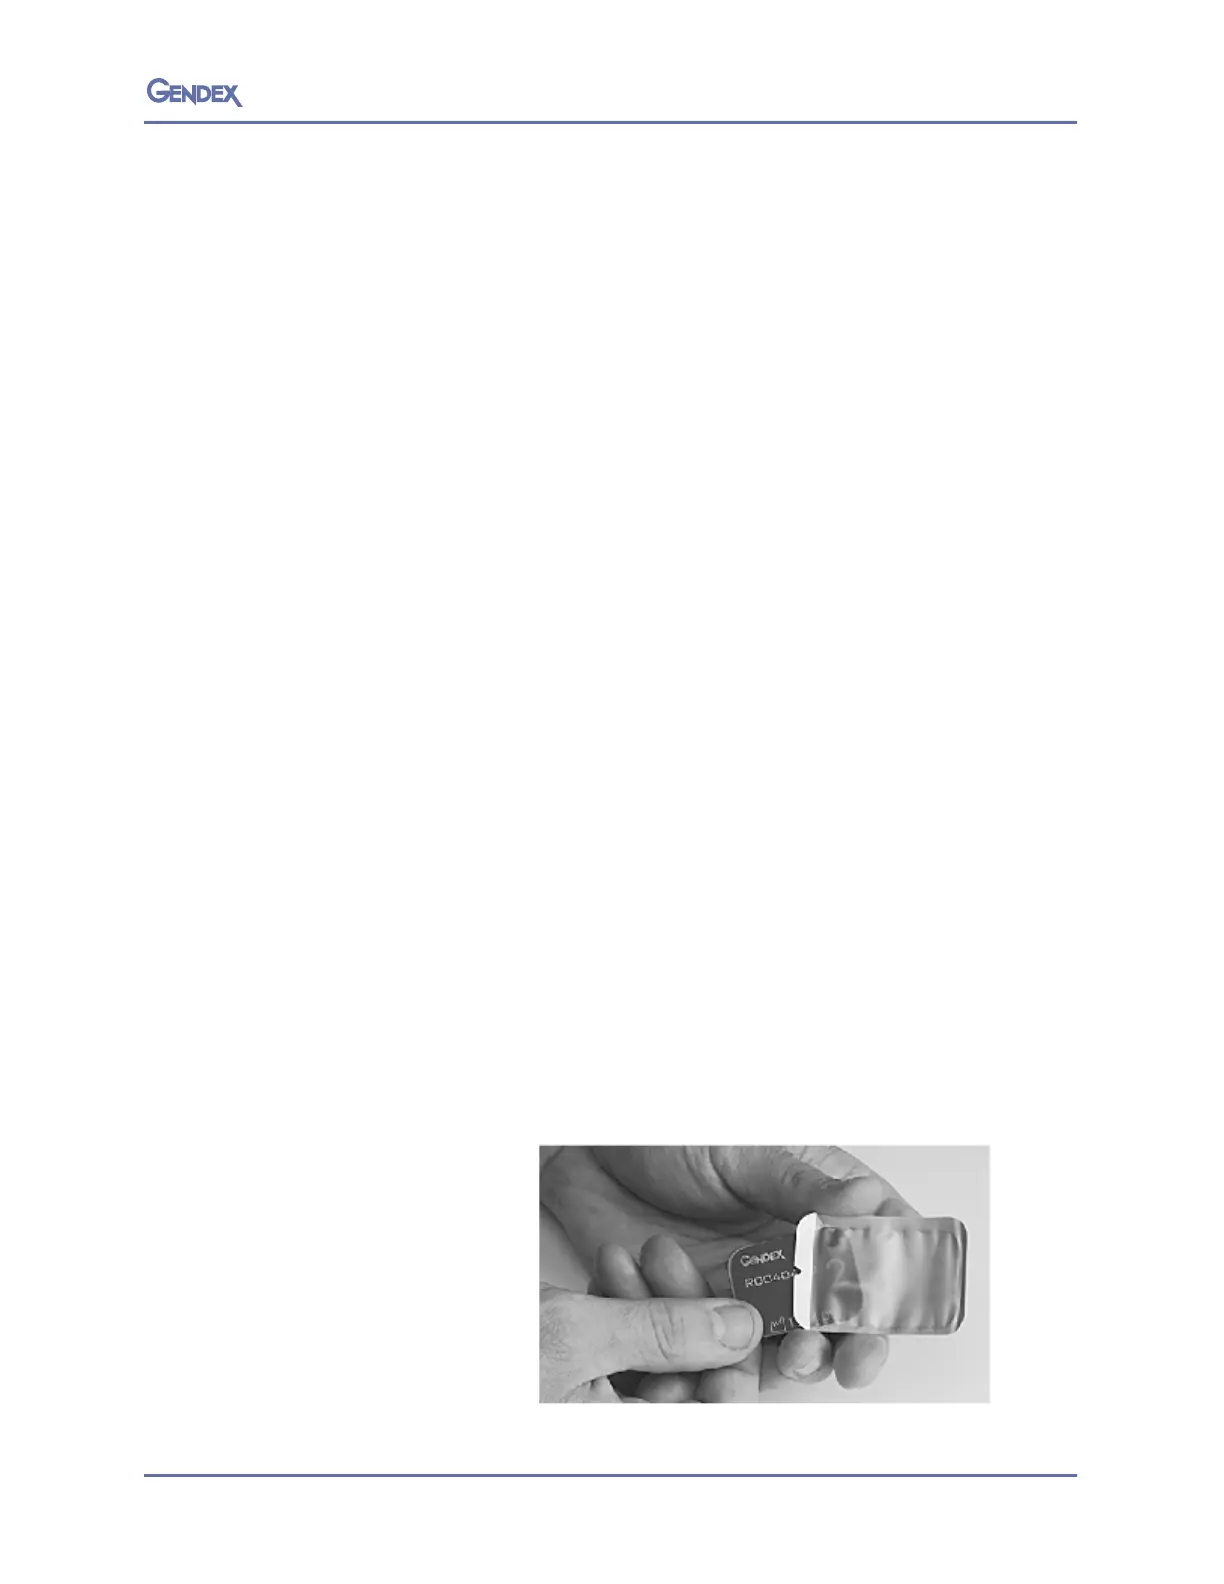
Prior to use, the DenOptix QST I/O imaging plates must be placed in barrier envelopes to
minimize the possibility of cross-contamination. With proper application and use of the
barriers, it will not be necessary to routinely cold sterilize the imaging plates. After erasing the
imaging plates, follow these directions:
1. Insert the imaging
p
late into the b
arrier
envelope, ensuring
that the black side of
the imaging plate can
be seen through the
clear side of the barrier
envelope. Pay careful
attention to the
location of the orien-
tation dot.
 Loading...