DenOptix QST
032-0265-EN Rev 14-4
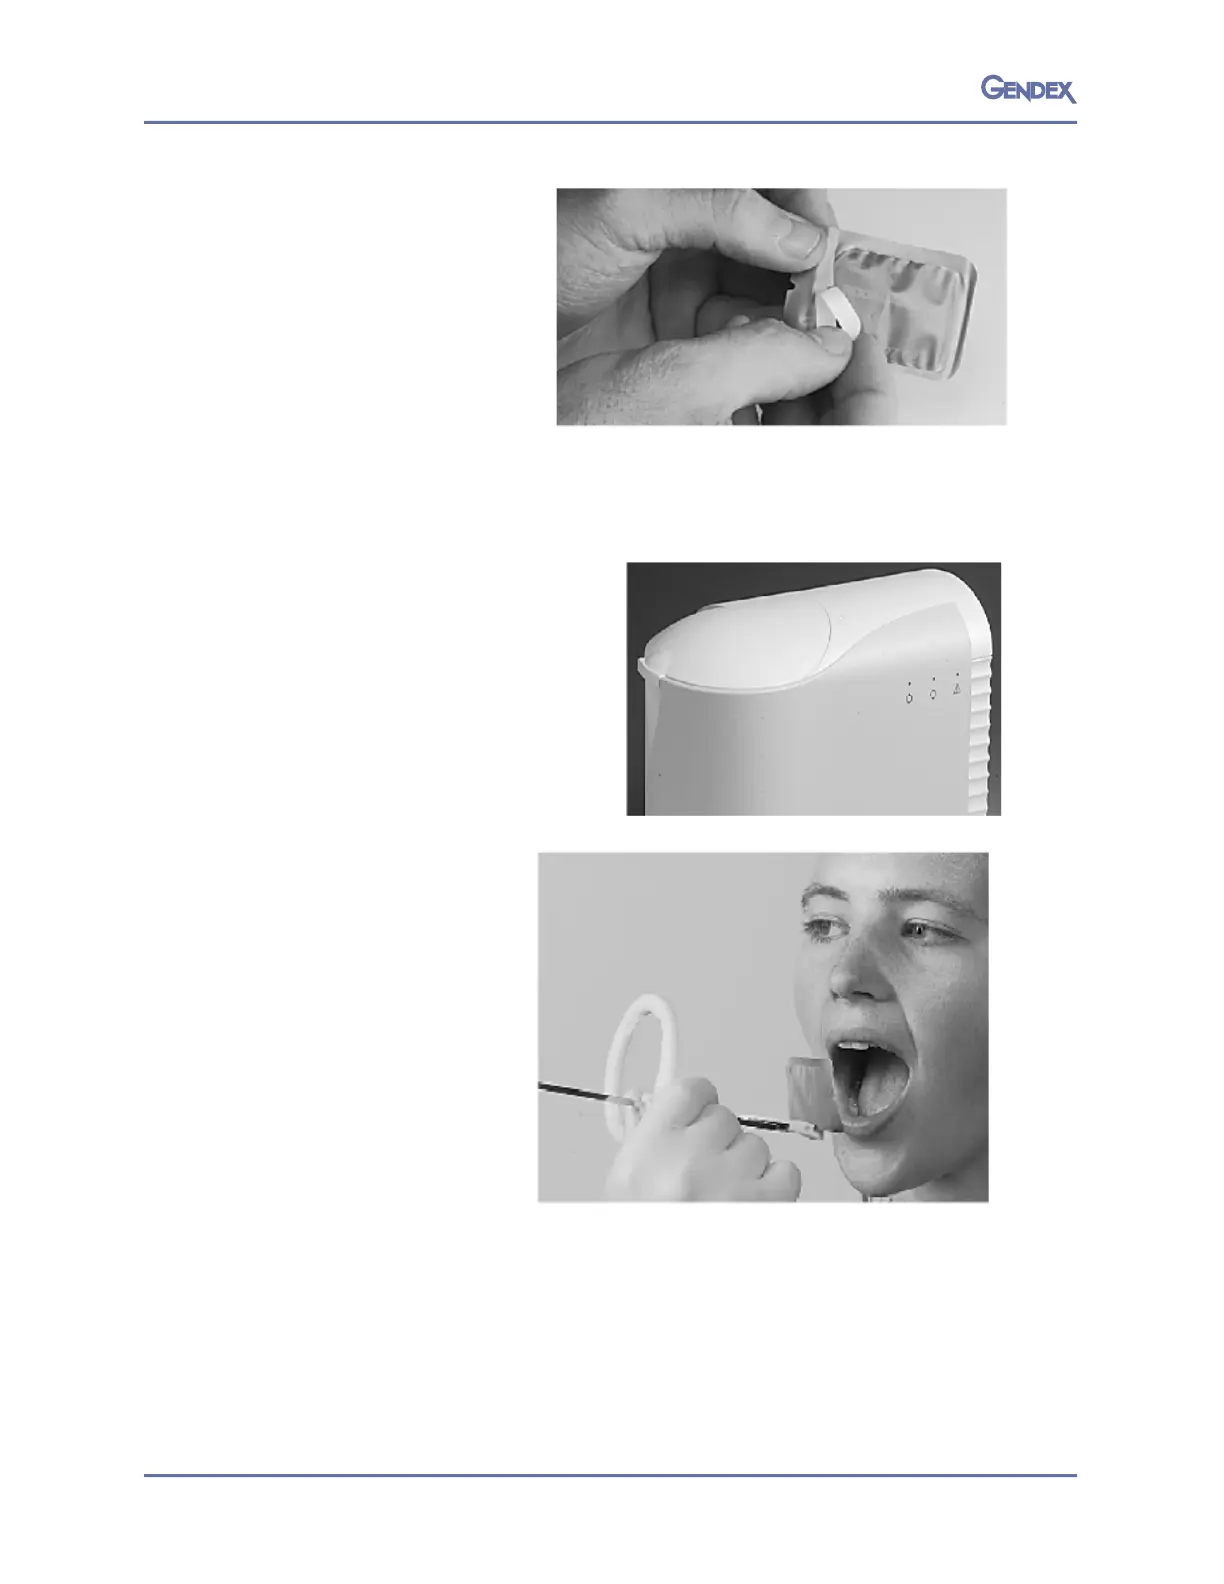
2. With the imaging plate
completely inserted,
seal the envelope by
removing the adhesive
strip and pressing the
envelope closed. The
imaging plate is now
protected and can be
used intraorally.
Taking an X-ray
3. Ensure the computer, monitor
and DenOptix QST scanner are
switched on and properly
connected. The green LED
indicates that the system is
ready to scan.
4. Launch your imaging software.
Refer to your Imaging Software
User Manual for details.
Intraoral Imaging
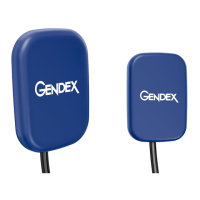
5. Place an erased I/O
imaging plate in the
sealed barrier
envelope and
position in the
patient’s mouth.
Make sure that the
blue side (front of the
barrier envelope and,
therefore, front of the
imaging plate) is
toward the X-ray
source. Wear appro-
priate gloves and
protecti
ve attire.
We recommend the use of a positioning device. The orientation
dot should be positioned toward the occlusal surface for periapical projections.
Fold back the barrier prior to inserting it into the positioning device. This will
ensure that the imaging plate is firmly held in place. Ensure that the imaging plate
(not the barrier) is in the center of the aiming ring. Expose the X-ray in the usual
manner. Exposure settings should be in accordance with ”Preparing your current
X-ray equipment”.
 Loading...