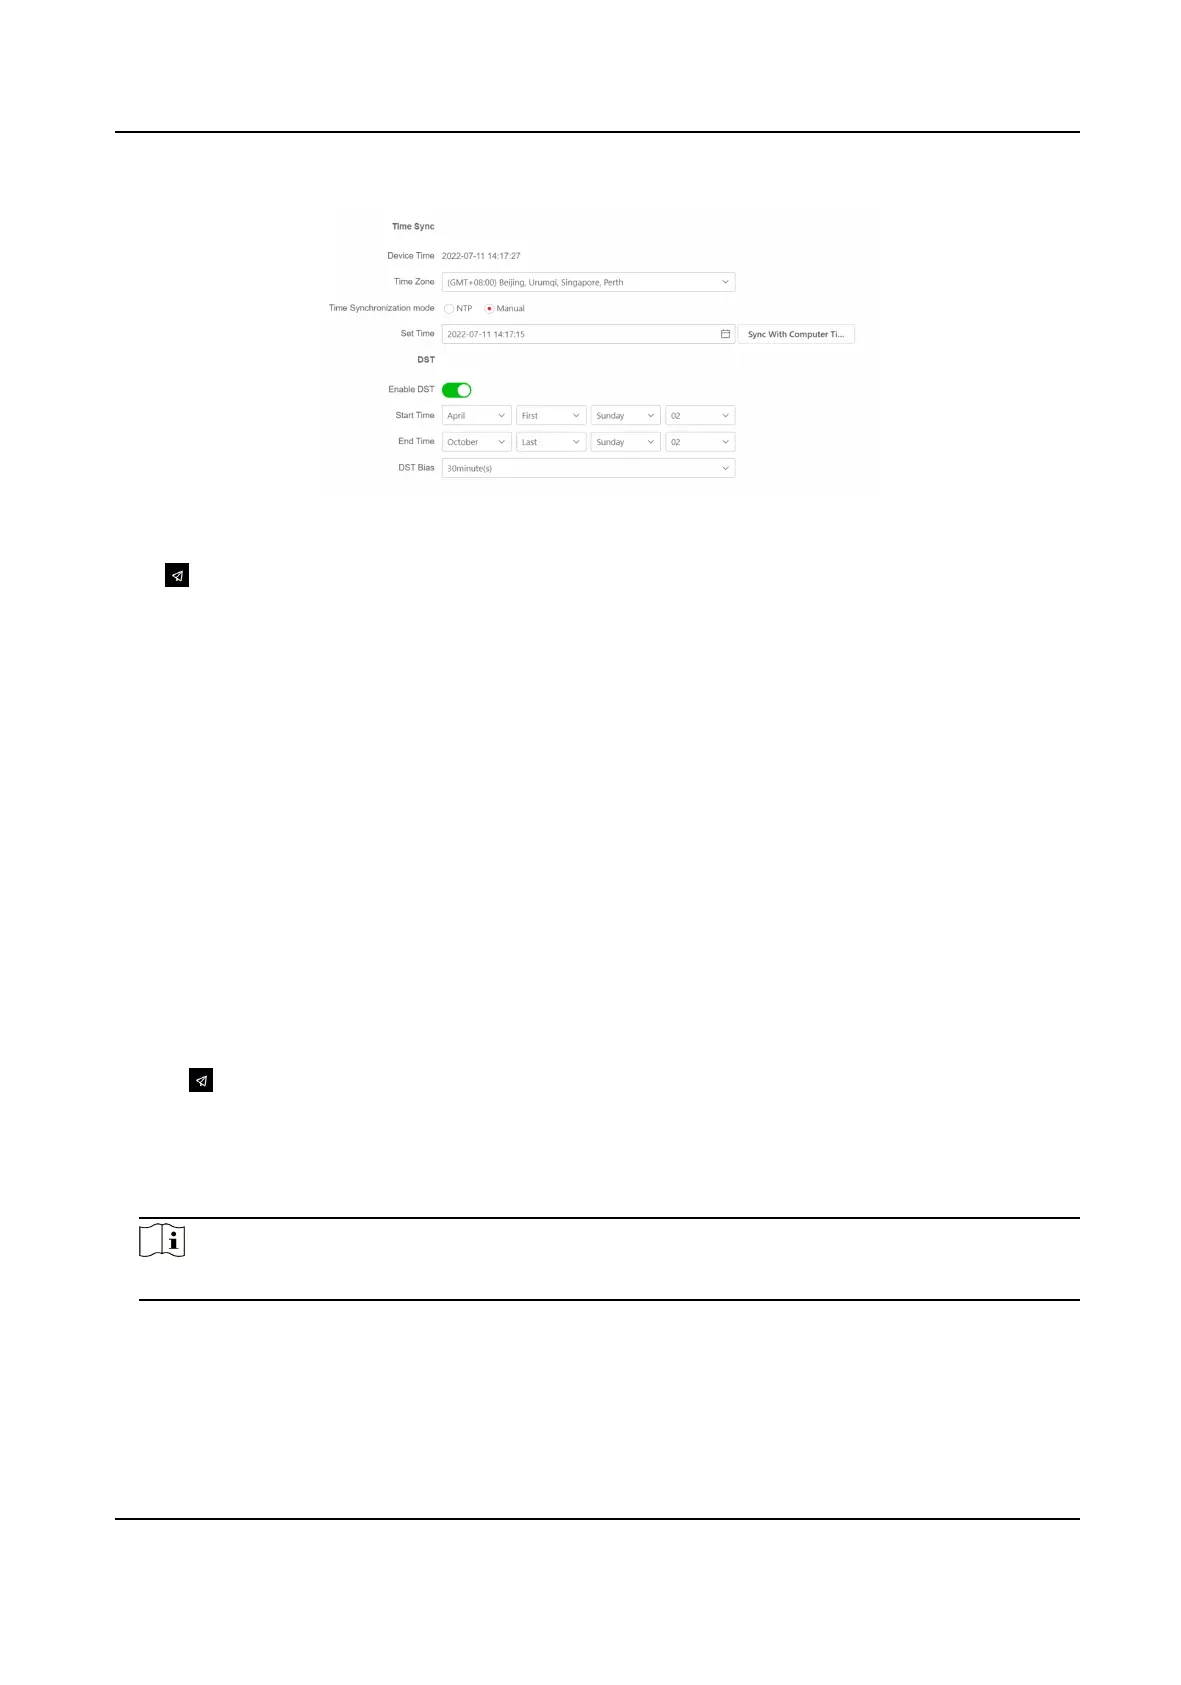
Figure 32-1 Set Time and DST
Click on the top right of the web page to enter the wizard page. Aer previous sengs, you can
click Next to enter the Time
Sengs page.
Time Zone
Select the device located me zone from the drop-down list.
Time Sync.
Manual
You can set the device me manually or click Sync. with Computer Time to synchronize the
device
me with the computer's me.
DST
You can set the DST start me, end me and bias me.
Click Next to save the sengs and go to the next parameter. Or click Skip to skip me sengs.
32.4 Administrator
Sengs
Steps
1.
Click on the top right of the web page to enter the wizard page. Aer previous sengs, you
can click Next to enter the Administrator
Sengs page.
2.
Enter the employee ID and name of the administrator.
3.
Add card. Click + to enter the Card No. or click read to present the card on the card reading area
to read the card No.
automacally.
Note
Up to 5 cards can be supported.
4.
Click Next .
DS-KD7003EY-IME2 Module Door Staon User Manual
93
 Loading...