2-14
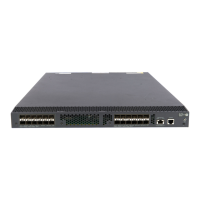
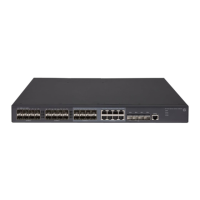
Installing the HP 5400R zl2 Switches
Installation Procedures
Installing the HP 5400R zl2
Switches
Figure 2-2. Installing a power supply
Once the power supply is installed, tighten the four retaining screws that hold
it in place. The screws can be tightened with either a flat-bladed or Torx T-10
screwdriver. Be careful not to overtighten the screws.
4. Verify the Switch Passes Self Test
After you have installed any modules and the optional second power supply,
but before mounting the switch in its network location, you should first verify
it is working properly by plugging it into a power source and verifying it passes
its self test.
If you have installed a second power supply, repeat these procedures with the
second power supply to verify it works correctly also.
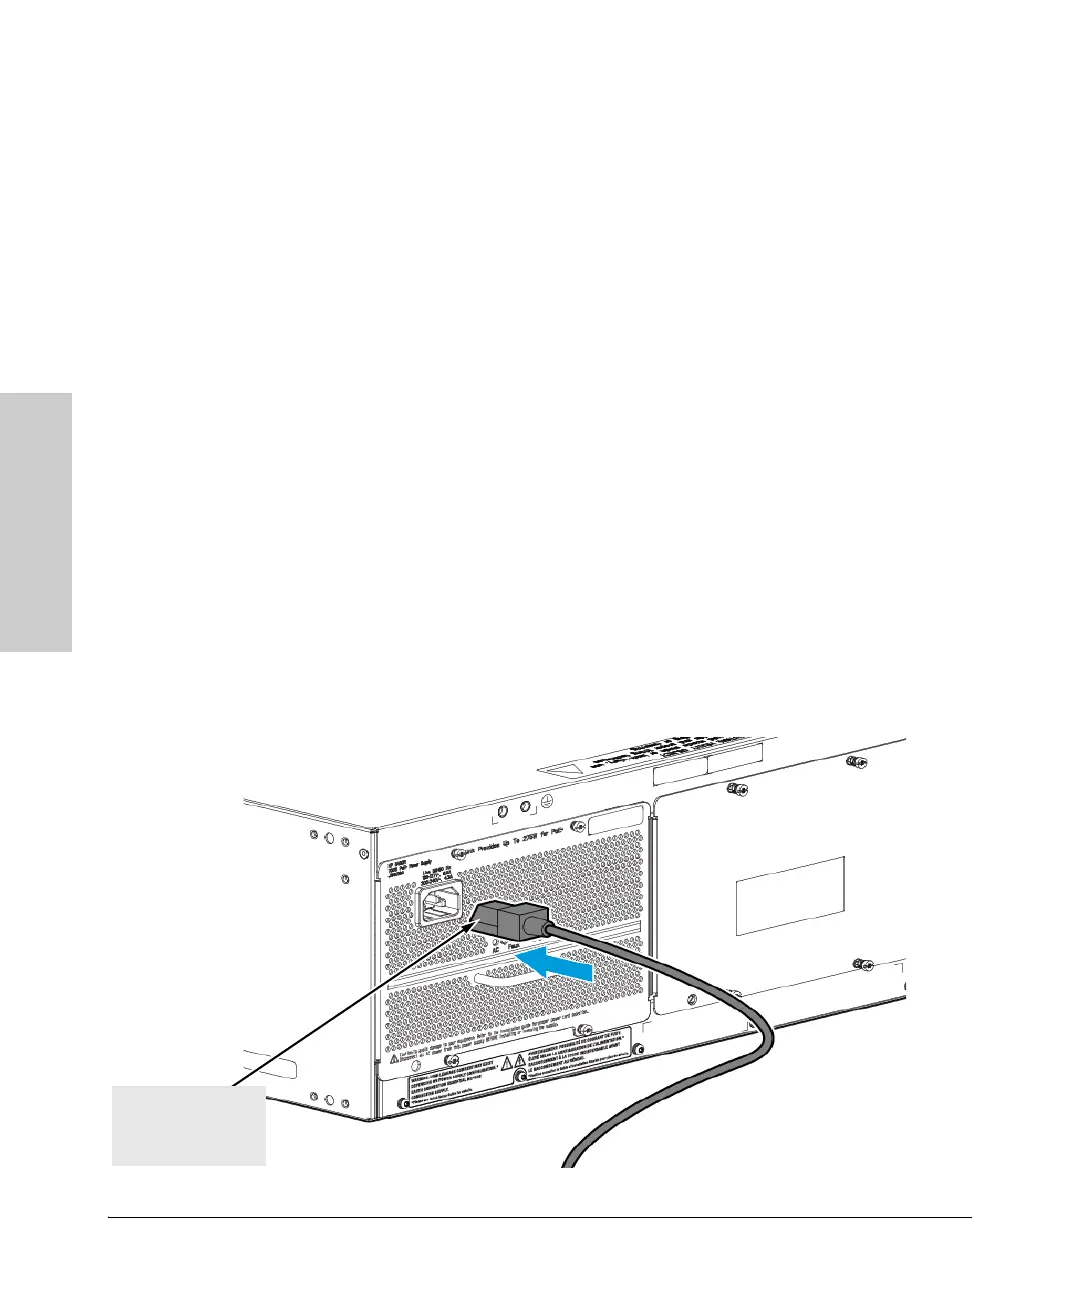
1. Connect the power cord supplied with the switch to the power connector
on the back of the switch, and then into a properly grounded electrical
outlet.
1 Handle to insert the power supply into the Chassis.
2 Screws
Connect power
cord to power
connector
 Loading...