2-16
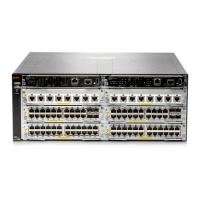
Installing the HP 5400R zl2 Switches
Installation Procedures
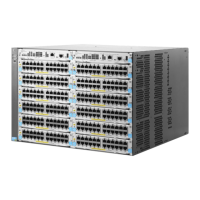
Installing the HP 5400R zl2
Switches
LED Behavior:
During the self test:
■ Initially, Power, Fault, Locator, and all the switch chassis LEDs are on. Then,
after approximately 30 seconds, all the module LEDs go on as the modules
receive power and code is downloaded to them, the Fault LED goes off,
and the chassis LEDs turn orange and then go off except Test, Fan, and
Power, which turn green.
■ When the download of code to the modules is completed, the module
LEDs go off. You may see each port LED go on briefly, in sequence, as the
port is tested.
■ For the duration of the self test, the Test LED stays on.
When the test completes successfully:
■ The Power LED stays on, and the Status LEDs on the switch chassis stay
on for the devices installed: one for each switch module installed, one for
each power supply installed, and one for all the fans.
■ The Fault, Locator, and Test LEDs are off.
■ The port LEDs on the switch modules go into their normal operational
mode:
• If the ports are connected to active network devices, the Link LEDs
stay on and the Mode LEDs behave according to the mode selected.
In the default mode (Activity), the Mode LEDs should flicker showing
network activity on the port.
• If the ports are not connected to active network devices, the LEDs
will stay off.
For more information on 40G port LED information, see v3 zl2 module
installation guide.
5. Mount the Switch
After the modules and optional power supply are installed and you have
verified the switch passes self test, you are ready to mount the switch in a
stable location. The 5400R zl2 switches can be mounted in these ways:
■ in a rack or cabinet
■ on a horizontal surface
 Loading...