4-4
Replacing Components
Replacing Fan Trays
Replacing Fan Trays
When a fan fails the Fan Status LED on the management module blinks
simultaneously with the switch Fault LED. In this case, the entire fan tray
needs to be replaced. You cannot replace individual fans.
The fan tray is hot swappable. It can be removed and replaced without
removing power from the switch. However, install the new fan tray
immediately (after two minutes) after removing the old fan tray to avoid
overheating and switch shutdown (after three minutes). The fan tray is
provided with a hotswap controller on the backplane to control the fan power
interface during insertion and removal.
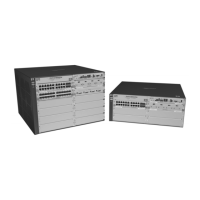
Although these procedures show the 6-slot chassis, the procedures are the
same for the 12-slot chassis.
WARNING To avoid contact with spinning fans, if you are hot swapping out the
fan tray assembly, pull the assembly out one-inch and allow the fans
to stop rotating (approximately 20 seconds) before pulling it all the
way out.
To replace a fan tray:
1. Using either a flat-bladed or Torx T-10 screwdriver loosen the retaining
screws holding the fan tray assembly and pull the fan tray assembly out.
2. Install the new fan tray assembly and tighten the retaining screws.
Figure 4-3. 5406R zl2 Switch Fan Tray removal Figure 4-4. 5406R zl2 Switch Fan Tray insertion
Retaining Screws
Handle
Retaining Screws
 Loading...
