7-2
Virtual LAN
VLAN Ports
Table 7-1. VLAN Configuration Fields
■ Click Apply to save any changes to the for the currently selected trunk. The changes take effect
immediately. Use the Maintenance > Save Configuration page to have the settings remain in effect
after a reboot.
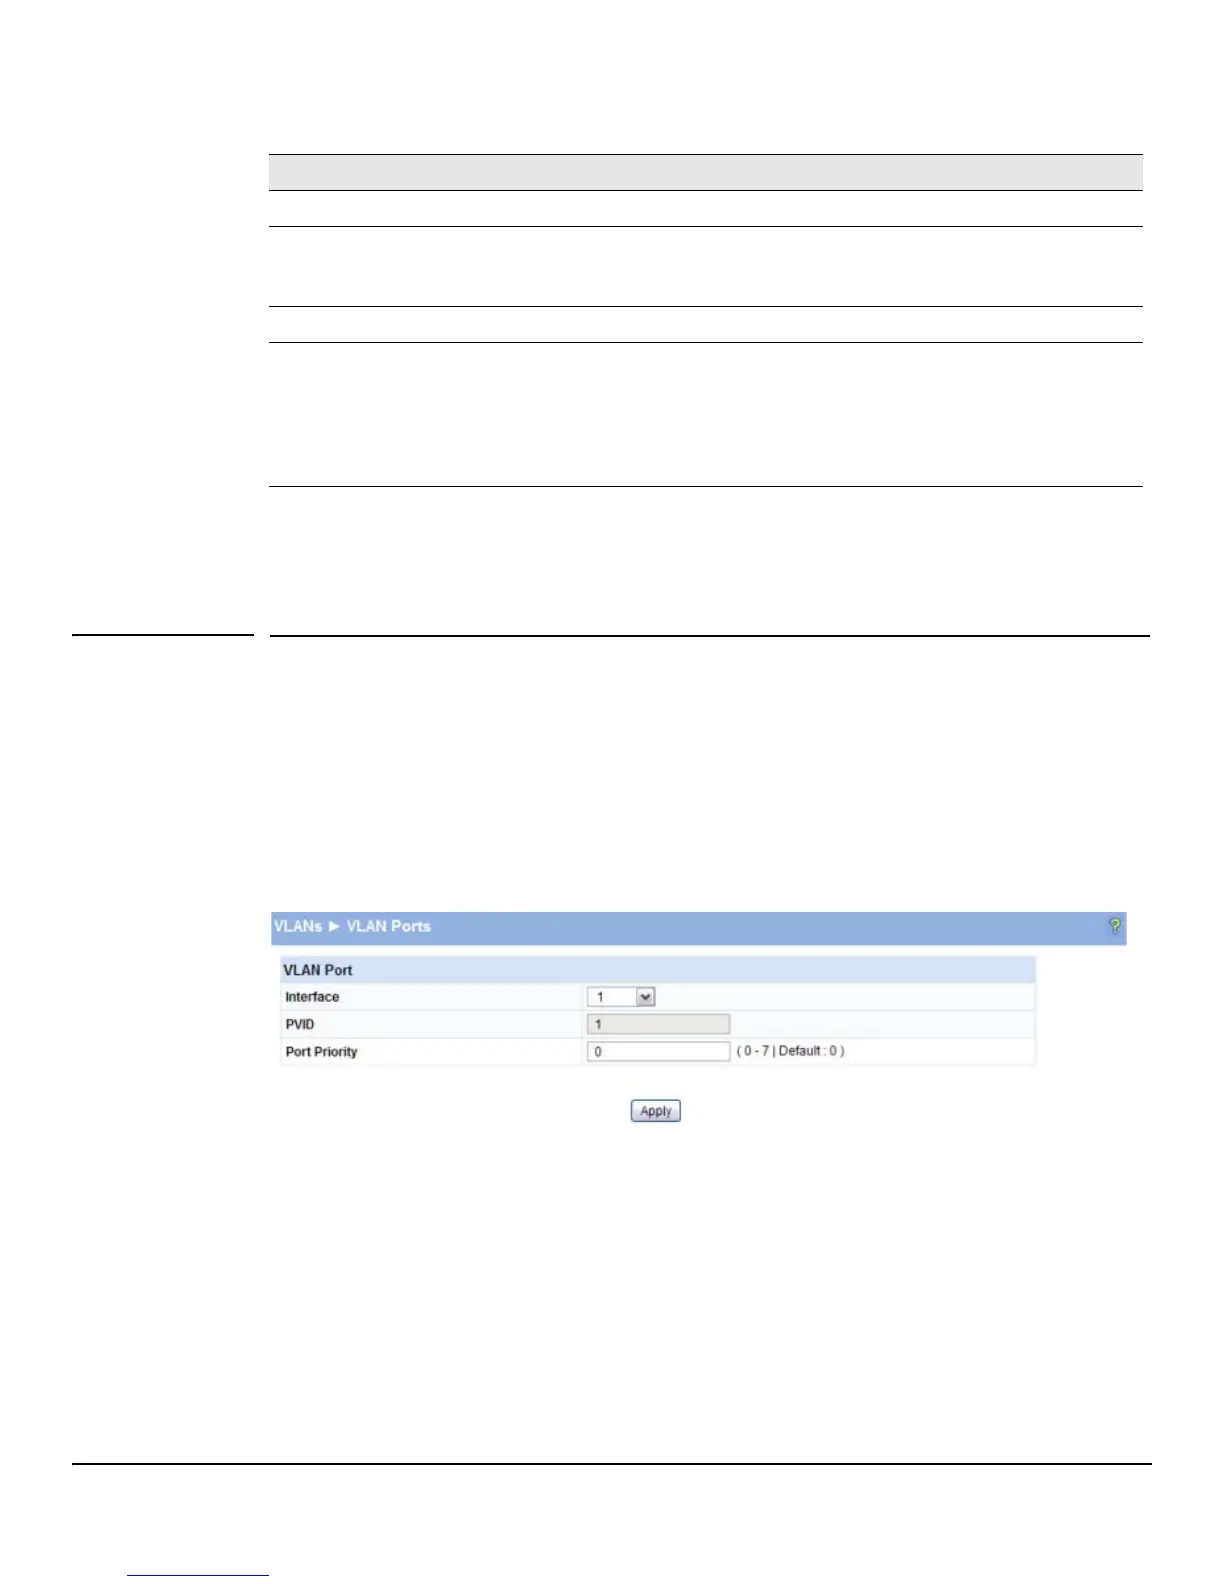
VLAN Ports
Use the VLAN Ports page to view the Port VLAN ID that a port will assign to untagged frames that it
forwards, and to configure the port priority.
To access the VLAN Ports page, click VLANs > VLAN Ports in the navigation pane.
Figure 7-2. VLAN Ports Page
Field Description
Create VLAN Select this box to create a new VLAN.
Create VLAN ID Specify the numeric VLAN Identifier from 2 to 4093 and click Apply to create the VLAN.
Note: VLAN ID 1 is pre-configured on the switch and is always named “Default.” The default
VLAN cannot be deleted.
Number of VLANs The current number of VLANs. Up to 64 VLANs can be created.
VLAN Name
Delete VLAN
Set Name
After the VLAN ID has been created using the previously described fields, you can apply a name
to it or delete it.
• To delete a VLAN, select the Delete VLAN box and click Apply. The default VLAN cannot be
deleted.
• To specify a VLAN name, select the Set Name box, type a name in the VLAN Name field, and
click Apply. A VLAN name can have up to 32 alphanumeric characters, including blanks.
 Loading...


