● VESA mounting capability (100 × 100 mm) for attaching the monitor to a swing arm mount
● Support for a mounting bracket to attach the monitor to a workstation
NOTE: For safety and regulatory information, see the Product Notices provided in your documentation kit.
To access the latest user guide, go to http://www.hp.com/support, and follow the instructions to nd your
product. Then select Manuals.
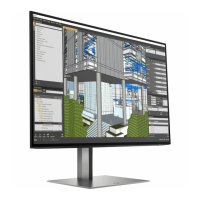
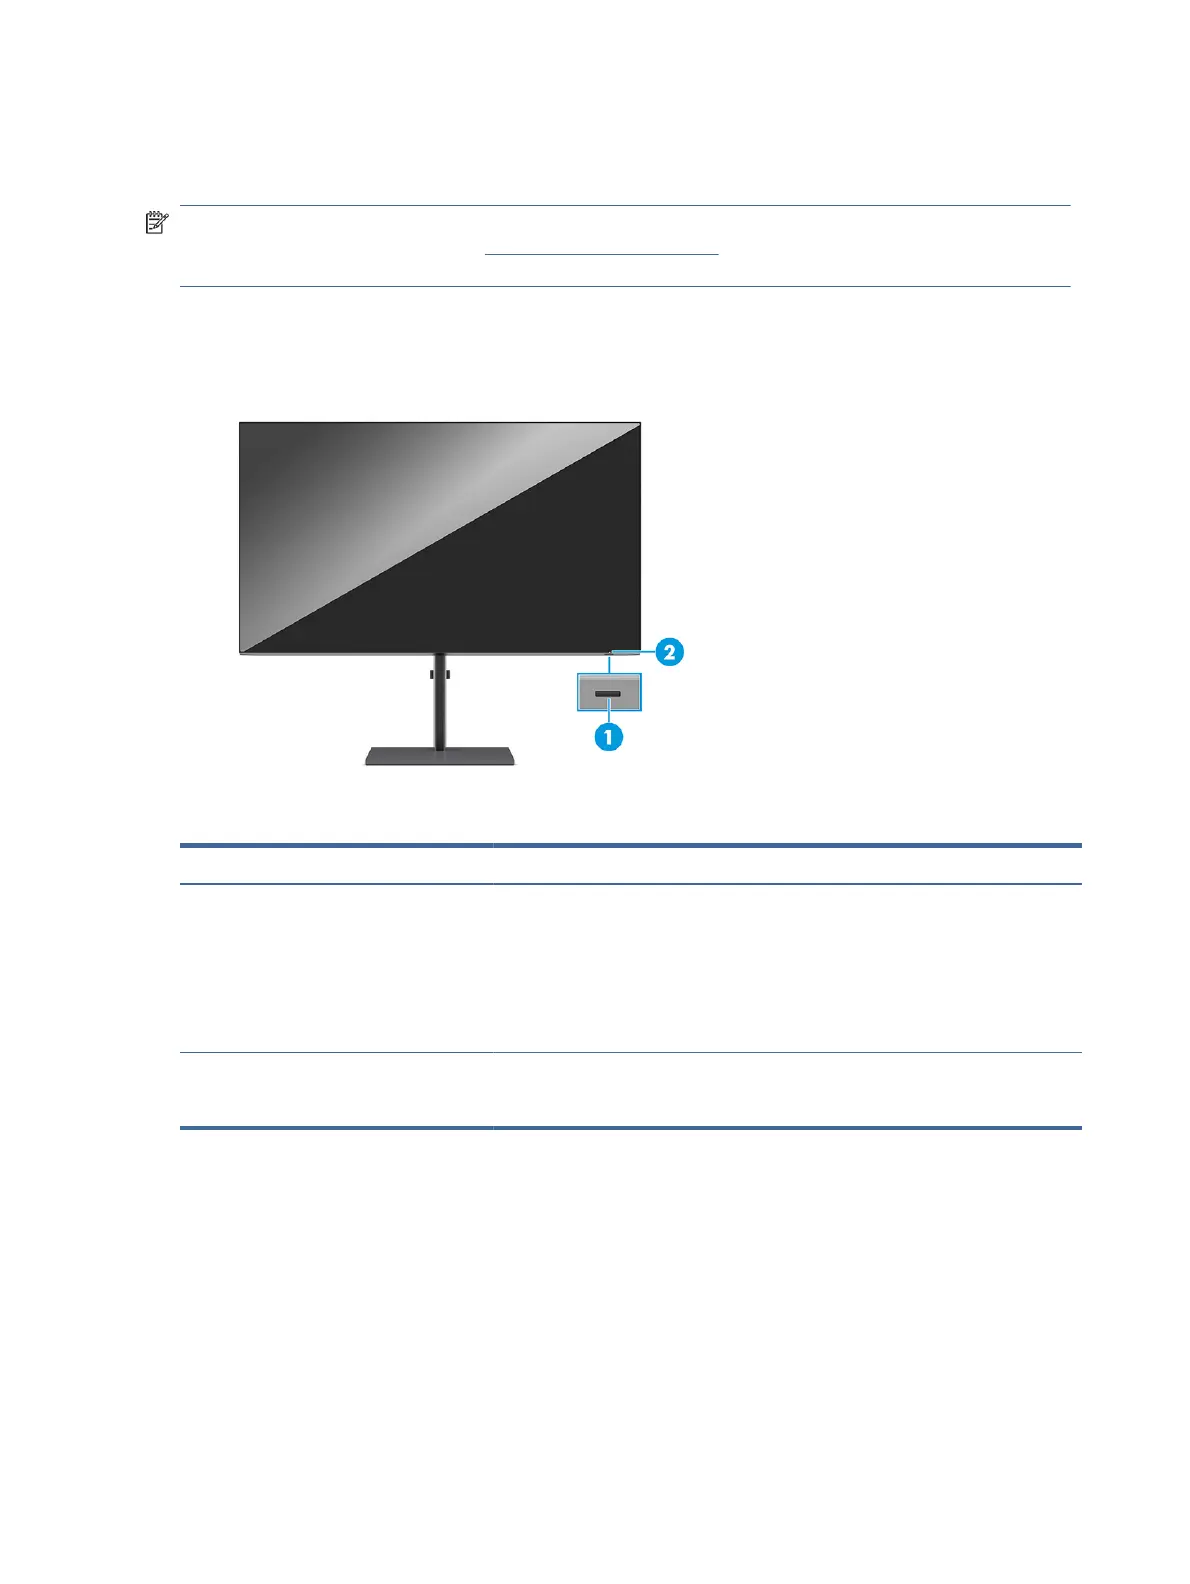
Front components
To identify the components on the front of the monitor, use this illustration and table.
Table 1-2 Front components and their descriptions
Component Description
(1) Power button Turns the monitor on or o.
NOTE: Be sure that the master power switch on the monitor is in the On position to
turn on the monitor.
NOTE: When an HP notebook is connected to the Thunderbolt port, pressing the
power button on the display turns o your notebook or puts it to sleep based on your
power setting preferences.
(2) Power light White: The monitor is on.
Amber: The monitor is in a reduced power state because of inactivity.
Rear components
To identify the components on the rear of the monitor, use this illustration and table.
4
Chapter 1Getting started
 Loading...