Step 3 Place the server node on the ESD workstation.
Step 4 Take the component out of its ESD bag.
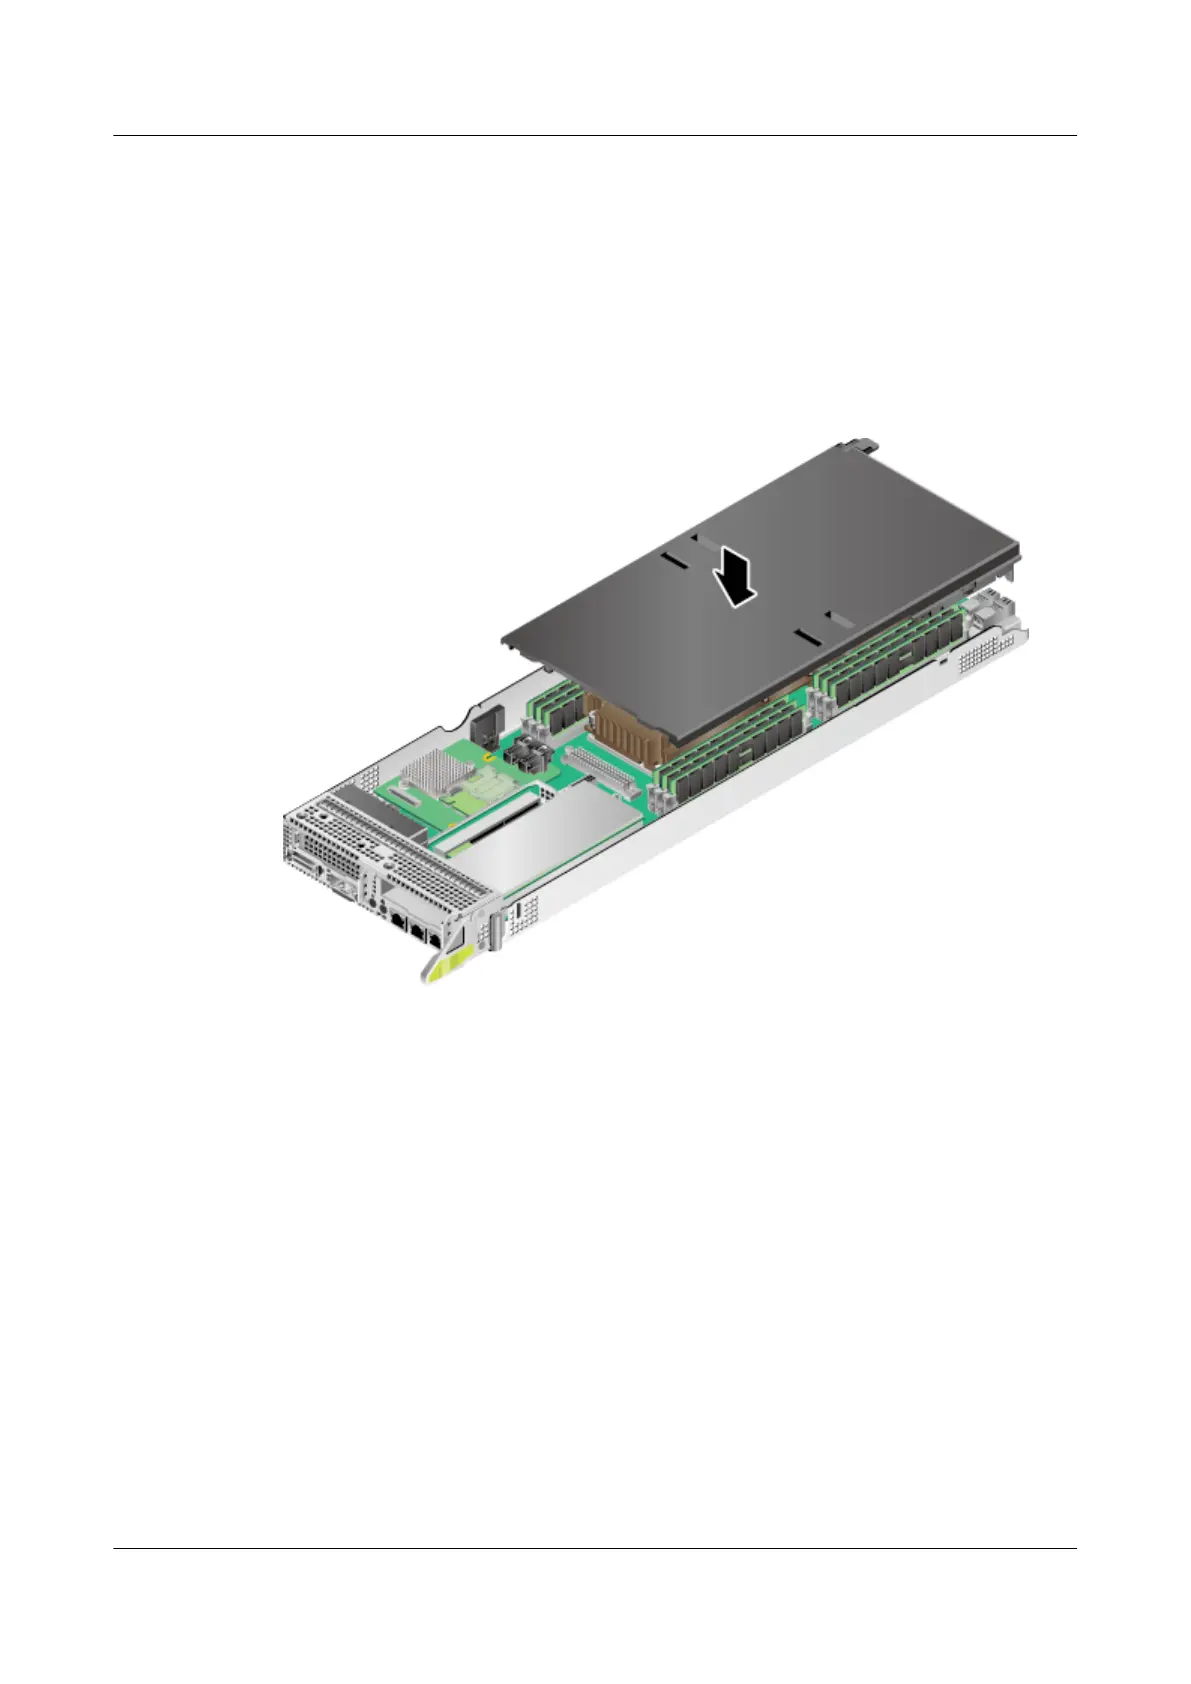
Step 5 Determine the position of the air duct.
Step 6 Align the positioning pins on the air duct with the
xing holes on the chassis
according to the instructions on the air duct. Vertically place the air duct
downwards.
Figure 8-63 Installing the air duct
Step 7 Install the server node.
For details, see 8.3.4 Installing an XH321 V5.
Step 8 Power on the server node.
For details, see 8.3.1 Power-On Procedure.
----End
8.4.25 Removing the Mainboard and Server Node Case
If you cannot log in to the iBMC of the mainboard to be replaced, you do not need
to perform Step 1 to Step 3.
Procedure
Step 1 Record the rmware (iBMC, BIOS, and CPLD) versions of the mainboard to be
replaced.
● On the iBMC WebUI, choose Information > System Info > Product Info to
obtain the information.
FusionServer Pro XH321 V5 Server Node
Maintenance and Service Guide 8 Parts Replacement
Issue 17 (2021-03-09) Copyright © Huawei Technologies Co., Ltd. 97

 Loading...