OperatiOn
4-14 HPR130XD Auto Gas – 806330 Revision 2
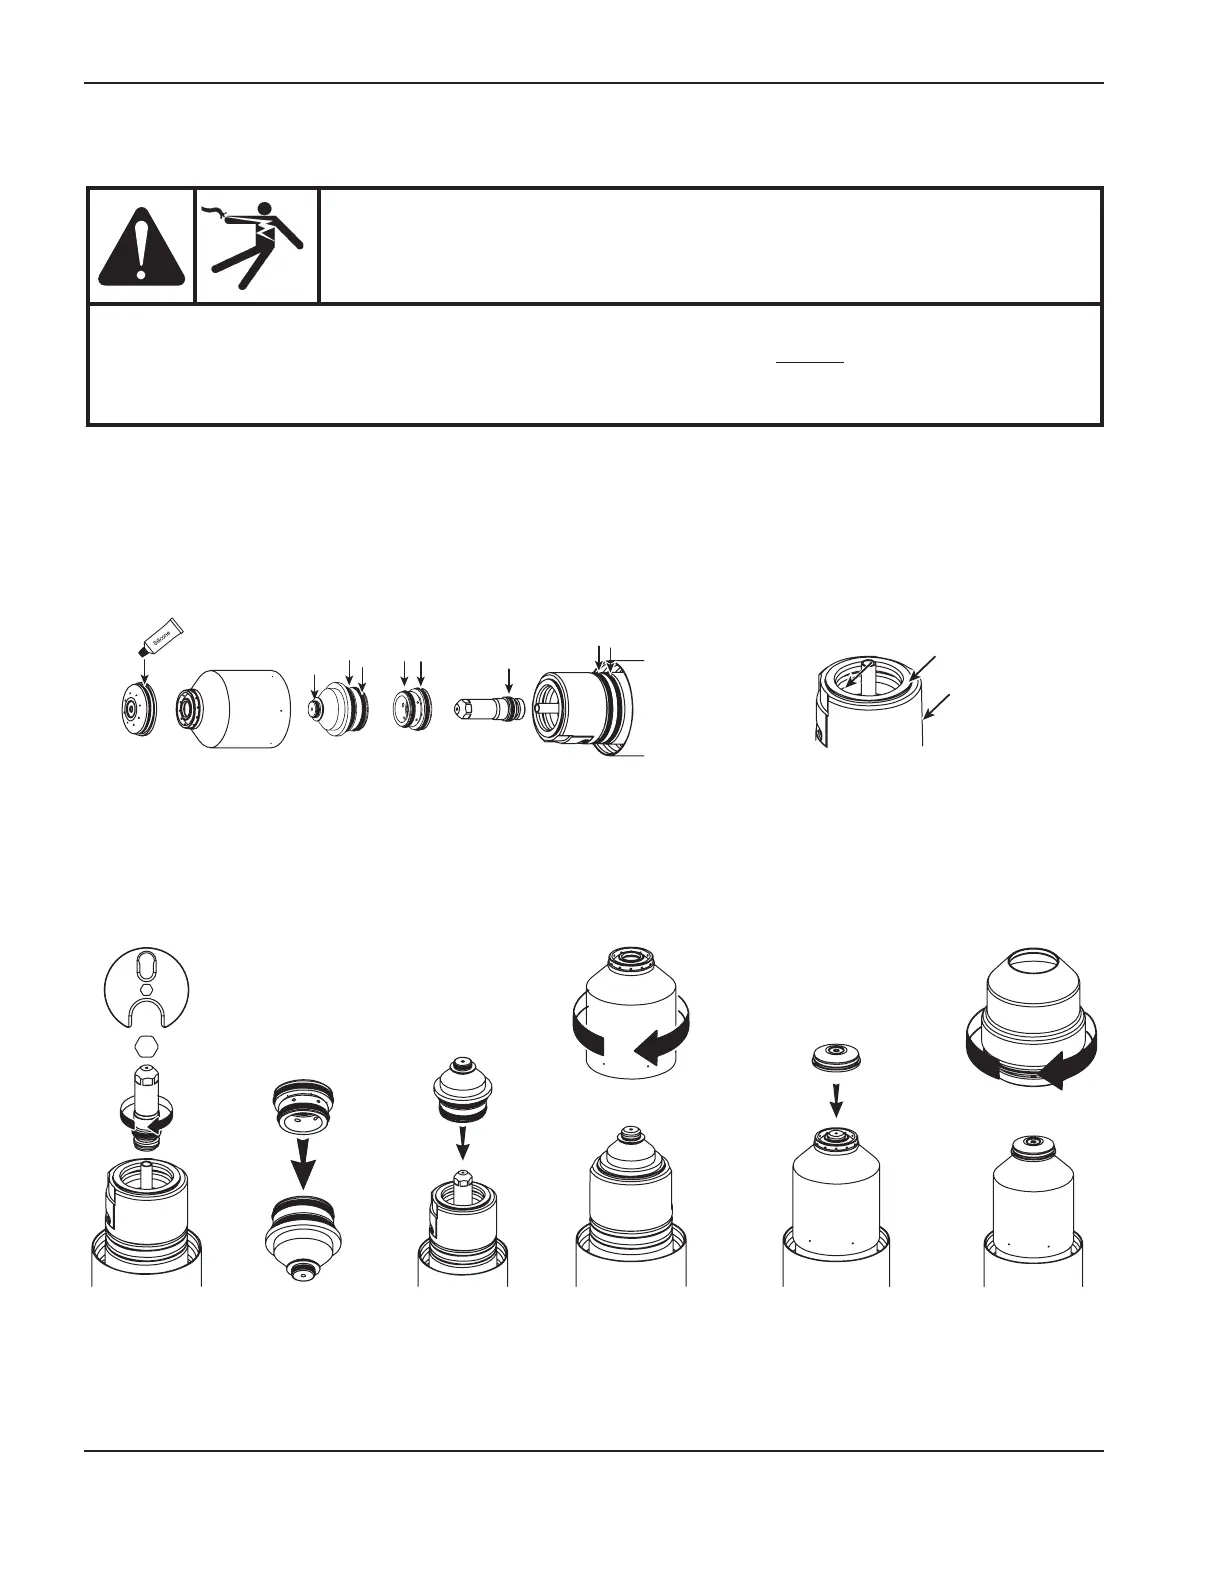
Install and Inspect consumables
Wipe the internal and external surfaces of the
torch with a clean cloth or paper towel.
Tool: 104119
Apply a thin film of silicone lubricant on each o-ring.
The o-ring should look shiny, but there should not be
any excess or built-up grease.
1. Install the
electrode
2. Install the
swirl ring
3. Install the
nozzle and
swirl ring
4. Install the
nozzle
retaining cap
5. Install the
shield
6. Install the
shield cap
Install consumables
Check the consumable parts daily for wear before cutting. Before removing consumables, bring the torch to the edge of
the cutting table, with the torch lifter raised to its highest point to prevent the consumables from dropping into the water
of the water table.
Note: Do not overtighten parts! Only tighten until mating parts are seated.
WARNING
The system is designed to go into an idle mode if the retaining cap is removed. However,
DO NOT CHANGE CONSUMABLE PARTS WHILE IN THE IDLE MODE. Always disconnect power to
the power supply before inspecting or changing torch consumable parts. Use gloves when removing
consumables. The torch might be hot.

 Loading...


