OperatiOn
4-18 HPR130XD Auto Gas – 806330 Revision 2
Note: The water tube may seem loose when correctly inserted, but any side-to-side looseness will disappear
after the electrode is installed.
1. Turn OFF all power to the system.
2. Remove consumables from torch. See Install and inspect
consumables in this section.
3. Remove the old water tube.
4. Apply a thin film of silicone lubricant on the o-ring, and install a
new water tube. The o-ring should look shiny, but there should
not be any excess or built-up grease.
5. Replace consumables. See Install and inspect consumables in
this section.
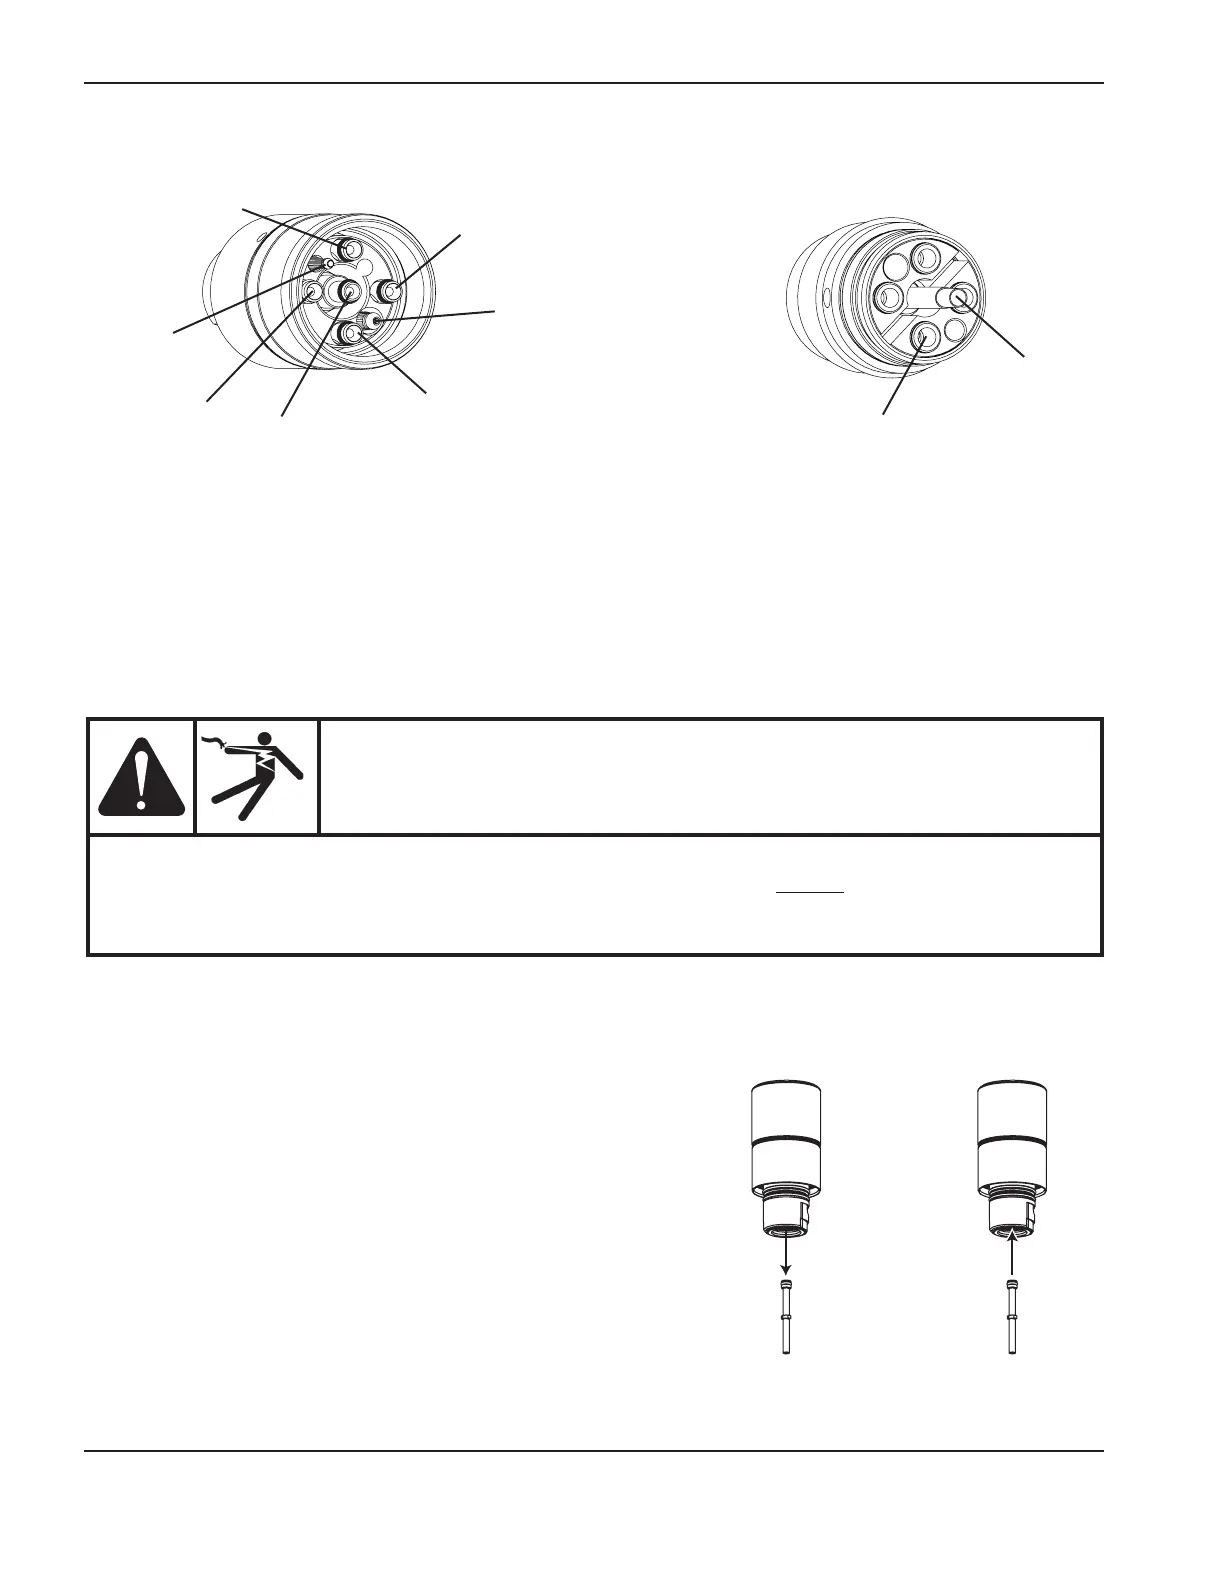
Replace torch water tube
Plasma gas
Plasma vent
Coolant in
Pilot arc
Shield gas
Coolant return
Torch connections
Ohmic
contact
pin
Torch quick-disconnect receptacle
Torch
Coolant in
Coolant return
Note: The coolant in and the coolant return lines in the quick-disconnect are in opposite positions from the torch
coolant lines. This helps reduce the coolant temperature.
WARNING
The system is designed to go into an idle mode if the retaining cap is removed. However,
DO NOT CHANGE CONSUMABLE PARTS WHILE IN THE IDLE MODE. Always disconnect power to
the power supply before inspecting or changing torch consumable parts. Use gloves when removing
consumables. The torch might be hot.

 Loading...


