Do you have a question about the IBM StorVize V7000 Gen2 and is the answer not in the manual?
| Category | Storage |
|---|---|
| Maximum Drives | 504 |
| RAID Levels | 0, 1, 5, 6, 10 |
| Operating System | IBM Spectrum Virtualize |
| Power Supply | Dual redundant power supplies |
| Input Voltage | 100-240 V AC |
| Humidity | 8% to 80% non-condensing |
| Model | Storwize V7000 Gen2 |
| Drive Interface | SAS |
| Form Factor | 2U |
| Drive Types Supported | SAS SSDs, SAS HDDs |
| Host Interface | 8 Gb FC, 16 Gb FC, 10 Gb iSCSI |
| Nodes | 2 |
| Operating Temperature | 10°C to 35°C |
| Non-operating Temperature | -10°C to 50°C |
Verify shipment contents against the packing slip to ensure all ordered items are included.
Familiarize yourself with hardware components and port locations for control and expansion enclosures.
Ensure the physical site meets environmental and electrical requirements for reliable system operation.
Understand enclosure placement rules for control and expansion enclosures in the rack.
Install the left and right support rails designed for the control enclosure in the rack cabinet.
Follow your enclosure location plan to install each control and expansion enclosure into the rack.
Connect expansion enclosures to the control enclosure using supplied SAS cables following guidelines.
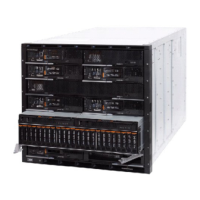
Understand the weight of the 2076-92F expansion enclosure and its parts for safe handling.
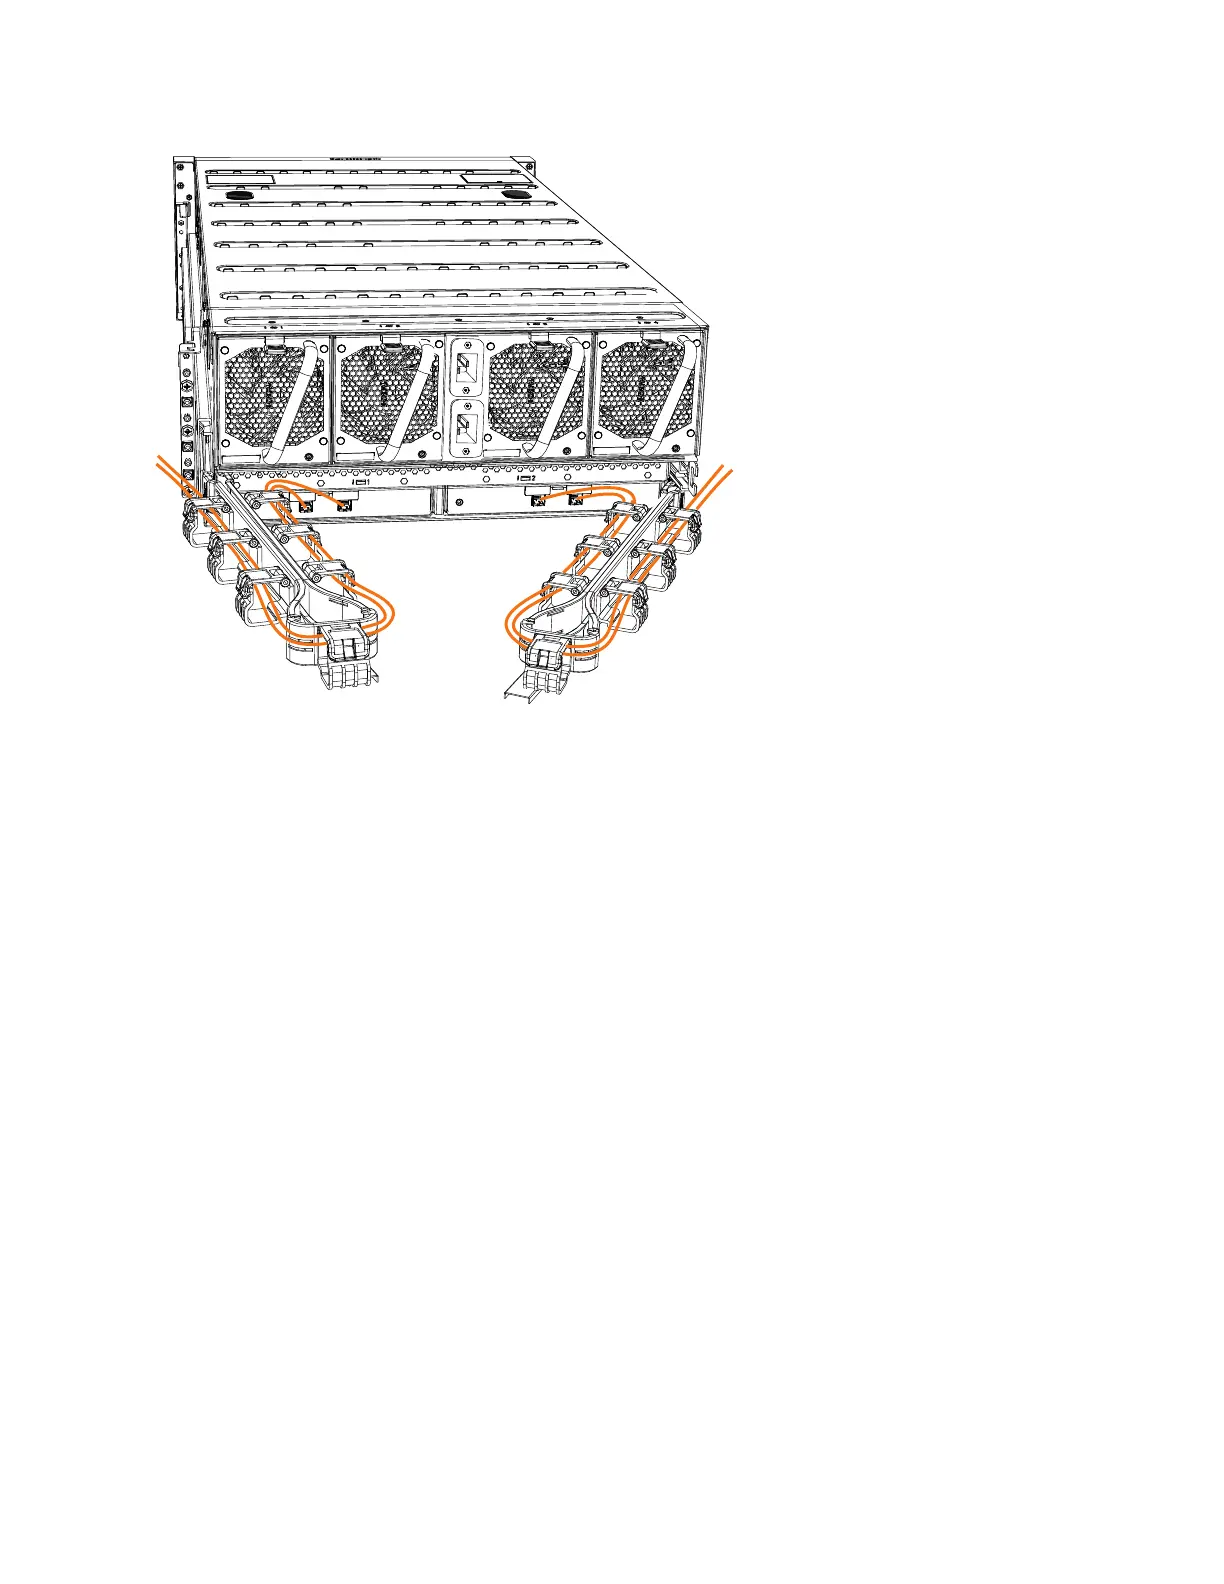
Replace redundant power supply units in the 2076-92F expansion enclosure.
Steps to power on all expansion and control enclosures after hardware installation.
Ensure your web browser is supported and has appropriate settings enabled to access the management GUI.
Connect a PC to the technician port to initialize a new system and run the initialization tool.
Update system configuration by adding an expansion enclosure using the management GUI.
Overview of major accessibility features for Storwize V7000 users.
Use keys or key combinations to perform operations and initiate menu actions.
Information about IBM's commitment to accessibility.
Information on obtaining the hardcopy or online Statement of Limited Warranty.
FCC compliance statement for Class A digital devices.
EU conformity statement for electromagnetic compatibility.