6
2
BASIC OPERATION
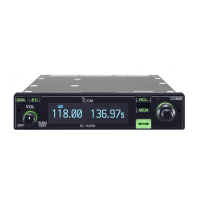
■ Frequency exchanging/
not exchanging (Step 2-2)
q After selecting the standby frequency, push [↔] to ex-
change the standby frequency with the active frequency.
•Rotate [VOL] to set the volume level, if necessary.
•When receiving a signal, “RX” appears and audio is emitted from
the speaker or headset.
•Further adjustment of audio level may be necessary at this point.
•Adjust the squelch level in the menu mode, if necessary (p. 24).
w Push and hold [PTT] to transmit, then speak into the mi-
crophone.
•Transmit indicator “TX” lights.
e Release [PTT] to receive.
Frequency exchanging can be also performed remotely from
the yoke-mounted frequency exchange switch.
■ Receiving
q Select an operating frequency.
• Refer to pgs. 5–6 in details.
• “RX” appears when receiving a signal or opening squelch.
w Push [VOL] to open the squelch manually.
• Refer to p. 20 “Squelch test function” in details.
e Rotate the volume control to adjust the audio level.
■ Transmitting
q Select the yoke-mounted communication/intercom switch
to the “communication” position.
w Select an operating frequency.
• Refer to pgs. 5–6 in details.
e Push the PTT switch.
• “TX” appears.
r Speak into the microphone at your normal voice level.
• DO NOT set the microphone too closely to your mouth or speak
too loudly. This may distort the signal.
t Release the PTT switch to receive.
TIP: The intercom function is useful for swift communica-
tion between the pilot and co-pilot.
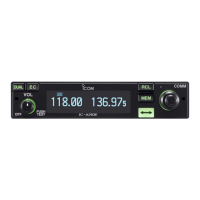
Set the communication/intercom switch on the VHF control
panel to the “intercom” position. Voice signals from the mi-
crophone are sent to both the pilot and co-pilot’s headsets.
NOTE: To pre v ent int erf e re n ce, lis t en o n t h e f r eq u enc y be -
fore transmitting. If the frequency is busy, wait until the fre-
quency is clear.
NOTE: DO NOT push and hold [↔] continuously. Oth-
erwise the standby frequency disappears. If this happens,
again push and hold [↔] until the standby frequency reap-
pears.
 Loading...