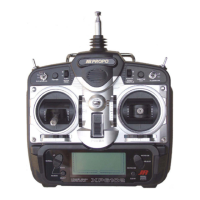
There are two methods you can use to enter data into your 10X
transmitter—code number access and the direct mode method.
Both methods work equally well, although the direct mode
method will be easier until you become familiar with the code
numbers of the 10X.
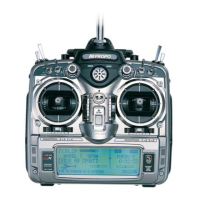
Turn the 10X power switch to the “on” position.
The initial LCD screen will appear as follows:
Touch ENTER to advance to the next screen. The screen will
then change to the following:
From this screen, choose which method you want to use to input
data.
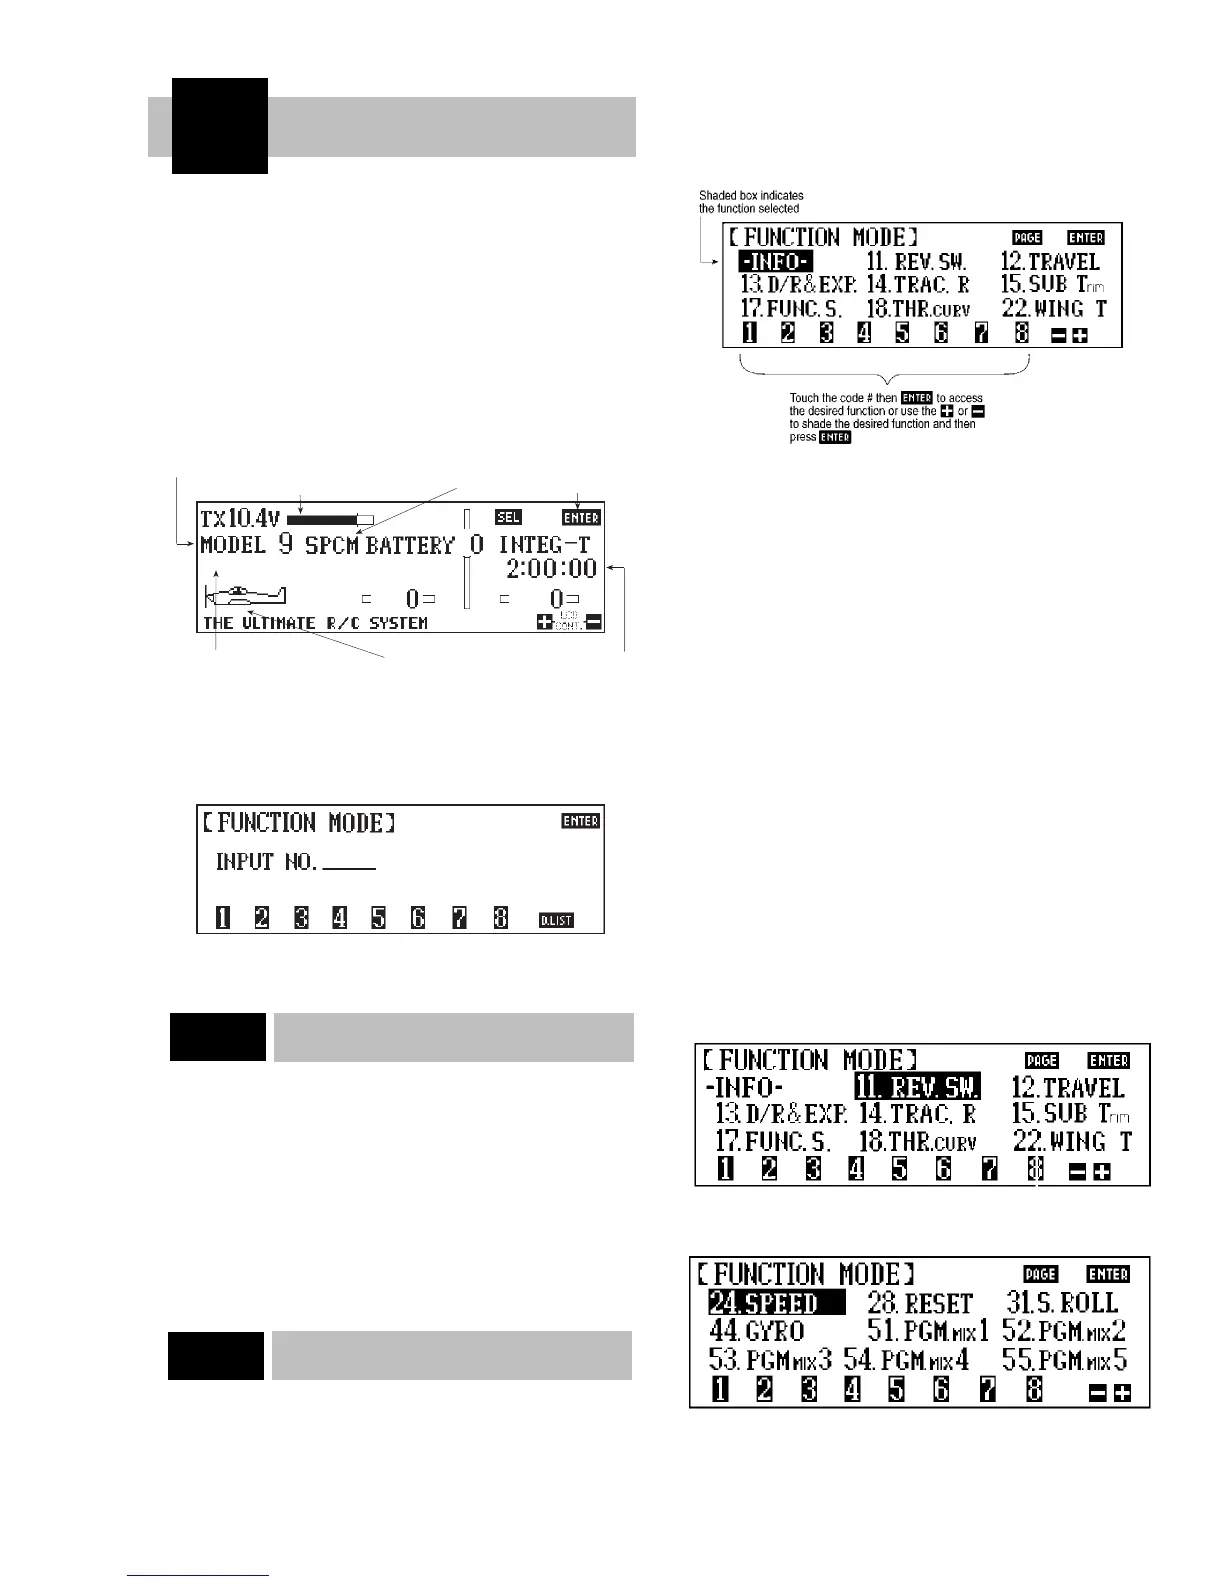
From screen number two above, press the code number of the
function you wish to access. For example, if you wish to select
the Servo Reversing function, look up the corresponding code
number on the chart on page 12 (in this case Code 11). Enter 11
and the LCD will display 11 REV. SW. Now, press ENTER and
the screen will display the Reverse function.
After you’ve completed the adjustments for the desired code
number, press ENTER and the display will return to the Function
Mode screen. Press ENTER again to return to the initial display
screen.
If at the second screen you are unsure of which code number to
enter, simply push the D.LIST key. This brings up the first nine
(9) functions (numerically) on the display.
This screen will display:
If the code you want to access appears on this screen, push the
+ key until the shaded box (now highlighting the Info function)
highlights the chosen function. Next, press the ENTER key to
bring up the function. After making the necessary adjustments,
press the ENTER key once again. This will bring you back to the
Function Mode screen. If at this point you touch the D.LIST key,
the shaded box will return to the position you were at just prior to
entering the desired code.
There are two ways to proceed to the next page of function
selections:
1. Press the + key, advancing the highlighted box until the
screen changes. This will occur if you press the + key one more
time after reaching the last function on the selection screen.
2. Alternatively, press the PAGE key at any time to advance to
the next 9 selections.
Note: When changing screens in this manner, whichever func-
tion position is highlighted on the previous screen will continue
to be highlighted. In other words, if the top right function is high-
lighted on page 1, when the PAGE key is pushed, the top right
function will be highlighted on page 2.
Refer to the following diagram for a graphic explanation:
Result if + key is pushed
Result if PAGE is pushed
10X MANUAL Airplane
11
 Loading...