ISG 2000 User’s Guide
44 Replacing the Fan Tray
3. Turn the thumbscrew counterclockwise to release the power supply.
4. Lift the handle and, gripping the handle, pull the power supply straight out.
5. Slide the new power supply into one of the power compartments in the back of
the system.
6. Fasten the power supply to the system by tightening the thumbscrews
clockwise.
7. If you want to install two power supplies, repeat steps 1 and 2 for the remaining
power supply.
Replacing the Fan Tray
You only need to replace the fan tray when a failure occurs. When this happens, the
Fan LED glows red, and the device generates an event alarm and an SNMP trap.
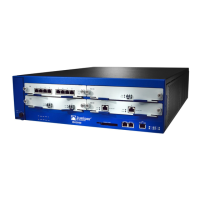
Figure 34: Fan Tray
To remove the fan tray:
1. Turn the lock clockwise to the Unlock position, and then pull the release lever
until it is fully extended.
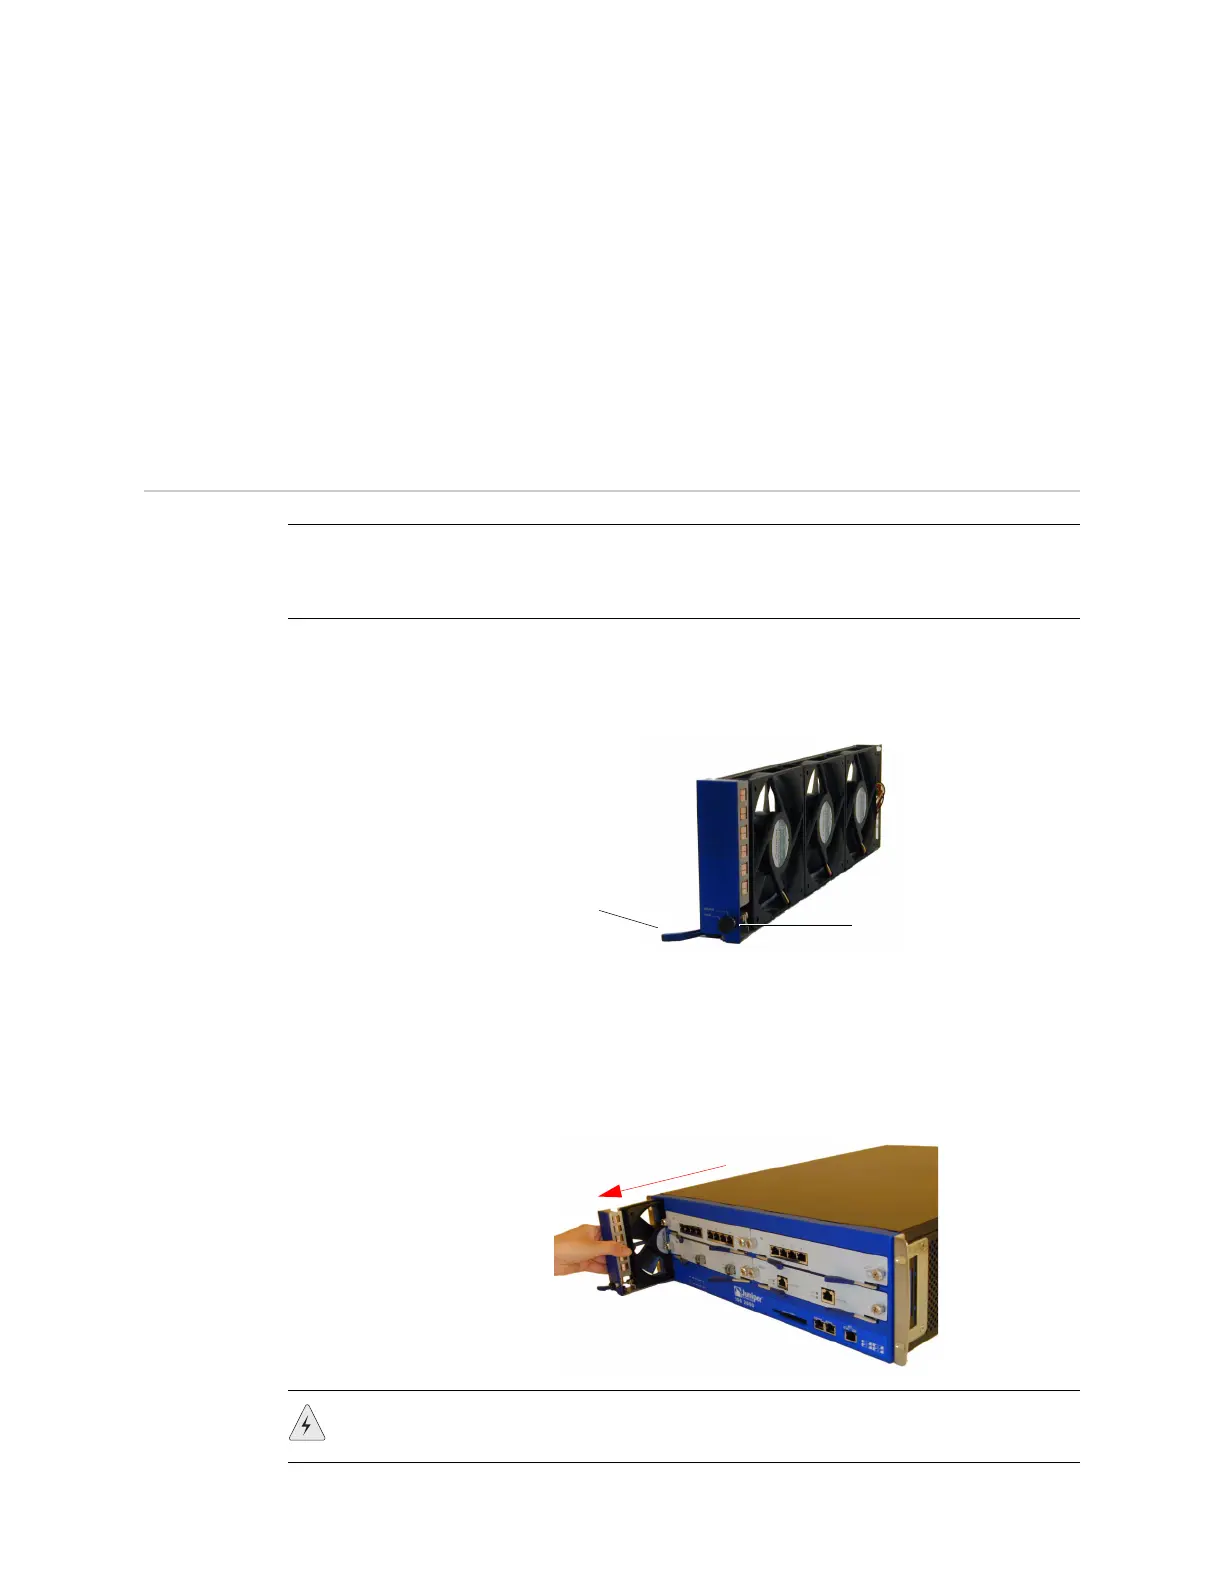
2. Griping the sides of the front panel, slide the fan tray straight out.
Figure 35: Removing the Fan Tray
NOTE: During the one-year warranty period, you can obtain a replacement fan tray by
contacting Juniper Networks Technical Support. After the warranty period, contact
the Juniper Networks Sales department.
Fan Tray
Release Lever
Lock
Grip the front panel and
slide the fan tray straight out.
WARNING: Do not remove the fan tray while the fans are still spinning. Also, do
not insert anything into the spinning fan blades.
 Loading...