Replacing the Fan Tray 45
Chapter 3: Hardware and Servicing
3. Insert the new fan tray in the fan bay, and then push it straight in.
4. Secure the fan tray in place by pushing the release lever flat against the front
panel, and turning the lock counterclockwise to the Lock position.
Replacing the Fan Tray Filter
Before you replace the fan tray filter, make sure you have the following tools:
Flashlight or other light source
18-inch wooden ruler
To replace the fan tray filter:
1. Remove the fan tray (See “Replacing the Fan Tray” on page 44).
2. Pull the front edge of the filter from the Velcro backing.
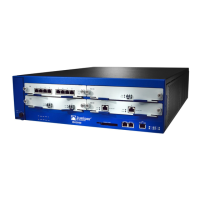
3. Insert a wooden ruler between the filter and the chassis wall.
Figure 36: Detaching the Fan Tray Filter
4. Push the wooden ruler toward the back of the chassis, gently lifting the filter.
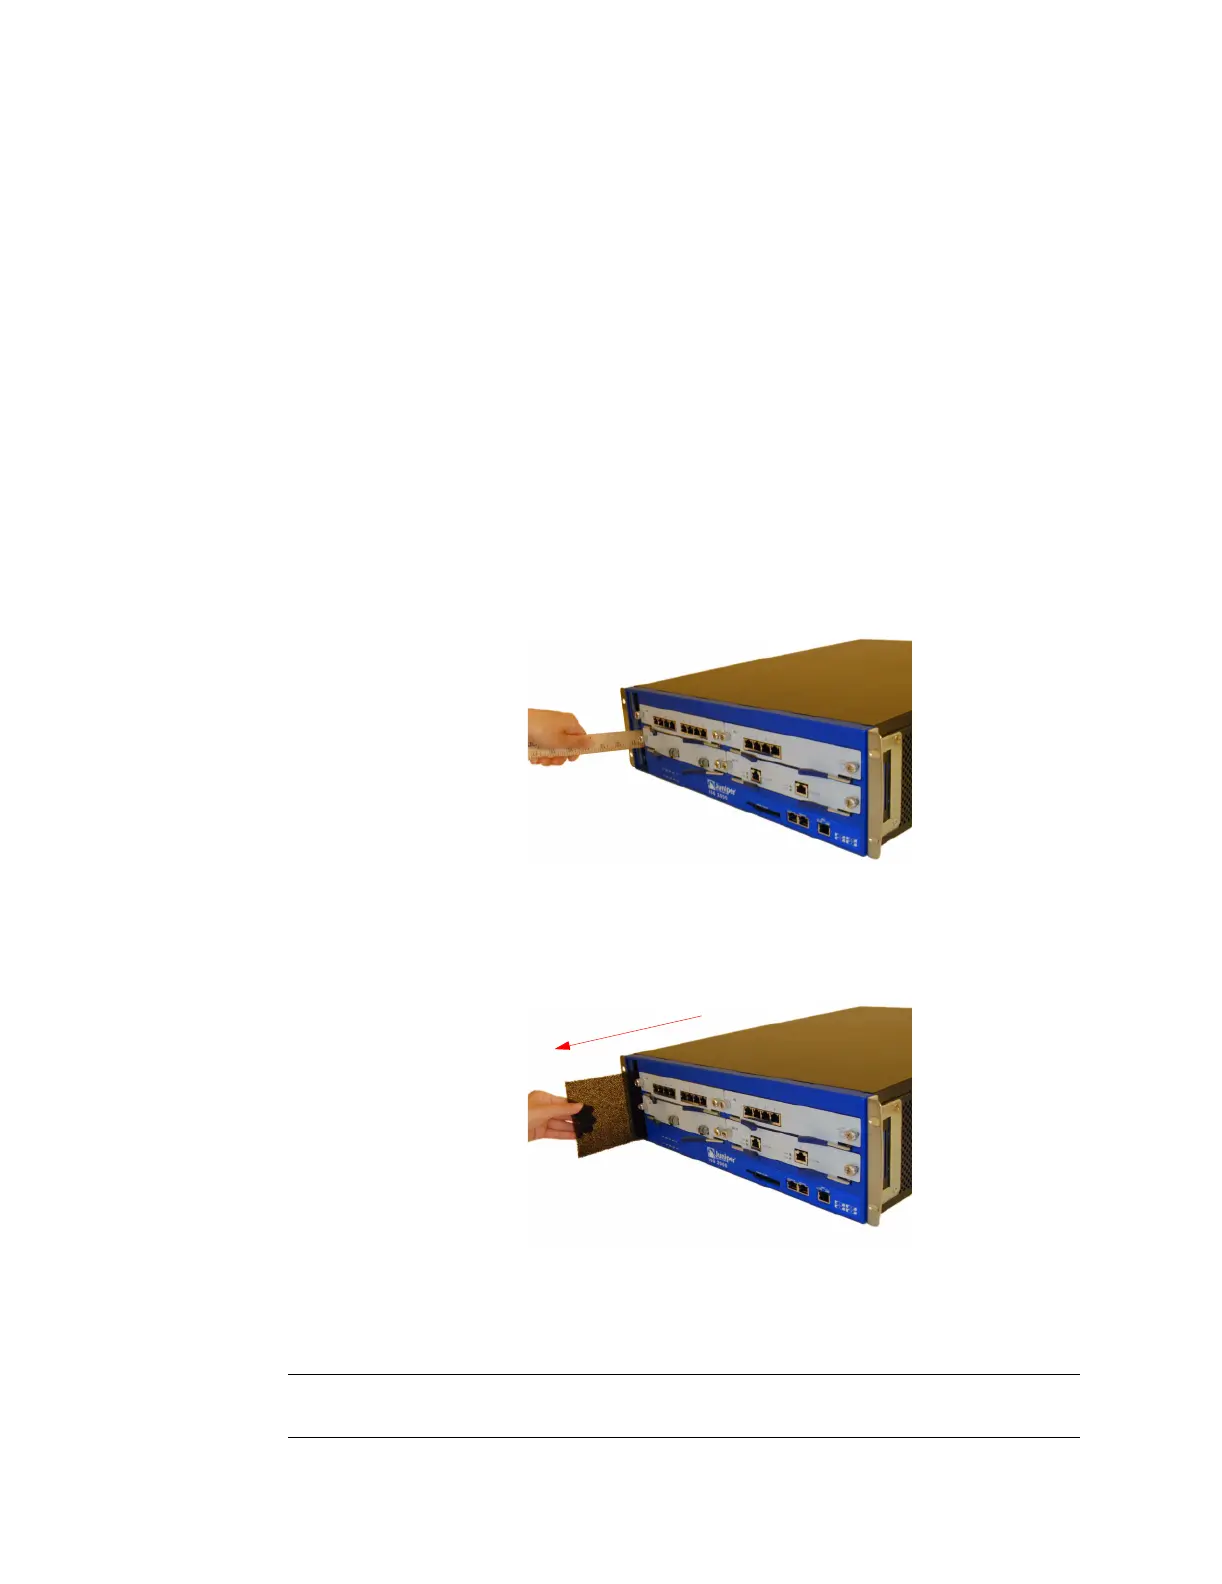
5. After you separate the filter from the Velcro backing, use your fingers to pull the
filter out of the fan tray bay.
Figure 37: Removing the Fan Tray Filter
6. Carefully insert a new filter into the chassis. Use the wooden ruler as an aid to
guide the back edge of the filter to reach the end of the Velcro wall.
7. After you completely insert the filter, push the wooden ruler against the surface
of the filter several times to ensure that it is secure against the chassis wall.
8. Replace the fan tray as explained in “Replacing the Fan Tray” on page 44.
To detach the fan tray filter,
slide the ruler between the
filter and the chassis wall.
Remove the filter.
NOTE: Make sure that the filter is secure against the Velcro wall; otherwise the filter will
tear when you reinstall the fan.
 Loading...