14
Preparation
3 Press 2 or 3 to select the video
signal type suitable for the TV.
• When the TV is connected to the [VIDEO]
terminal or the [S-VIDEO] terminal, the
video signal type can be selected as
instructed below.
- Select “PAL 576I” for a TV only compatible
with PAL interlaced video signal.
- Select “PAL 576P” for a TV equipped with
a component terminal and compatible with
PAL progressive video signal.
- Select “NTSC 480I” for a TV only compati-
ble with NTSC interlaced video siginal.
- Select “NTSC 480P” for a TV equipped
with a component terminal and compatible
with NTSC progressive video signal.
• When the TV is connected to the [HDMI] ter-
minal, the video signal type can be selected
as instructed below. (Only for DD-8 and DD-3)
- Select “AUTO” for normal usage (the initial
setting).*
- Select “PAL 576P”, “PAL 720P”,
“NTSC 480P” or “NTSC 720P” as needed.
NOTE
* The “AUTO” setting works only for a TV compat-
ible with PAL video signal. Select “NTSC 480P”
or “NTSC 720P” for a TV equipped with an HDMI
terminal and compatible with NTSC video signal.
• “480”, “576” and “720” refer to the number of the
scanning lines. Generally, the larger the number,
the better picture that can be obtained.
• “I” refers to the interlaced format. “P” refers to
the progressive format. A better picture can be
obtained in the progressive format than in the
interlaced format.
• When an HDMI video signal is output, the
“HDMI” indicator lights up in the display window.
• When an HD video signal (720p) is output, the
“HD” indicator lights up.
• When “PAL 576P”, “PAL 720P”, “NTSC 480P” or
“NTSC 720P” is selected, the “PROGRESSIVE”
indicator lights up in the display window.
4 Press [ENTER].
• The selected video signal type is displayed
in the display window for a short time.
NOTE
• The picture may be distorted when you press
[ENTER], but this is not a malfunction of the sys-
tem.
• To check the compatibility of your TV, contact
your local JVC customer service center.
• All JVC-manufactured progressive TVs and
high-definition TVs are fully compatible with this
system.
• Even if the main unit is turned off, the video sig-
nal type setting is stored.
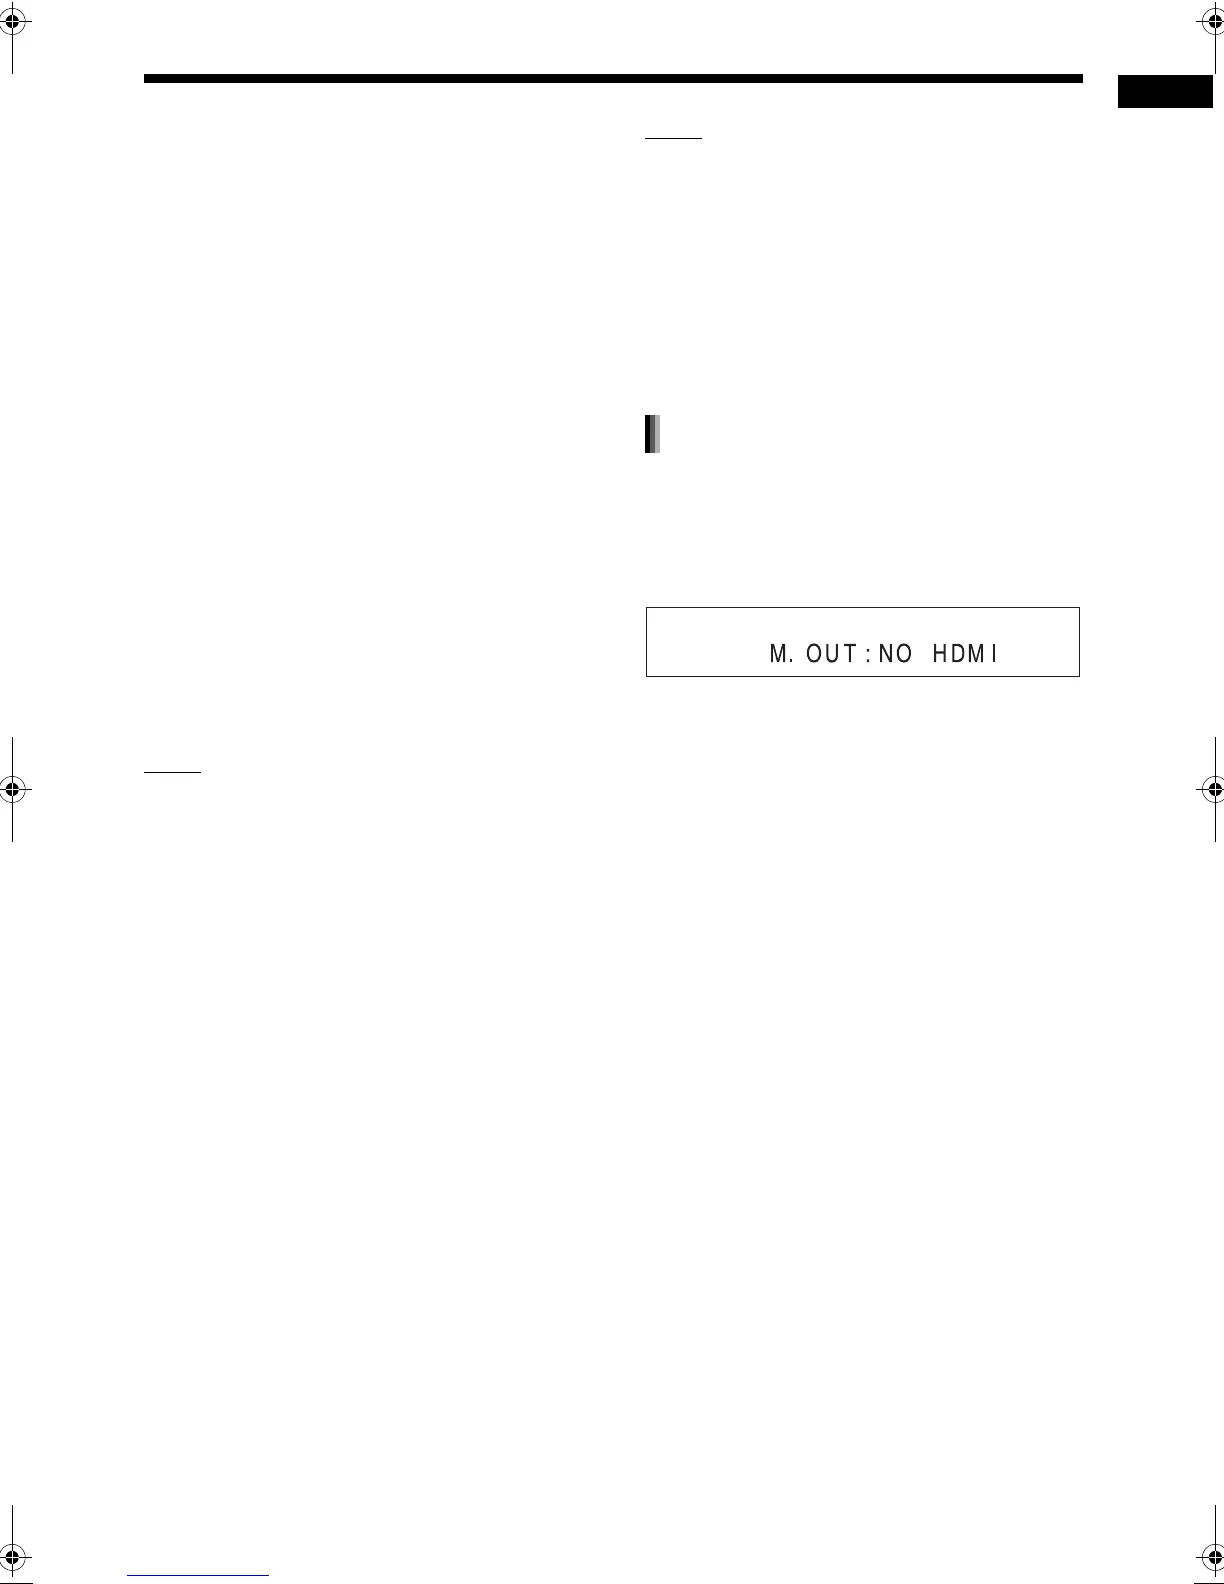
To view an image on the TV, select the monitor out
type as well as the video signal type.
1 Press [SETTING].
2 Press 5 or / to display “M.OUT”.
3 Press 2 or 3 to select “HDMI” or
“NO HDMI”.
• When using an HDMI cable to connect a TV
to the main unit, select “HDMI”.
• When an HDMI cable is not connected,
select “NO HDMI” (the initial setting).
4 Press [ENTER] or wait for a short
time.
Selecting the monitor out type
DD-831[A_Ux]-03.fm Page 14 Friday, October 13, 2006 11:10 AM

 Loading...