5½ Digit Multimeter Reference Manual Section 3:
2110-901-01 Rev. C/August 2013 3-9
Resistance measurements
There are two measurement methods for resistance:
• 2-wire ohms
• 4-wire ohms
As shown in the figure in Connections for resistance measurements (on page 3-10
), one pair of test
leads are used for 2-wire ohms measurement. A test current is applied and the voltage across the
resistance under test is measured on the same leads.
As shown in the figure in Connections for resistance measurements (on page 3-10), two pairs of test
leads are used for 4-wire ohms measurements. One pair of test leads applies the test current, and the
other set measures the voltage. As a result, 4-wire ohms is more accurate for low-resistance
measurements.The disadvantages of 4-wire ohms are a longer settling time and the need to use an
extra set of test leads.
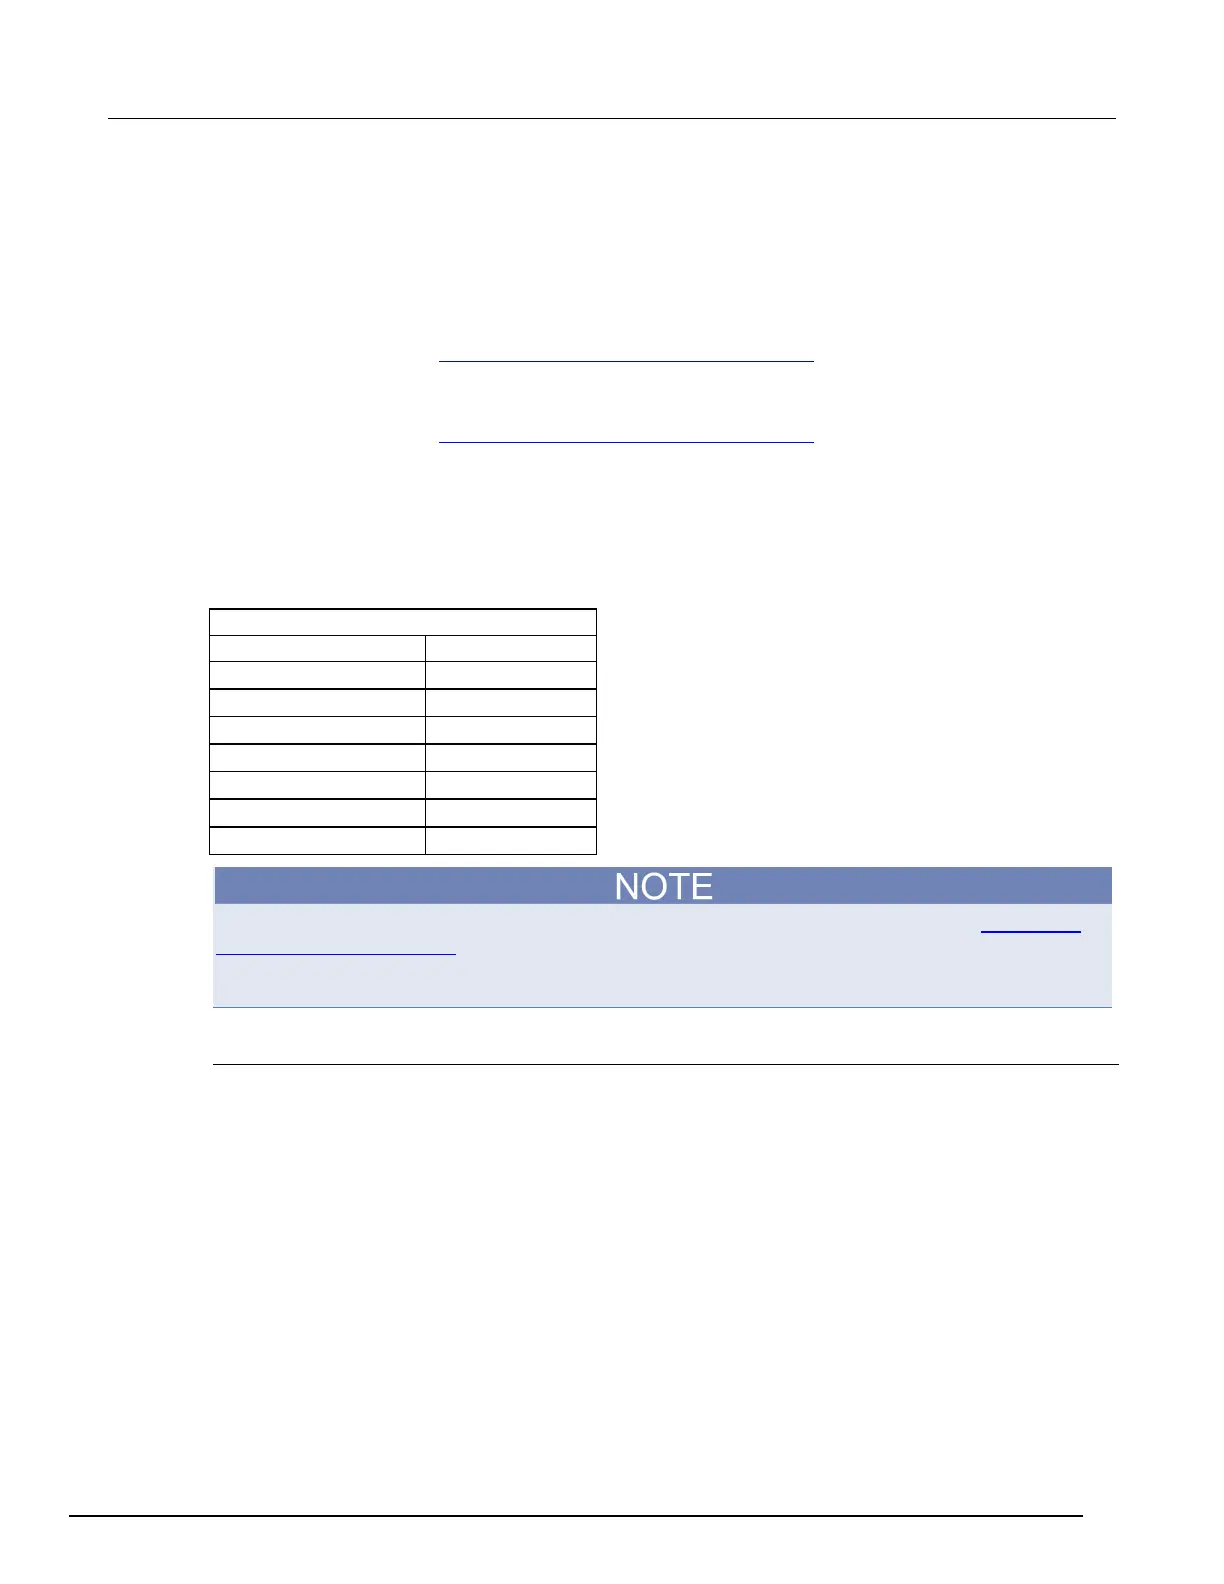
The table below lists the measurement ranges (2-wire and 4-wire) and test currents for the
instrument.
Resistance ranges and test currents
Ω
Ω
Ω
µ
Ω
µ
Ω
µ
10 MΩ 0.1 µA
Ω
µ
Use the following procedure and commands to perform basic measurements. Refer to Enhancing
measurement performance (on page 3-37) for details about setting measurement speed and
resolution. It also provides information on using other features and settings to optimize measurement
performance.
Front-panel operation
Perform the following steps to measure resistance:
1. Connect the device under test to the instrument, as shown below.
2. Select a resistance measurement function:
• Press
2 to select 2-wire ohms.
• Press SHIFT and then
2 (
) to select 4-wire ohms.
3. Select a measurement range (auto or manual):
• Autorange is the power-on default. If manual ranging is selected (MAN indicator on), press SHIFT and
then ESC (AUTO) to select autorange.
• For manual ranging, press the RANGE ▲ and ▼ keys to select a measurement range.
4. Observe the reading shown on the display.
 Loading...