15-18
140-3 SERIES
TESTING AND ADJUSTING CYLINDER BLOCK
REPLACING CONNECTING ROD SMALL END BUSHING
Special tools
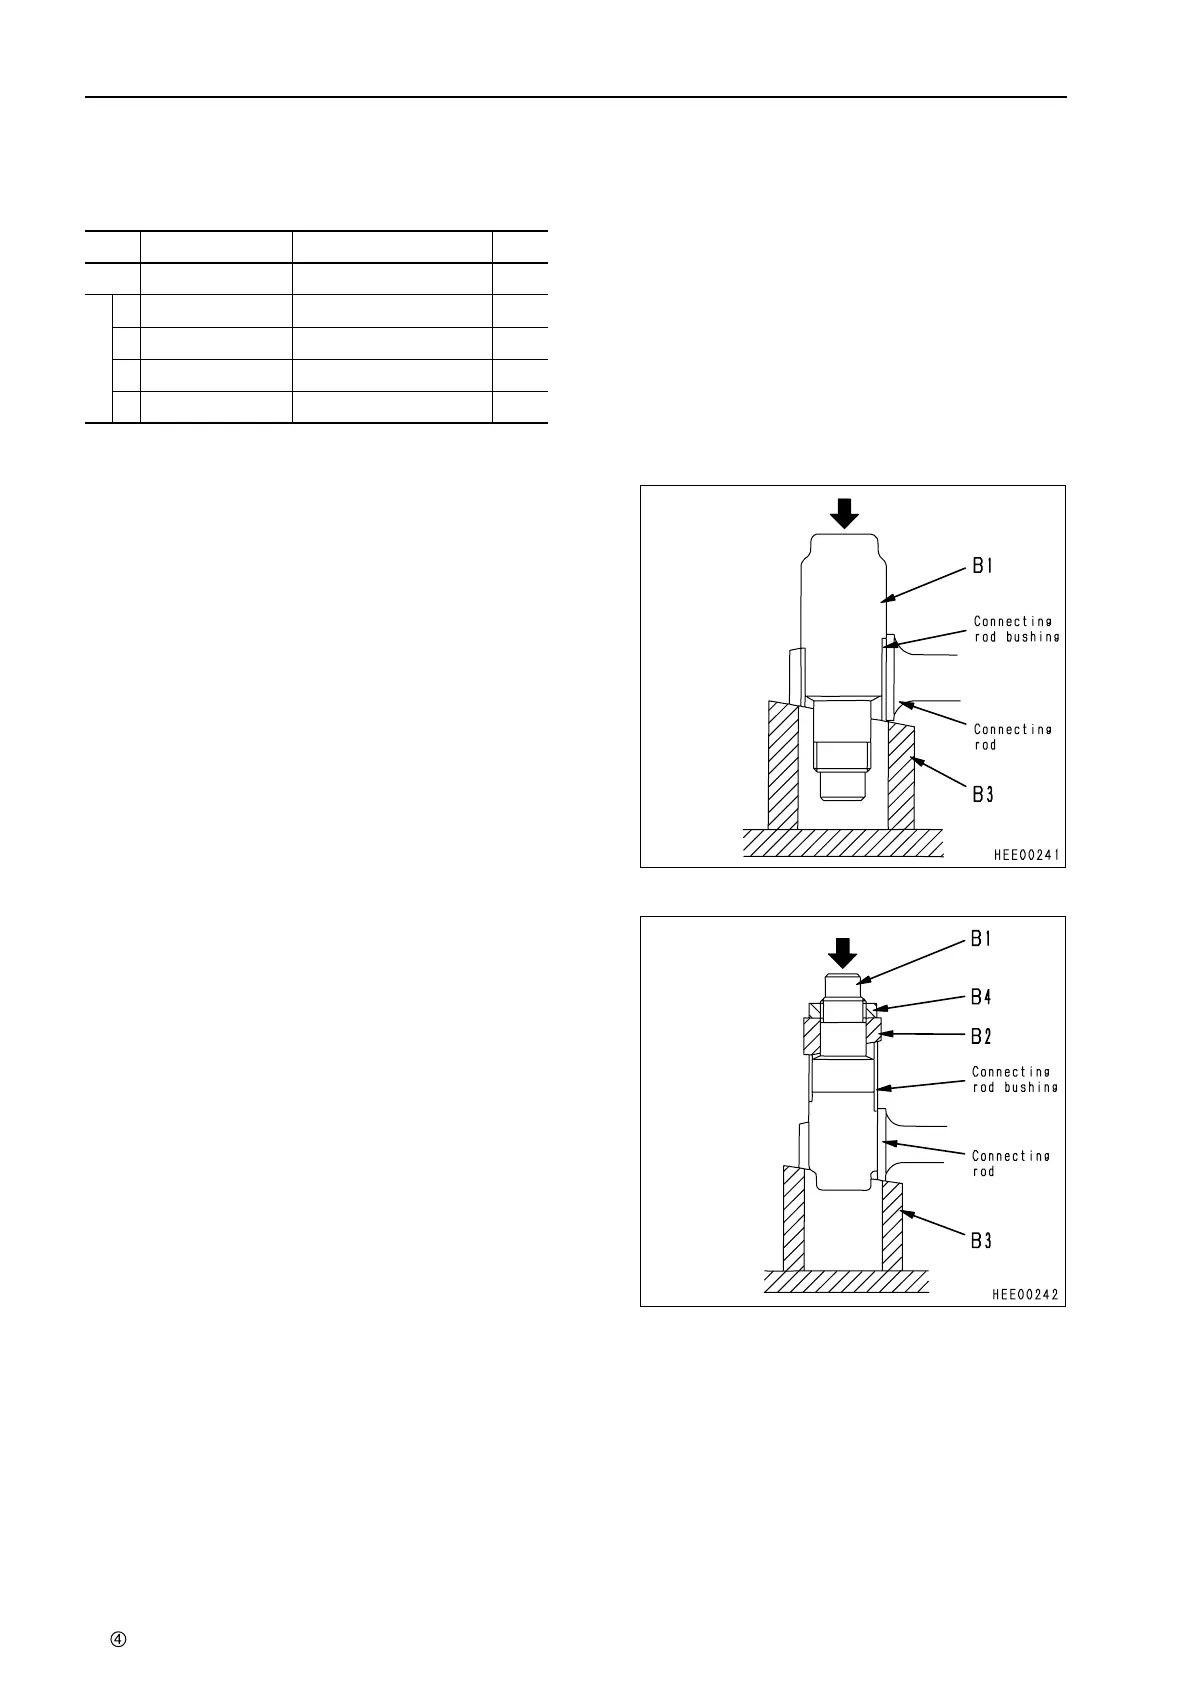
1. Removal of connecting rod bushing
1) Set the connecting rod to tool B3.
2) Using tool B1, remove the connecting rod
bushing with press.
After removing the bushing, remove any
burrs or flashes, and clean the mounting
hole of the bushing.
2. Press fitting connecting rod bushing
1) Set connecting rod to tool B3.
2) Assemble connecting rod bushing in tool
B1, set tool B2 in position, then secure with
tool B4 so that it does not move.
Align the oil hole of the connecting rod bush-
ing with the oil hole of the connecting rod.
3) Push tool B1 with press, and press fit the
connecting rod bushing.
• The bushing is supplied as a semi-finished prod-
uct, so the inside diameter is too small and the
piston pin will not go in.
After press fitting the bushing, machine the
inside diameter of the bushing with a reamer or
honing machine in accordance with the mainte-
nance standard.
After machining, clean all the metal particles
from the oil hole and oil groove.
No. Part No. Part Name Q’ty
A 795-240-6400 Push tool (KIT) 1
B
1 795-240-6410 Push tool 1
2 795-240-6420 Push tool 1
3 795-240-6430 Block 1
4 01530-03912 Nut 1
 Loading...