21
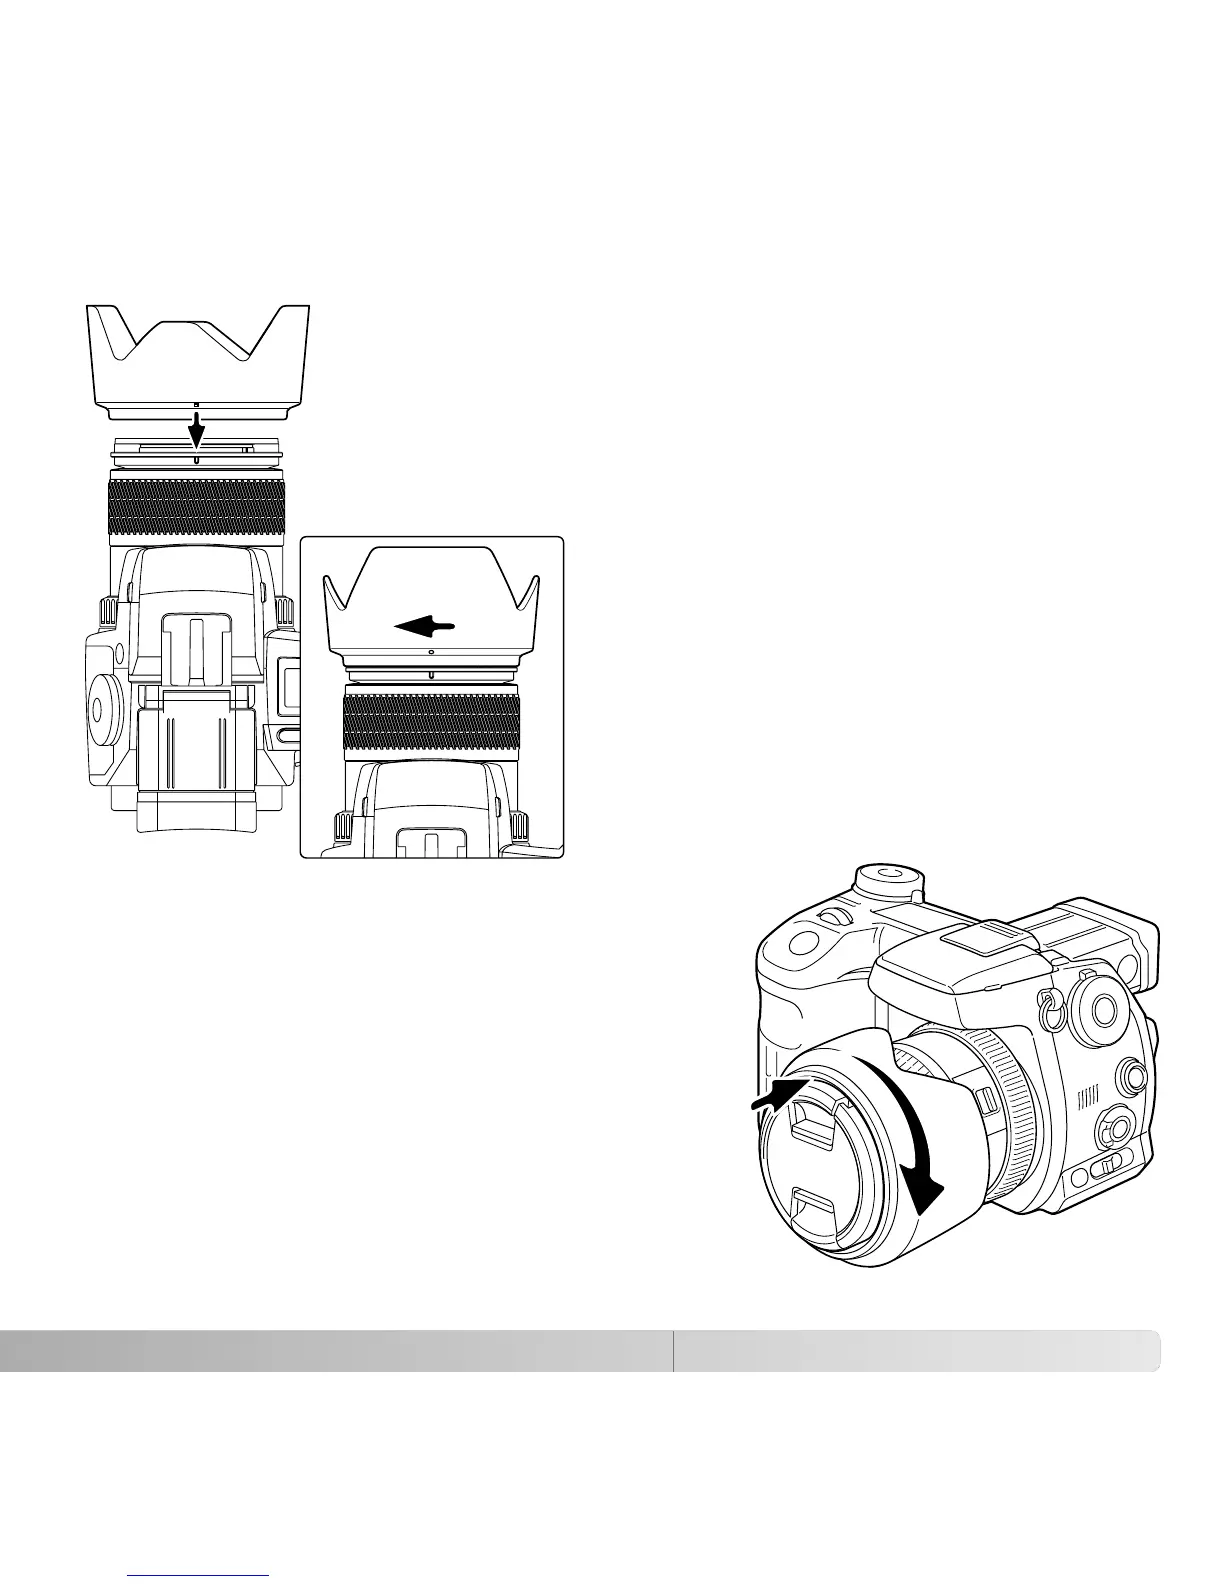
ATTACHING THE LENS HOOD
Slide the hood onto the end of the lens and
turn it 90° clockwise until it clicks and the
circular dimple is aligned with the focal-length
index (2). When mounted correctly, the large
petals of the lens hood should be to the top
and bottom. Never force the lens hood. If it
does not fit, check its orientation. To detach the
lens hood, turn it 90° counterclockwise and
remove.
The lens hood can be reverse mounted when the
camera is not is use.
With one of the large petals to the top, slide the hood
onto the end of the lens. Turn it 90° clockwise until it
it clicks into place.
The lens hood can be attached or removed with the
lens cap on the camera. To detach the lens hood, turn
it 90° counterclockwise and remove.
The lens hood is used to control stray light from entering the lens and
causing flare. When using the camera under bright light, the use of
the lens hood is recommended. The lens hood should not be used
with the built-in flash as it can cause a shadow.
To mount the lens hood, align the rectangular dimple on the rim of
the hood with the focal-length index on the top of the lens barrel (1).
1
2

 Loading...