32
B
ASIC RECORDING
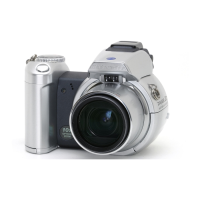
SETTING THE CAMERA TO RECORD IMAGES AUTOMATICALLY
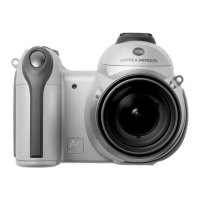
EVF AND LCD MONITOR DISPLAY
Set the exposure dial to the program (P) position (1).
Confirm the mode switch is in the recording position (2).
All camera operations are now fully automatic. The
autofocus, exposure, and imaging systems will work
together to make photography effortless.
The Auto exposure mode acts like the program mode,
except that the many of the recording functions are reset
each time it is selected, see page 52 for more information.
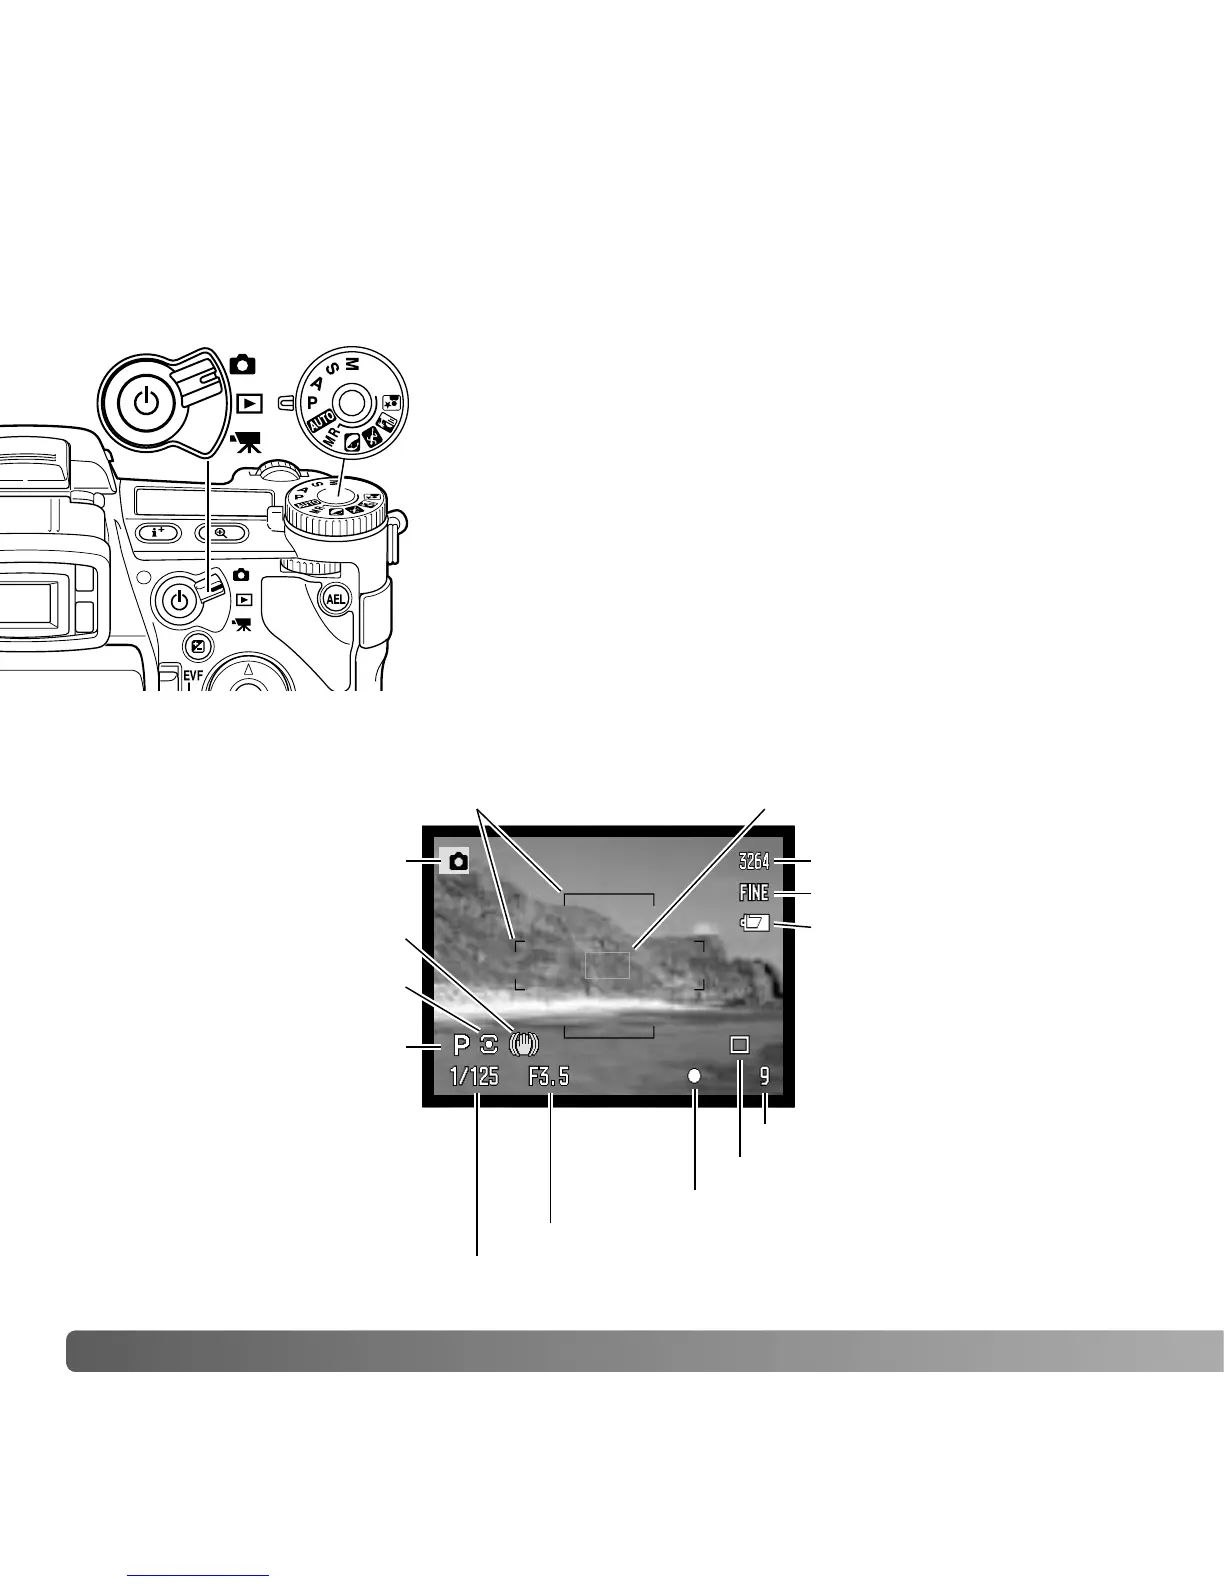
Metering-mode
indicator (p. 69)
Shutter-speed display
Aperture display
Drive-mode indicator (p. 61)
Focus signal (p. 35)
Frame counter (p. 17, 83)
Image-size display (p. 82)
Image-quality indicator (p. 82)
Mode indicator
Focus frame
Exposure-mode indicator
(p. 50)
BASIC RECORDING
12
Anti-shake indicator
(p. 37)
Battery-condition indicator
(p. 24)
AF sensor (p. 33)

 Loading...