30
B
ASIC RECORDING
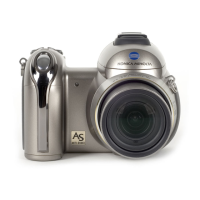
SETTING THE CAMERA TO RECORD IMAGES AUTOMATICALLY
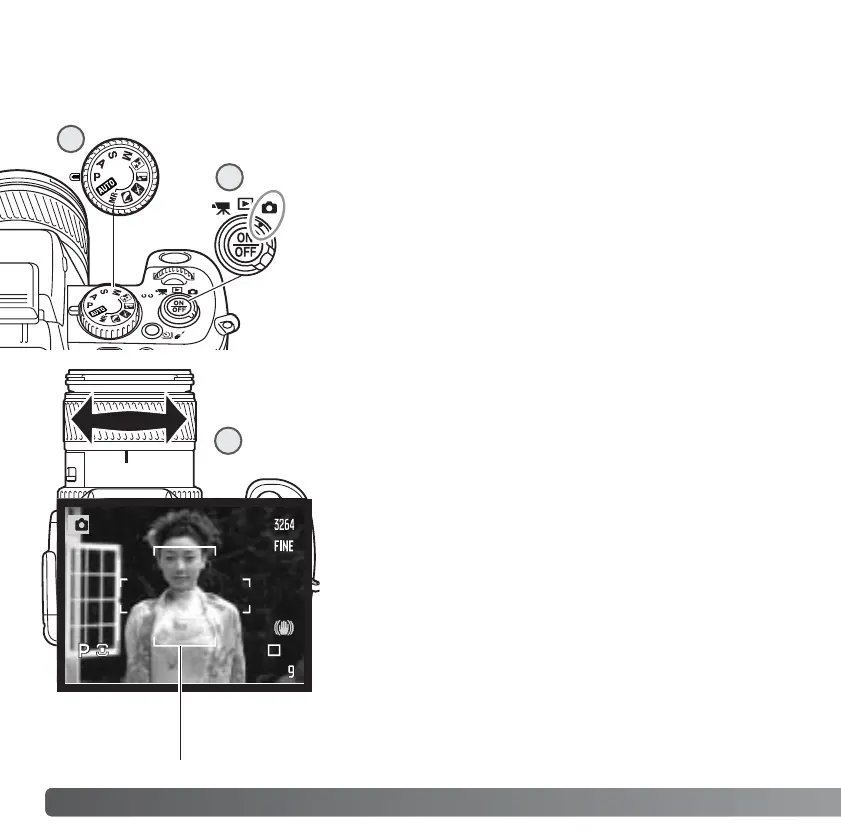
Set the exposure dial to the program (P) position (1).
Confirm the mode switch is in the recording position (2).
All camera operations are now fully automatic. The
autofocus, exposure, and imaging systems will work
together to make photography effortless.
The Auto exposure mode acts like the program mode,
except that the many of the recording functions are reset
each time it is selected, see page 52 for more information.
BASIC RECORDING OPERATION
Place the subject within the focus frame. For off-center
subjects, use the focus-lock function (p. 32).
The subject must be within the focus range of the lens:
0.5m (1.6ft) - ∞. For subjects closer than 0.5m (1.6ft),
use the macro function (p. 49).
Use the zooming ring to frame the subject (1). The
effect of the zoom is immediately displayed in the
viewfinder (EVF) and LCD monitor.
BASIC RECORDING
1
2
1
1
Focus frame

 Loading...