95
DATE IMPRINTING
The date and time of recording can be printed directly on
a still image. The imprinting function must be activated
before the image is taken. Once activated, the date will
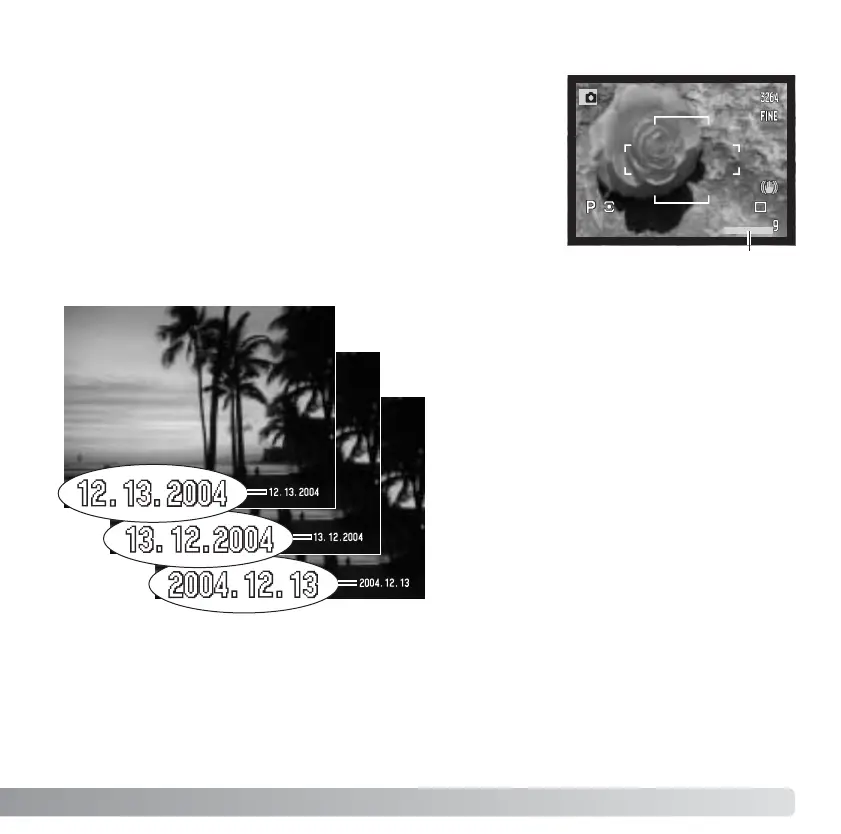
continue to be imprinted until the function is reset; a
yellow bar is displayed behind the frame counter on the
monitors to indicate the function is active. Date imprinting
cannot be used with RAW and RAW & JPEG image
quality.
The date and time is imprinted in the
lower right corner of the image when
viewed horizontally. It is printed directly
on the photograph writing over the
image information. The date can be
imprinted in three formats: year / month
/ day, month / day / year, and day /
month / year. The date format is set in
the date/time setting screen in section 1
of the setup menu (p. 131).
Date imprinting is selected in section 2
of the recording menu (p. 84). Date
imprinting has two menu options. The
YYYY/MM/DD option prints the date.
The MM/DD/hr:min option prints the
month, day, and time of recording.
Imprinting
indicator

 Loading...