Using the Operation Panel
ADVANCED OPERATION GUIDE 2-81
6
Press ? or @ to increase or decrease the value at the blinking cursor and
set the desired time. The timer can be set between 5 and 240 min, in 5-
minute increments. Use B and A to move the cursor right and left.
7
When the desired timeout time is displayed, press [OK].
8
To exit the menu selection, press [Menu].
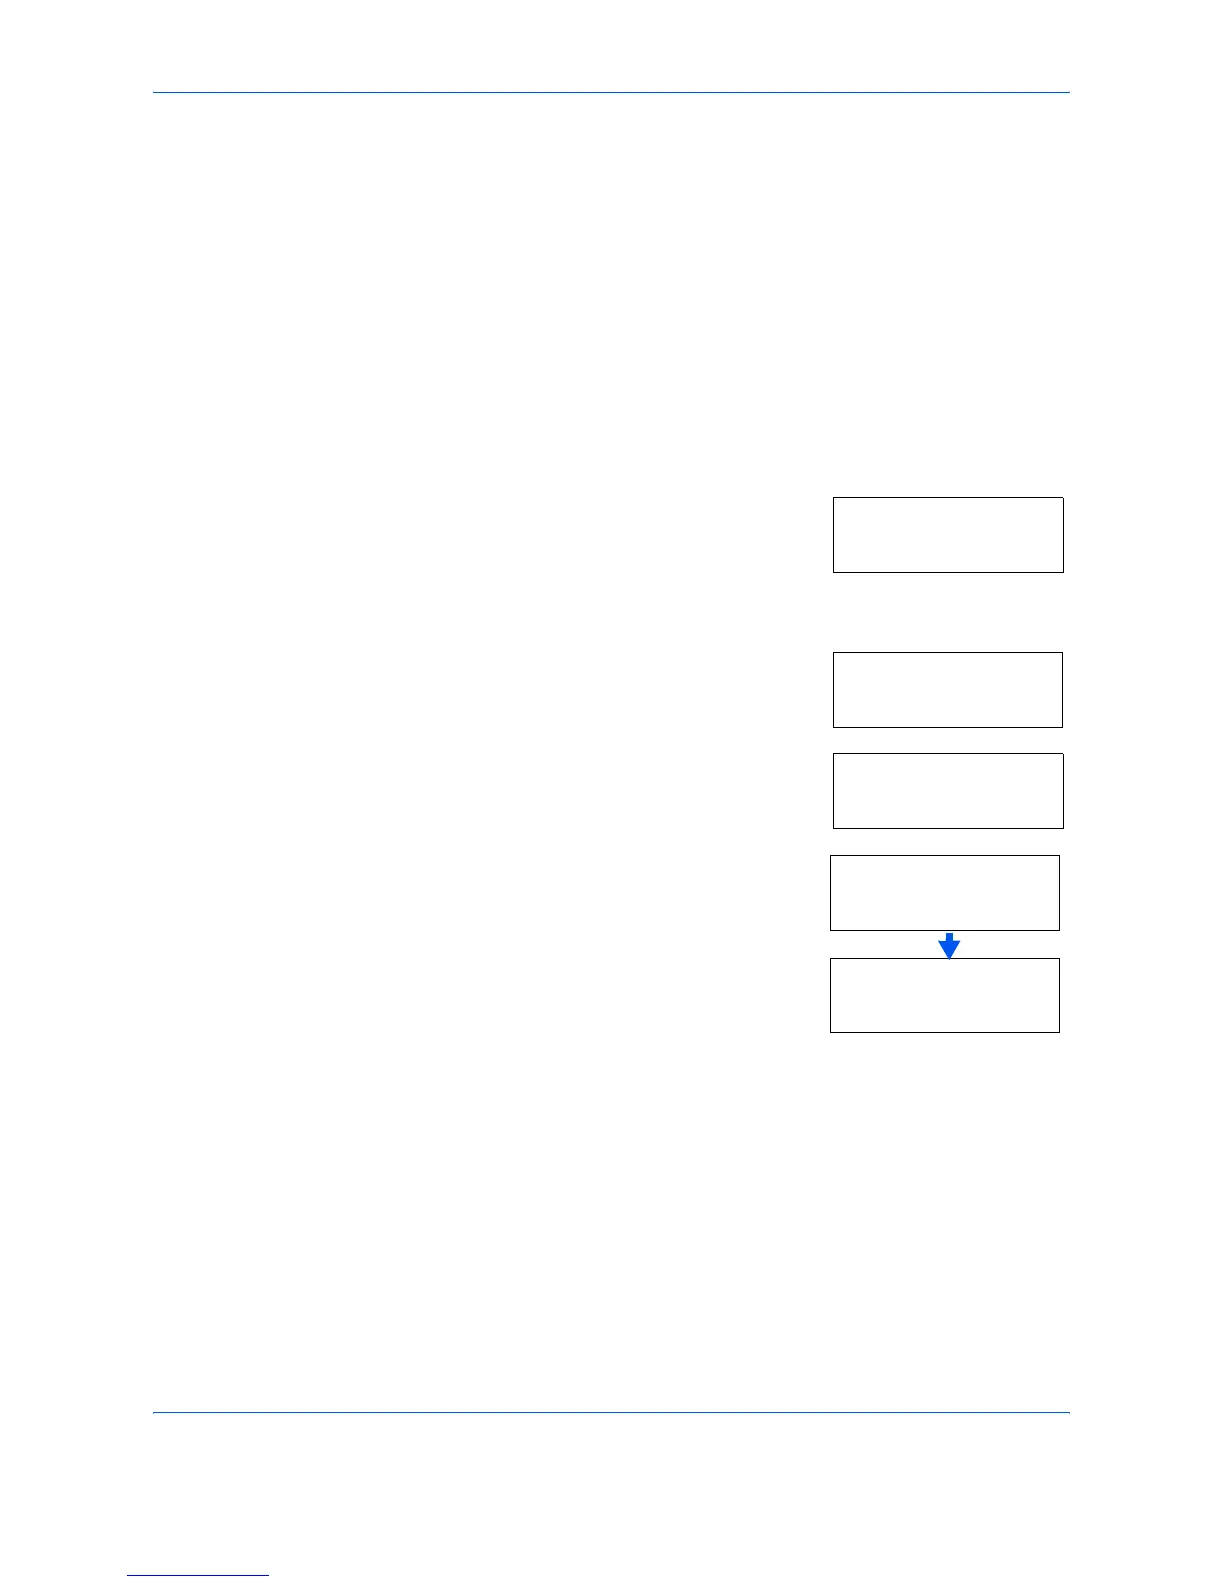
Received Data Dump
You can print data received by the printer as hexadecimal code for
debugging programs and files.
1
Press [Menu].
2
Press ? or @ repeatedly until Others >
appears.
3
Press B.
4
Press ? or @ repeatedly until >Print
HEX-DUMP appears.
5
Press [OK]. A question mark (?) appears.
6
Press [OK] again. The message
Processing appears for a second,
followed by Waiting.
7
While the message display is indicating Waiting (for 30 seconds by
default), send data to be hex-dumped to the printer. The message display
indicates Processing while the data is being received.
You can cancel printing of any more dump data by pressing [GO] and then
[Cancel].
8
Once all data has been received, the message Waiting will appear.
Press [GO] to finish hex-dump printing.
Others >
>Print HEX-DUMP
>Print HEX-DUMP?
Processing
Waiting
 Loading...