WARNING: TO AVOID INJURY FROM AN ACCIDENTAL START, MAKE SURE THE
POWER SWITCH IS IN THE "OFF" POSITION, THE REMOVABLE SAFETY KEY IS
REMOVED AND THE PLUG IS NOT CONNECTED TO THE POWER SOURCE.
TO AVOID SERIOUS INJURY, THE REAR OF THE TABLE INSERT MUST BE FLUSH
TO THE TABLE DURING ALL SAWING OPERATIONS. A RUBBER ADJUSTING
SPACER IS PROVIDED UNDER THE REAR OF THE INSERT FOR THIS PURPOSE.
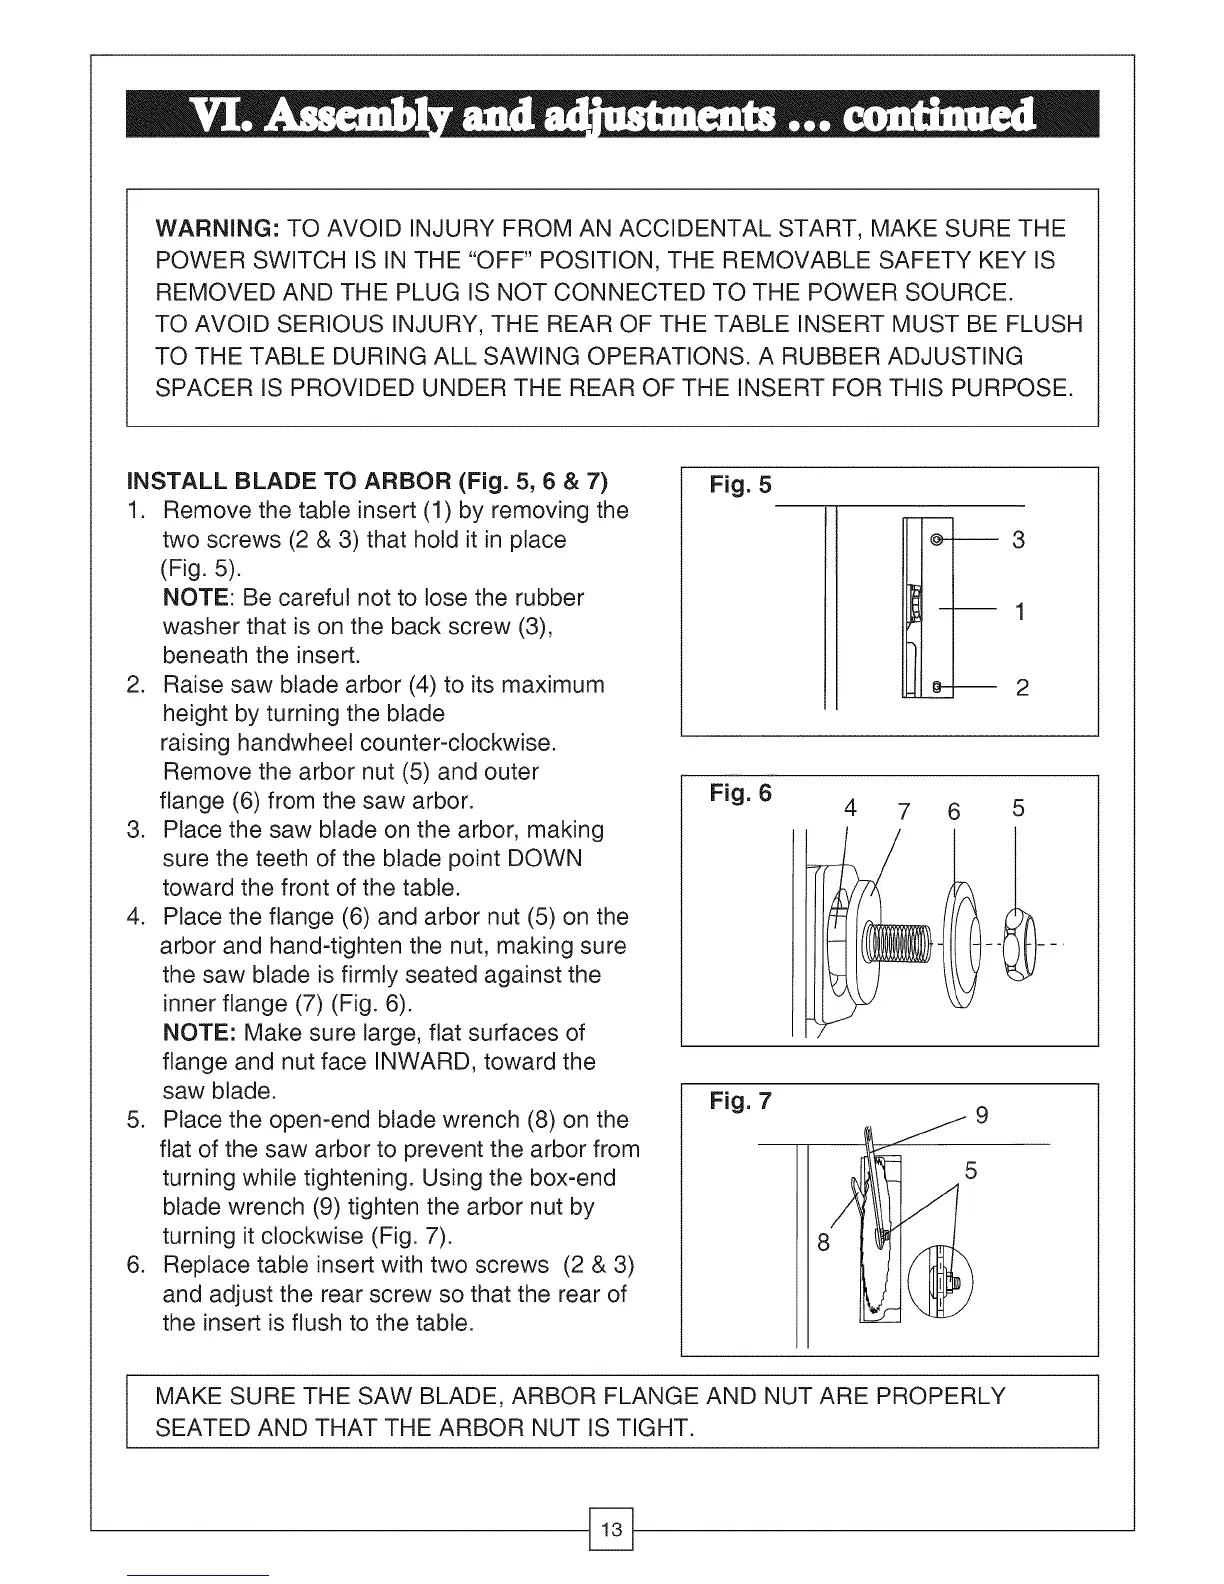
INSTALL BLADE TO ARBOR (Fig. 5, 6 & 7)
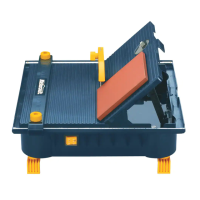
1. Remove the table insert (1) by removing the
two screws (2 & 3) that hold it in place
(Fig. 5).
NOTE: Be careful not to lose the rubber
washer that is on the back screw (3),
beneath the insert.
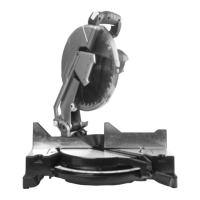
2. Raise saw blade arbor (4) to its maximum
height by turning the blade
raising handwheet counter-clockwise.
Remove the arbor nut (5) and outer
flange (6) from the saw arbor.
3. Placethe saw blade on the arbor, making
sure the teeth of the blade point DOWN
toward the front of the table.
4. Placethe flange (6) and arbor nut (5) on the
arbor and hand-tighten the nut, making sure
the saw blade is firmly seated against the
inner flange (7) (Fig. 6).
NOTE: Make sure large, flat surfaces of
flange and nut face iNWARD, toward the
saw blade.
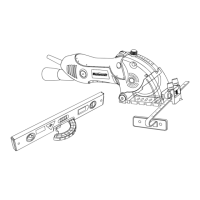
5. Placethe open-end blade wrench (8) on the
flat of the saw arbor to prevent the arbor from
turning while tightening. Using the box-end
blade wrench (9) tighten the arbor nut by
turning it clockwise (Fig. 7).
6. Replacetable insert with two screws (2 & 3)
and adjust the rear screw so that the rear of
the insert is flush to the table.
Fig. 5
m
:_- 3
---- '1
e-m 2
Fig. 6
4
7 6
5
Fig. 7
I MAKE SURE THE SAW BLADE, ARBOR FLANGE AND NUT ARE PROPERLY
SEATED AND THAT THE ARBOR NUT IS TIGHT.
 Loading...