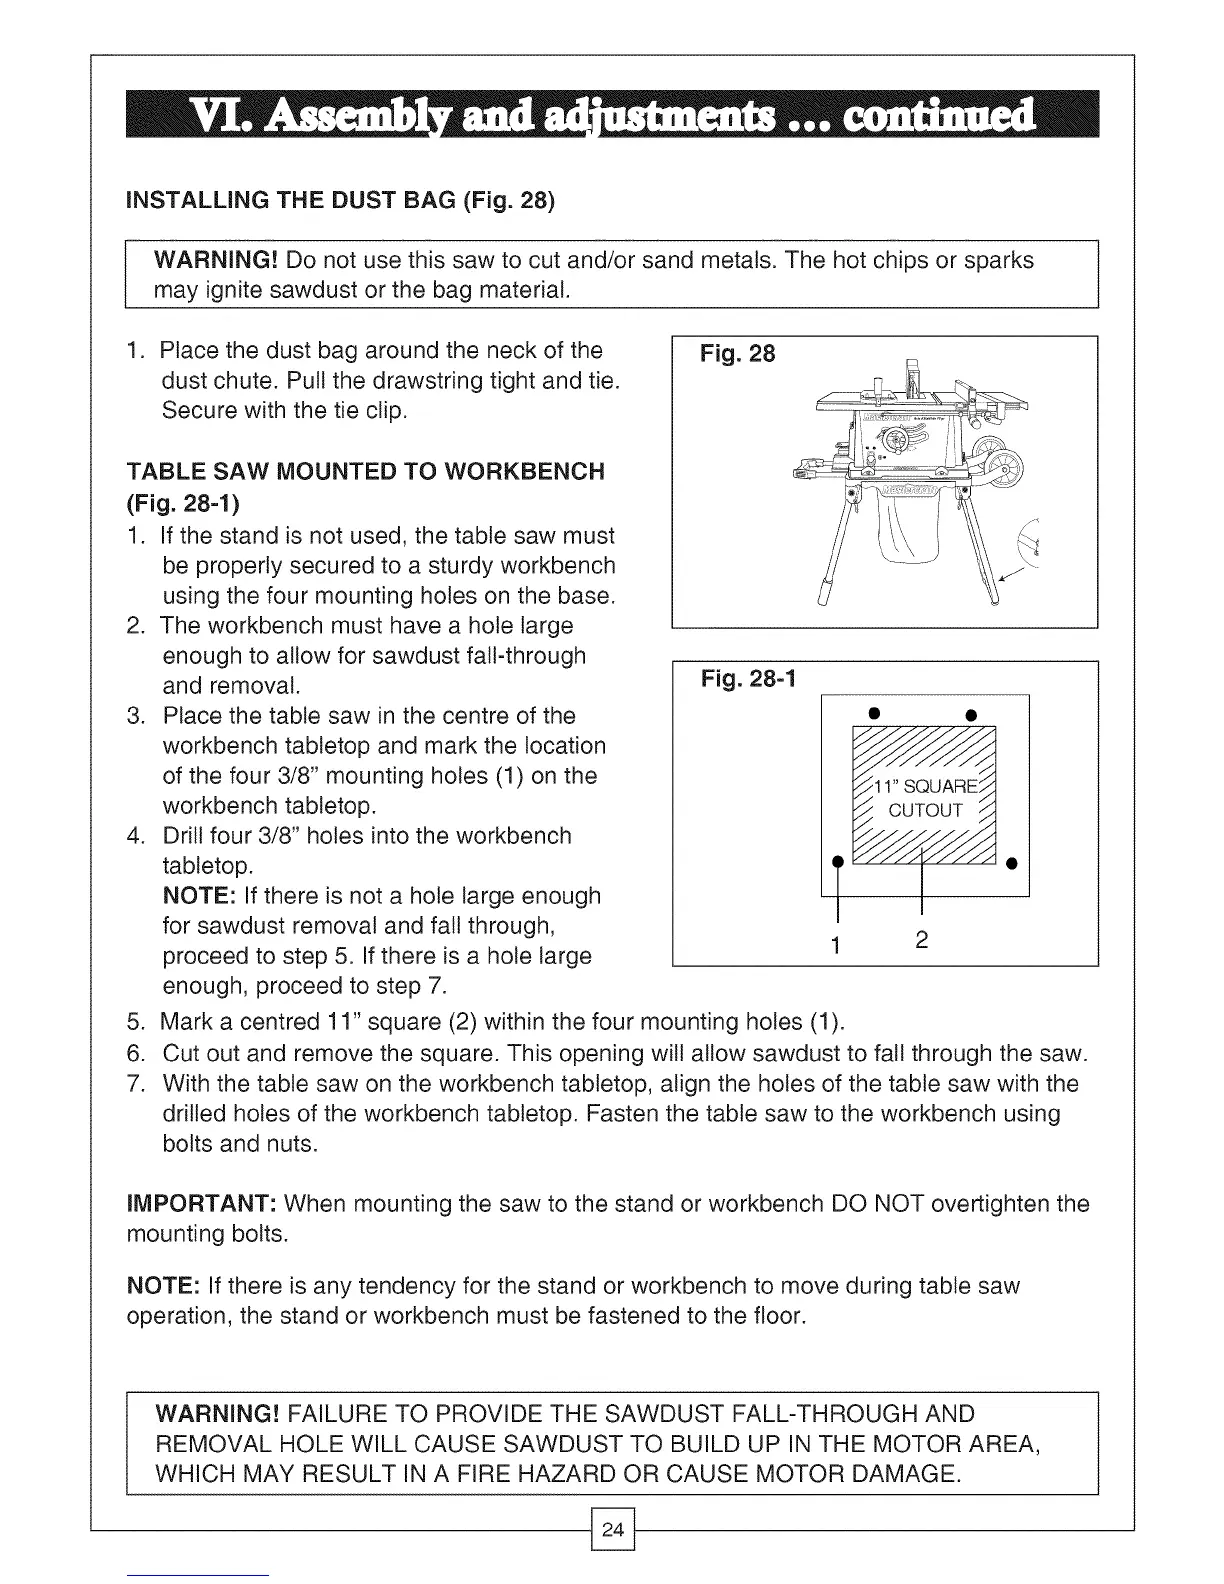
INSTALLING THE DUST BAG (Fig. 28)
WARNING! Do not use this saw to cut and/or sand metals. The hot chips or sparks
may ignite sawdust or the bag material.
1. Place the dust bag around the neck of the
dust chute. Pull the drawstring tight and tie.
Secure with the tie clip.
TABLE SAW MOUNTED TO WORKBENCH
(Fig. 284)
1. If the stand is not used, the table saw must
be properly secured to a sturdy workbench
using the four mounting holes on the base.
2. The workbench must have a hole large
enough to allow for sawdust fall-through
and removal.
3. Place the table saw in the centre of the
workbench tabletop and mark the location
of the four 3/8" mounting holes (1) on the
workbench tabletop.
4. Drill four 3/8" holes into the workbench
tabletop.
NOTE: If there is not a hole large enough
for sawdust removal and fall through,
proceed to step 5. If there is a hole large
enough, proceed to step 7.
Fig. 28
Fig. 28-1
11"SQUARF
CUTOUT /_
-4
2
5. Mark a centred 11" square (2) within the four mounting holes (1).
6. Cut out and remove the square. This opening will allow sawdust to fall through the saw.
7. With the table saw on the workbench tabletop, align the holes of the table saw with the
drilled holes of the workbench tabletop. Fasten the table saw to the workbench using
bolts and nuts.
IMPORTANT: When mounting the saw to the stand or workbench DO NOT overtighten the
mounting bolts.
NOTE: If there is any tendency for the stand or workbench to move during table saw
operation, the stand or workbench must be fastened to the floor.
WARNING! FAILURE TO PROVIDE THE SAWDUST FALL-THROUGH AND
REMOVAL HOLE WILL CAUSE SAWDUST TO BUILD UP IN THE MOTOR AREA,
WHICH MAY RESULT IN A FIRE HAZARD OR CAUSE MOTOR DAMAGE.
 Loading...