6-14
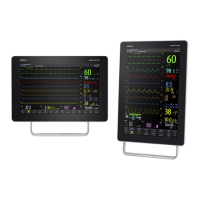
2. Unscrew the two M3 nuts to take out the battery interface board.
6.4 Disassembling the Front Housing Assembly
NOTE
To disassemble the equipment, place the equipment on a work surface free from
foreign material, avoiding damaging the antiglare screen, touchscreen and the
knob.
Remember to install the screen support pad properly during reassembly.
Operations relating to optional parts may not apply to your equipment.
Position the touchscreen properly with the flexible cable facing down.
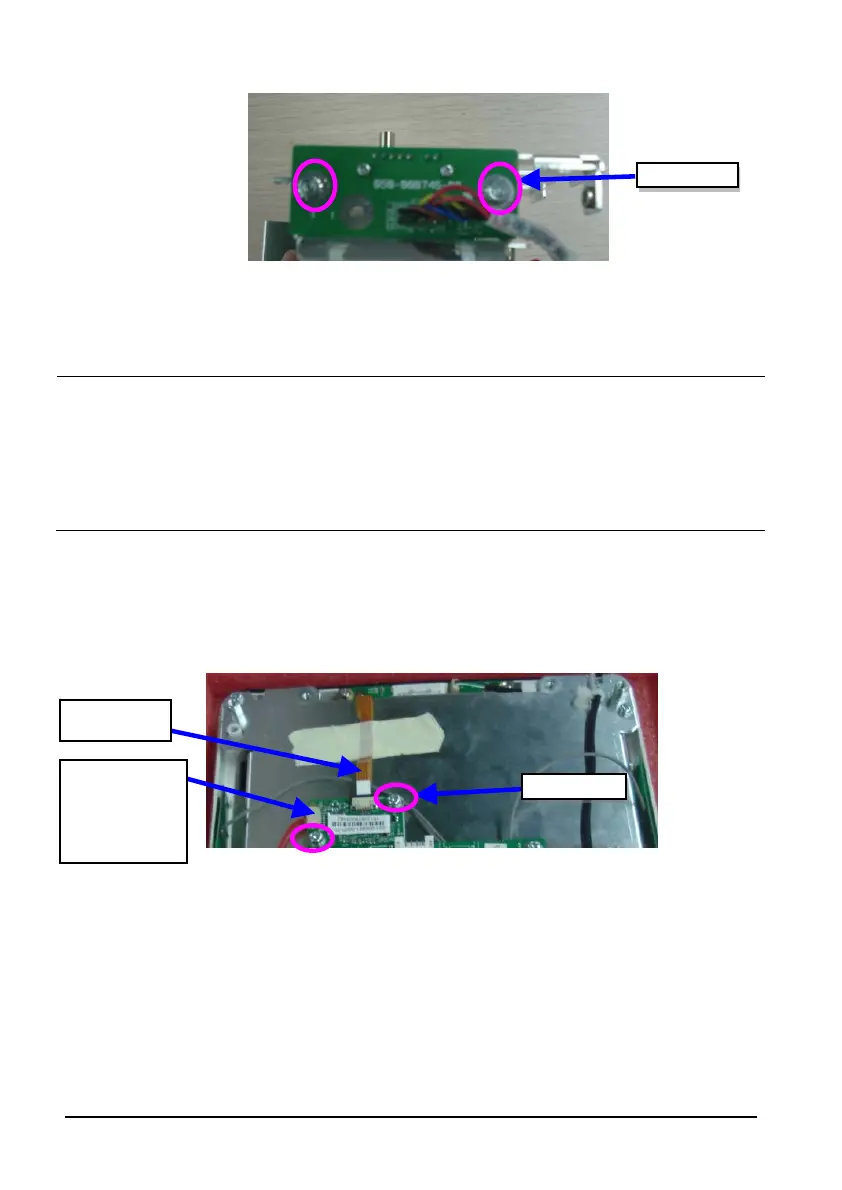
6.4.1 Removing the Touchscreen Control Board (Optional)
Loose and unscrew the two M3×6 screws as shown below. Disconnect the cable between
main board and touchscreen board, the touchscreen board, and the touchscreen control
board cable, and then remove the touchscreen control board.
ouchscreen
cable
2 M3 screws
2 M3 screws
Cable between
the main board
and touchscreen
board
 Loading...