4-3
Inspect all external connections for loose connectors, bent pins or frayed cables.
Inspect all connectors on the equipment for loose connectors or bent pins.
Make sure that safety labels and data plates on the equipment are clearly legible.
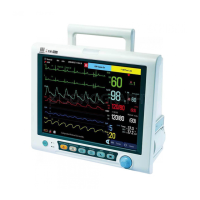
4.3 Power-on Test
This test is to verify that the equipment can power up correctly. This test is passed if the
equipment starts up by following this procedure:
1. Insert the battery in the battery compartment, and connect the equipment to the AC
mains. The AC mains indicator and battery indicator light up.
2. Press the Power ON/Off button (
) on the front panel to turn on the equipment. The
work status indicator lights up inside the Power On/Off button.
3. The equipment gives a beep, which indicates that the selftest for alarm audio is passed,
and the alarm lamp turns yellow, then red, and then off, which indicates that the
selftest for alarm lamp is passed.
4. The welcome screen passes and the main interface is displayed. Now the equipment is
correctly started.
4.4 Module Performance Tests
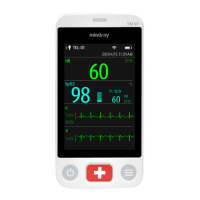
4.4.1 SpO
2
test
Test Method 1
Tool required:
None
1. Connect SpO
2
sensor for adult to the SpO
2
connector of the monitor. Set [Patient Cat.]
to [Adu].
2. Apply the SpO
2
sensor to your ring finger (assume that you stay healthy).
3. Check the Pleth wave and PR reading on the screen and make sure that the displayed
SpO
2
is within 95% and 100%.
4. Remove the SpO
2
sensor from your finger and make sure that an alarm of SpO
2
Sensor
Off is triggered.
 Loading...