Maintenance: Disassembly and Reassembly
6881086C22-B 39
Replacing the Top Cover 1. Lower the top cover straight down onto the base, making certain that the
four side tabs on the cover (two on each side) align with, and set into, the
corresponding grooves in the base.
2. From the rear of the unit, push the top cover forward to close. It may be
necessary to use a soft mallet to tap the top cover forward so that it locks
into place securely.
NOTE: It is assumed from this point on that all disassembly and
reassembly procedures begin with the top cover removed
and end with the top cover being replaced.
ASTRO Transceiver
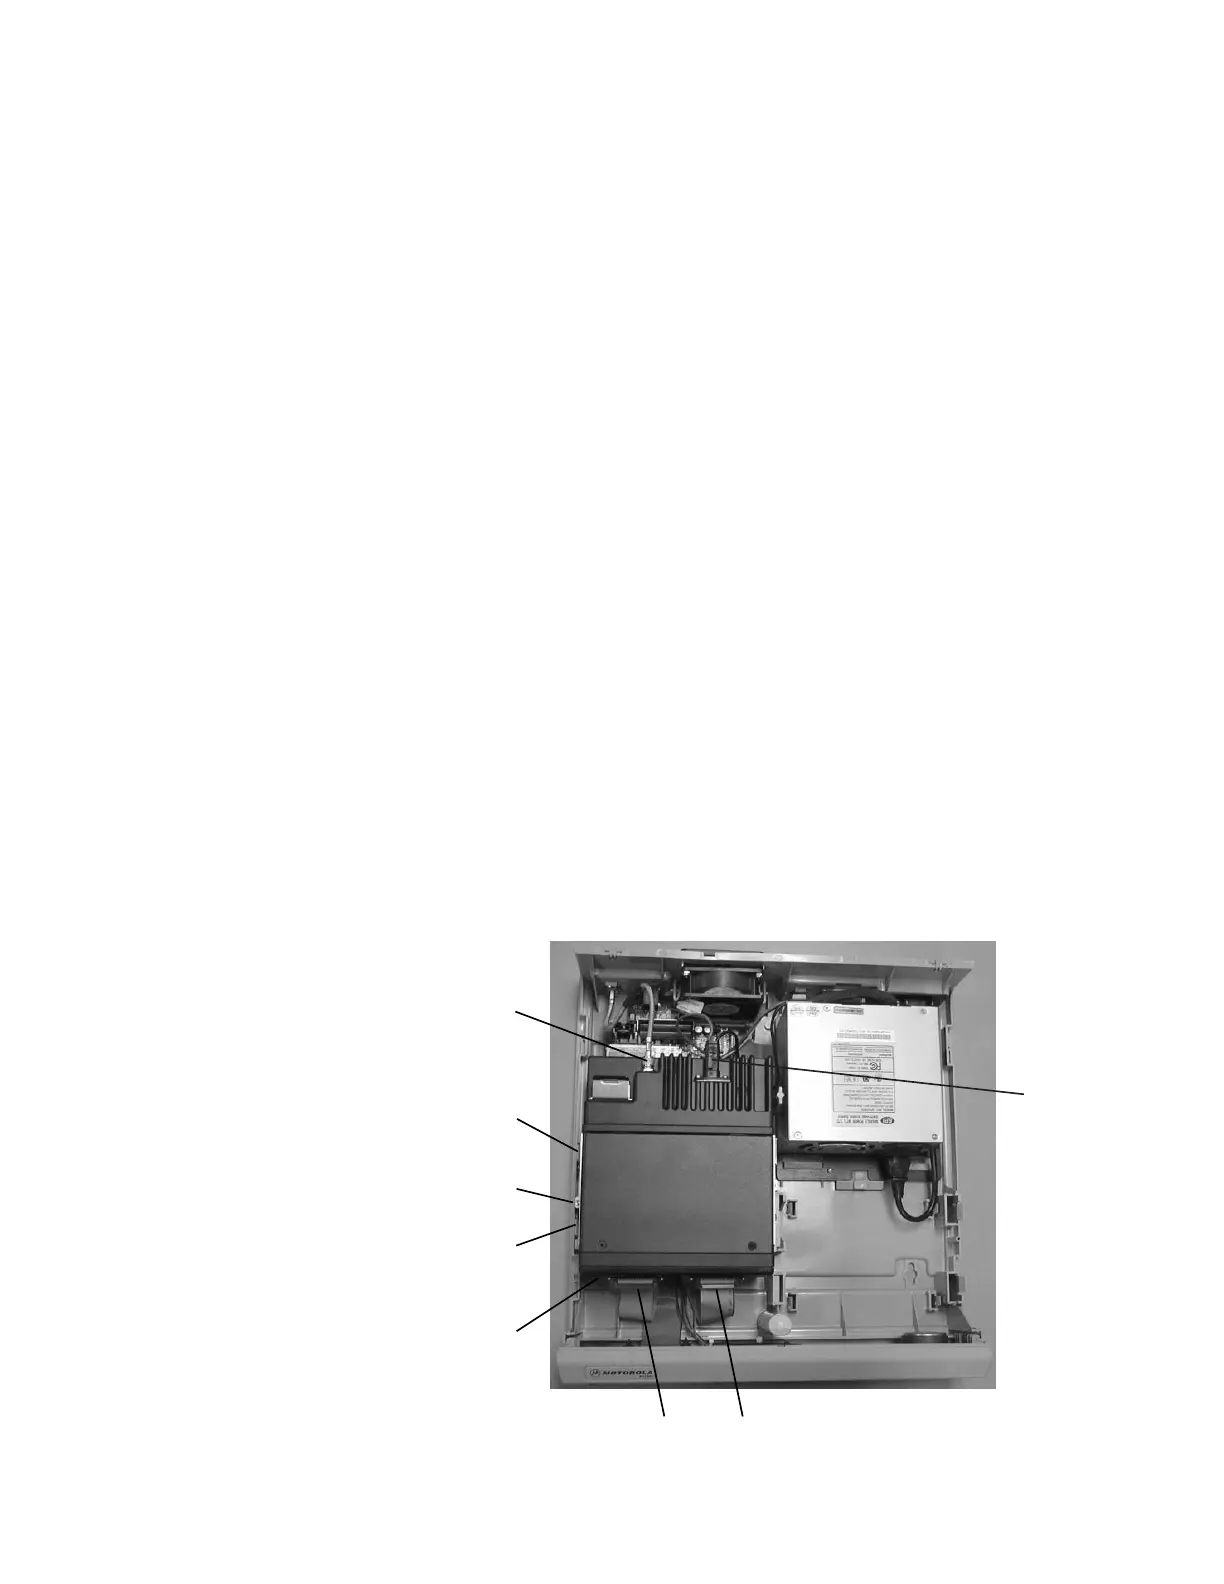
Removing the Transceiver Begin removal of the transceiver by placing the Consolette on a solid surface
with the front of the unit facing you.
1. Disconnect the DC power cable from the rear of the ASTRO Transceiver.
2. Disconnect the coaxial cable from the antenna port at the rear of the
ASTRO Transceiver.
3. Remove the screw holding the transceiver in place. This screw is located
on the left side of the transceiver in-between the two "retainer snaps."
4. Pull out on the two retainer snaps on the left side of the ASTRO
Transceiver to release it.
5. Tilt the ASTRO Transceiver to the right (lift from the left side) to release it
from the retaining bosses on the right side of the ASTRO Transceiver.
6. Disconnect the interface cable from connectors J5 and J6 on the front of
the ASTRO Transceiver. These connectors are held in place by four
screws (two per connector).
7. Disconnect the Keyload Cable from the front panel of the transceiver, if
present.
Figure 14. Removing the Transceiver
Antenna
Port
Retainer
Snap
Screw
Retainer
Snap
Keyload
Connector
(Not Pictured)
J5
J6
DC Power
Cable
 Loading...


