1-8 | ni.com
Chapter 1 Getting Started with the cDAQ Controller
Figure 1-3. Ring Lug Attached to Ground Terminal
Note Make sure that no I/O-side power is connected to the module. If the controller
is in a nonhazardous location, the controller power can be on when you install
modules.
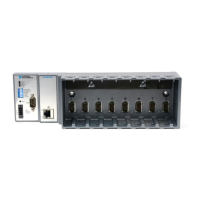
6. Align the module with a cDAQ controller slot.
7. Squeeze the latches and insert the module into the module slot, and press firmly on the
connector side of the module until the latches lock the module into place.
Repeat Steps 6 and 7 to install additional modules.
8. Wire your external power source and install the remaining ferrite as outlined in the Wiring
Power to the cDAQ Controller section. The cDAQ controller requires an external power
supply that meets the specifications listed in the specifications document for your cDAQ
controller.
9. Turn on the external power supply.
When the cDAQ controller powers on, the POWER LED lights and the controller runs a
power-on self test (POST). When the POST is complete, the operating system is loaded.
10. Go through the steps on the Set Up Windows screen that opens on your monitor. Windows
prepares your desktop.
N
I Com
pa
ctD
A
QN
I Co
m
pa
ctD
A
Q
N
I
cD
A
Q
-9
134N
I
cD
A
Q
-9
134
 Loading...