EasyManua.ls Logo

Nedap PowerRouter User Manual

Nedap PowerRouter
46 pages
To Next Page IconTo Next Page
To Previous Page IconTo Previous Page
Page #34 background image
6 Operation PowerRouter • Solar Inverter • Installation manual
32
EN
6 Operation
6.1 Display menu
Open the menu
Press any button on the display to open the menu.
Navigate through the menu
Use the UP/DOWN buttons to navigate through the menu.
Use YES to open the selected item.
Use NO to return to the previous item.
Select and change settings
Use YES to change a selected setting.
Use the UP/DOWN buttons to change the selected setting.
Use YES to confirm the changed setting.
Use NO to cancel the change.
Main menu
History
menu
Settings
menu
Service
menu
Status
menu
System
Reset
Selftest
Display
Date&Time
Language
Solar
Grid
Solar
Grid
Errors
Install
Wizard
Internet
connection
Internet
connection

Table of Contents

Other manuals for Nedap PowerRouter

Question and Answer IconNeed help?

Do you have a question about the Nedap PowerRouter and is the answer not in the manual?

Nedap PowerRouter Specifications

General IconGeneral
Nominal AC Voltage230V
Output Voltage230V
Frequency50Hz
CommunicationEthernet
Humidity0-95% (non-condensing)

Summary

Introduction

1.1 Applicability

Manual applies to specific PowerRouter types.

1.2 Symbols used in the documentation

Explains warning and information symbols.

1.3 Warranty

Outlines the 5-year factory warranty conditions.

Safety

2.1 General safety

Read all instructions before installation and use.

2.2 PowerRouter

Describes labels on the PowerRouter unit.

2.3 Local grid

Details electrical power from the local grid.

General description

3.1 The PowerRouter - intended use

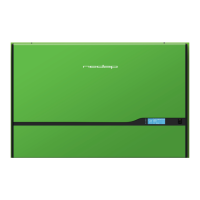
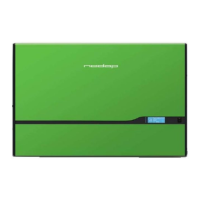
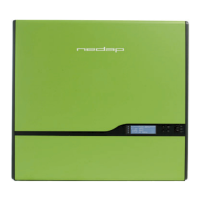
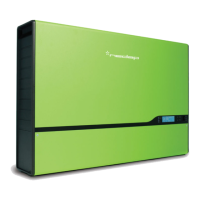
Describes the DC to AC solar inverter's purpose.

3.2 1-phase sensor (accessory PRA1SENSE)

Details the function of the 1-phase sensor.

3.3 3-phase sensor (accessory PRA3SENSE)

Details the function of the 3-phase sensor.

3.4 External relay (accessory PRA1RLY)

Describes uses of the external relay accessory.

Installation

4.1 Check the contents of the PowerRouter box

Lists items included in the PowerRouter box.

4.2 Determine the mounting location

Specifies requirements for the installation location.

4.3 Mount the PowerRouter

Provides steps to mount the PowerRouter unit.

4.4 Connect the AC grid

Details how to connect the AC power grid.

4.5 Connect the solar panels

Instructions for connecting solar panels.

4.6 Connect a self-use sensor

How to connect self-use sensors.

4.7 Connect the external relay (accessory)

How to connect external relays.

4.8 Install the PRA1WEMK

Steps to install the PRA1WEMK accessory.

4.10 Switch on the system

Steps to power on the system.

4.11 Initialise the PowerRouter

Process for initializing the PowerRouter.

4.12 Connect the PowerRouter to the internet

How to connect the PowerRouter to the internet.

Software installation tool

5.1 Introduction

Overview of the software installation tool.

5.2 Display settings

Settings for the display.

5.3 PowerRouter settings

General PowerRouter settings.

5.3.2 Alarm 1 / Alarm 2

Configuring alarms using relays.

5.4 Grid

Grid settings for country-specific requirements.

Operation

6.1 Display menu

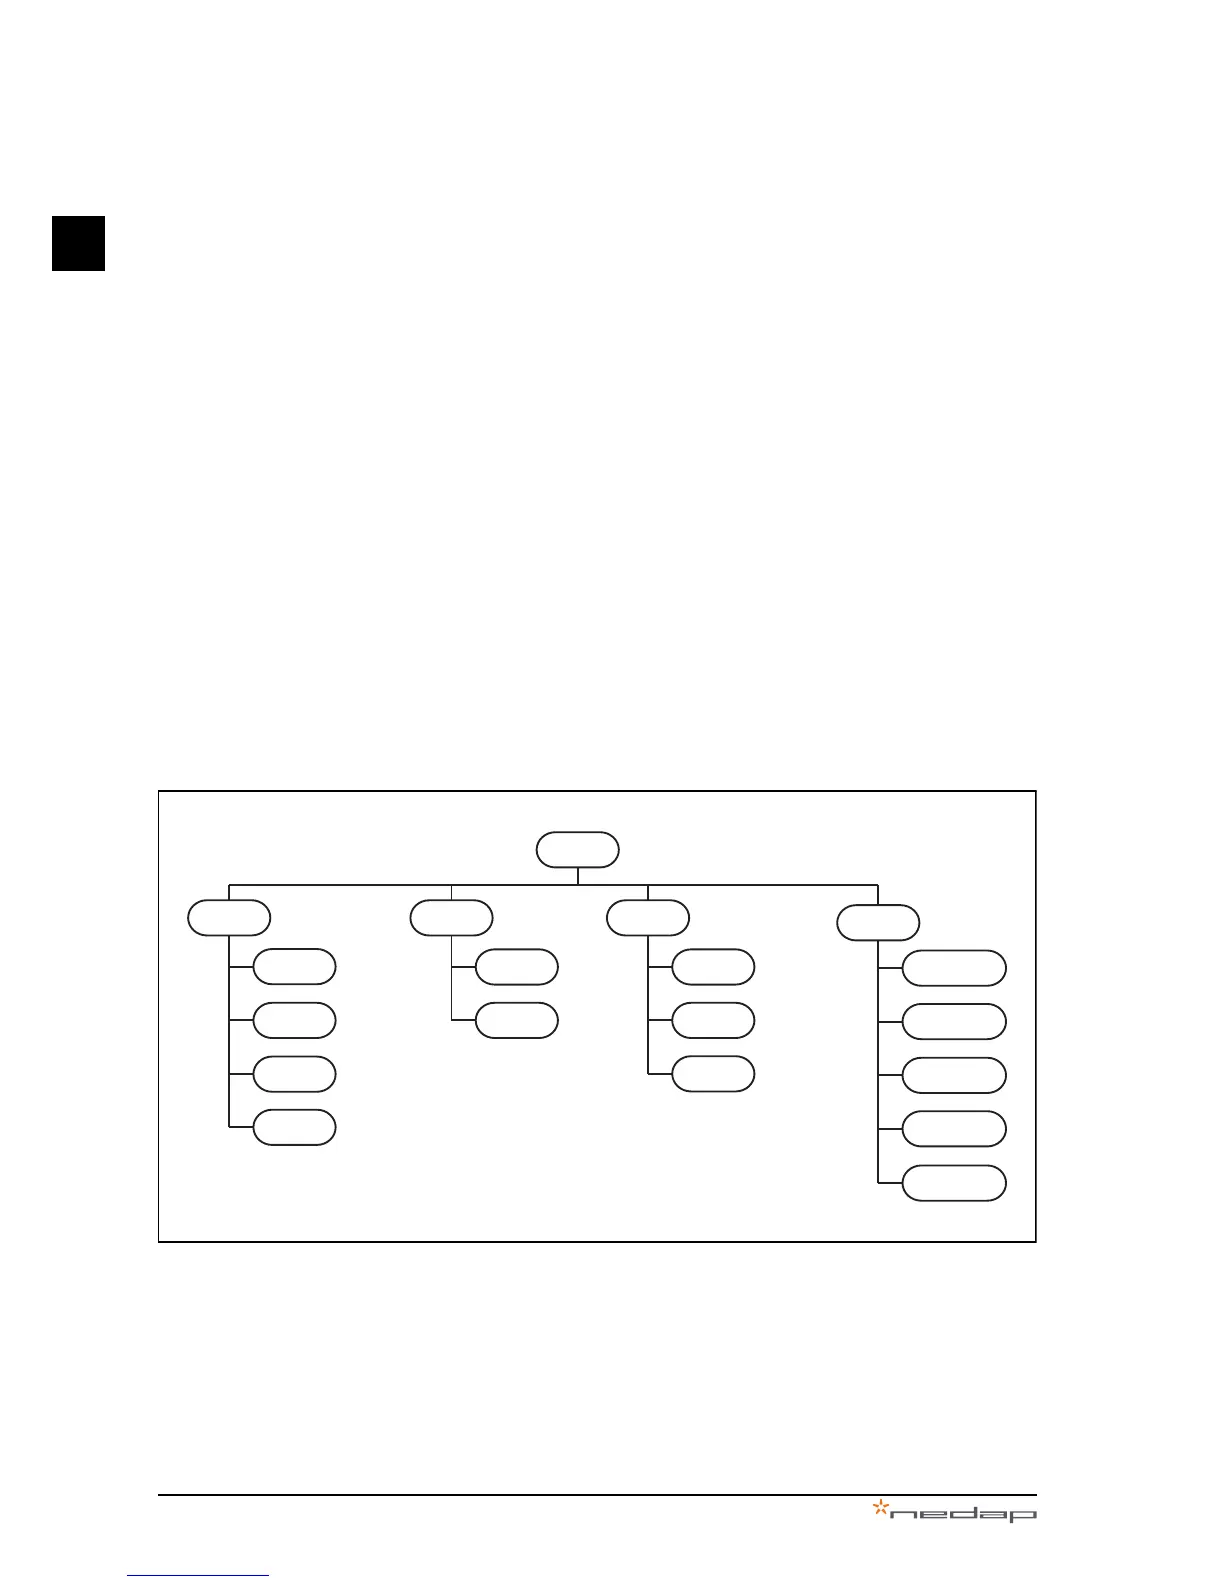
Navigating and using the display menu.

Troubleshoot

7.1 Troubleshooting

Steps for resolving operational difficulties.

7.2 Check the LED status

Interpreting LED indicators for status.

7.3 Check the error messages

How to view and clear error messages.

7.4 Error explanation

Explains error codes and their meanings.

7.5 Errors

Lists common errors and their actions.

7.6 Procedures

Common procedures for troubleshooting.

De-installation

8.1 De-install

Step-by-step guide for de-installing the unit.

8.2 Disposal

Guidelines for disposing of the PowerRouter.

Technical specifications

9.1 Technical specifications of the PowerRouter

Detailed technical specs for the PowerRouter models.

Related product manuals