Network Settings
13
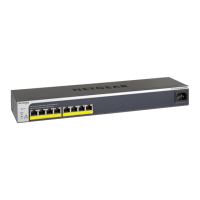
ProSAFE Easy-Mount 8-Port Gigabit Ethernet PoE+ Web Managed Switch
6. Enter the IP address, subnet mask, and if available, the gateway address.
7. Click the Apply button.
Your settings are saved.
Use the ProSAFE Plus Utility to Specify the Switch IP Address
To specify IP address settings for a switch:
1. Connect your computer to the same network as the switch.
You can use a WiFi or wired network connection, or connect directly to a switch that is
off-network using an Ethernet cable.
2. Double-click the ProSAFE Plus Utility icon.
The Switch Selection page displays a list of Web Managed (Plus) switches that it
discovers on the local network.
3. Select the switch.
If you do not see the switch, click the REFRESH button.
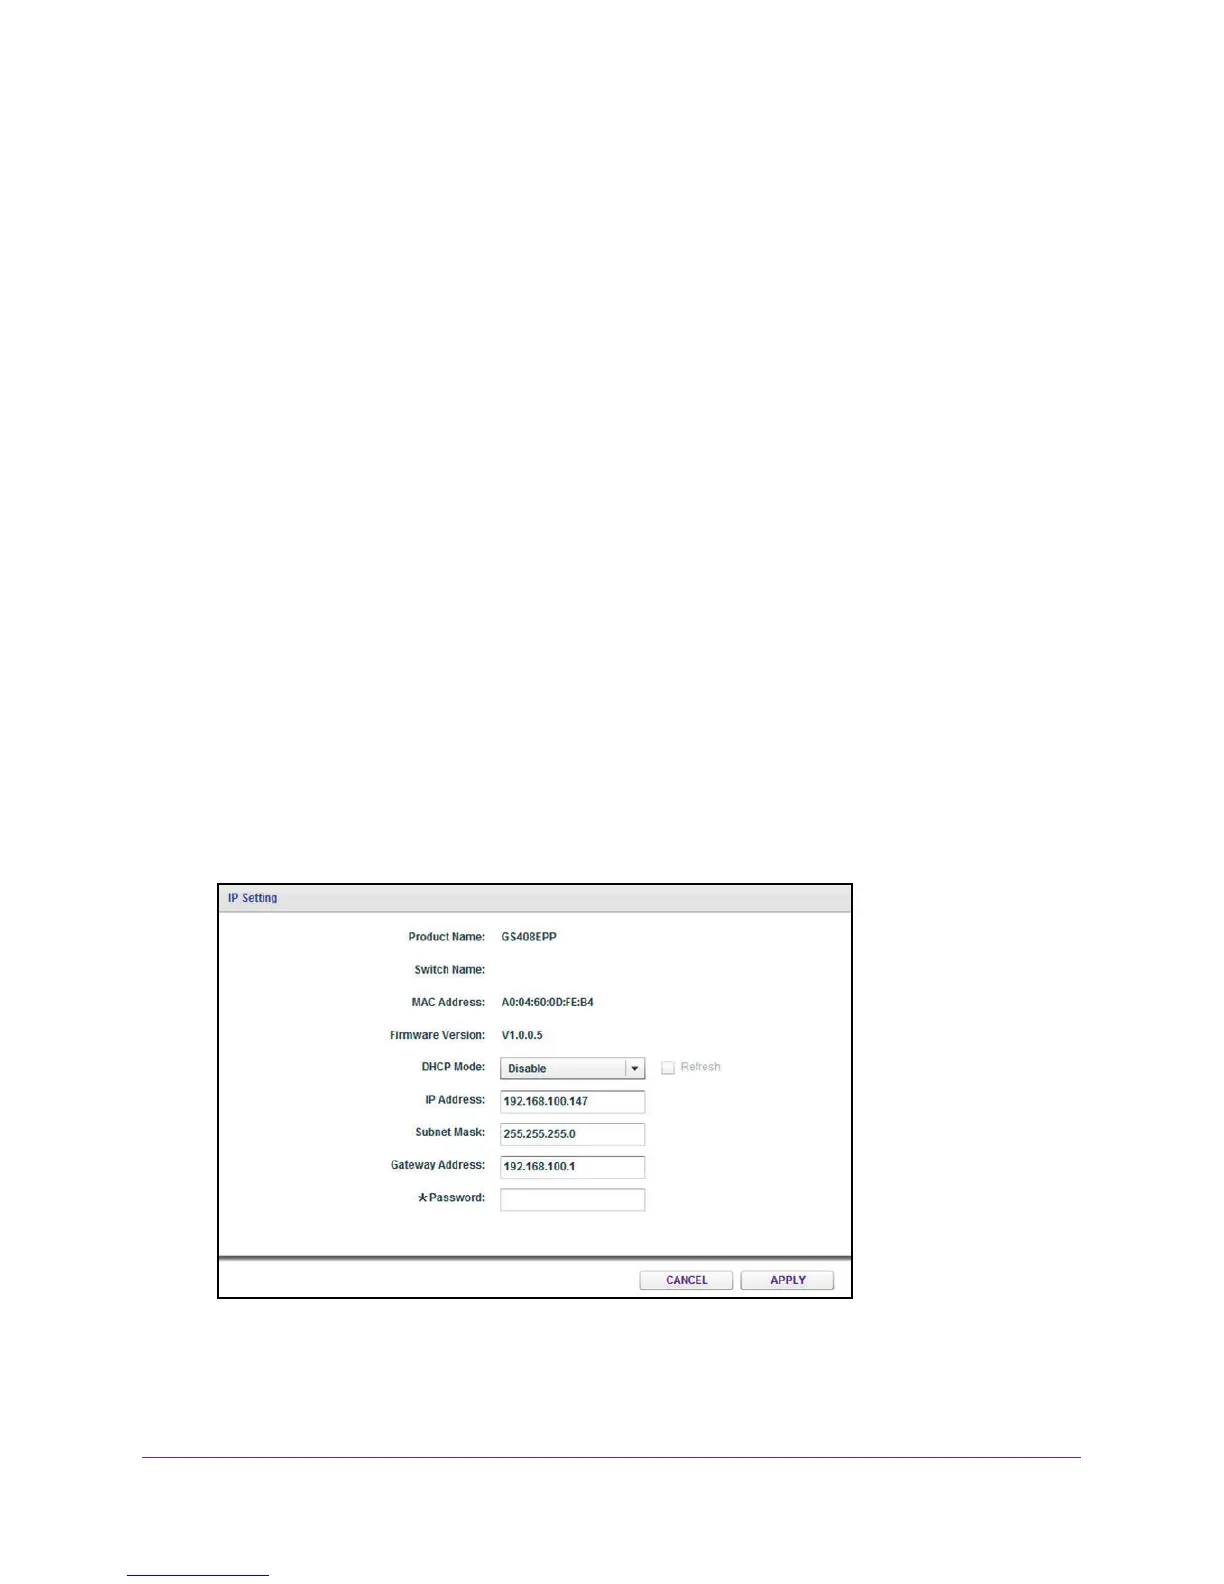
4. Click the IP Setting button.
The IP Setting page displays.
Note: To navigate to this page, select Network, select the switch, and click
the IP Setting button.
5. In the DHCP Mode menu, select Disable.
The IP Address, Subnet Mask, and Gateway Address fields are enabled.
6. Enter the IP address, subnet mask, and if available, the gateway address.
7. Enter the switch’s password in the Password field.
 Loading...