Getting Started
6
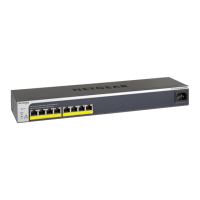
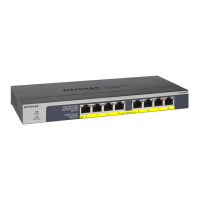
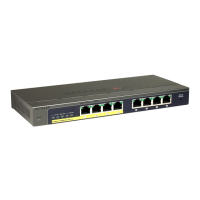
ProSAFE Easy-Mount 8-Port Gigabit Ethernet PoE+ Web Managed Switch
Configure the Switch
ProSAFE Web Managed (Plus) Switches are Plug-and-Play, so they can be used without any
configuration. Just connect power, connect to your network and to your other devices, and
you’re done. You can also configure and manage additional advanced features of the switch
either by using your computer’s web browser or by installing the ProSAFE Plus Utility on your
Windows-based computer.
For easiest access, we recommend that you cable the switch to a network with a router or
DHCP server that assigns IP addresses, power on the switch, and then use a computer that
is connected to the same network as the switch (on-network). However, it is also possible to
configure the switch connected directly only to the computer that you are using to configure it,
and not connected to the network (off-network). See the following sections for details about
the different options for configuring your switch.
Access the Switch Using a Web Browser
You can access and configure the switch directly through its web-based user interface by
entering the switch’s IP address in the address bar of a browser. When using web browser
setup, the simplest way to configure the switch is not connected to your network
(off-network). You can also configure the switch with it connected to your network, router, or
modem, (on-network), but you must be able to determine the IP address of the switch if your
network uses DHCP.
Access a Switch That Is Off-Network
To use your web browser to configure a switch that is not connected to a network:
1. Record your computer’s TCP/IP configuration settings, and then configure the computer
with a static IP address of 192.168.0.210 and 255.255.255.0 as the subnet mask.
Note: If you are unsure how to do this, visit
https:www.netgear.com/search-support.aspx and search for Static IP
address on computer.
2. Plug the switch into a power outlet and then connect your computer to the switch using an
Ethernet cable.
You can connect the Ethernet cable to any port on the switch.
3. Open a web browser, and enter http://192.168.0.239.
This is the default address of the switch.
4. When prompted, enter the password.
The default password is password.
5. Click the Login button.
 Loading...