EasyManua.ls Logo

NETGEAR GS408EPP User Manual

NETGEAR GS408EPP
67 pages
To Next Page IconTo Next Page
To Previous Page IconTo Previous Page
Page #33 background image
Use VLANS for Traffic Segmentation
33
ProSAFE Easy-Mount 8-Port Gigabit Ethernet PoE+ Web Managed Switch
To assign a PVID to one or more ports:
1. Connect your computer to the same network as the switch.
You can use a WiFi or wired network connection, or connect directly to a switch that is
off-network using an Ethernet cable.
2. Launch a web browser.
3. In the address field of your web browser, enter the IP address of the switch.
If you do not know the IP address of the switch, see Access the Switch Using a Web
Browser on page 6.
The login window opens.
4. Enter the switch’s password in the password field.
The switch’s default password is password.
The Switch Information page displays.
5. Select VLAN > 802.1Q > Advanced > Port PVID.
You can select Port PVID only if you already enabled the advanced 802.1Q VLAN option
(see Create 802.1Q-Based VLANs in an Advanced Configuration on page 30).
6. Select the check boxes for one or more ports.
7. Enter the PVID.
You can enter a PVID only for a VLAN that already exists.
8. Click the Apply button.
Your settings are saved.
Manage the Voice VLAN
You can select one VLAN as the voice VLAN, select the Class of Service (CoS) for voice
traffic, and enable or disable the voice VLAN for specific ports that carry traffic from IP
phones.
The voice VLAN feature can help ensure that the sound quality of an IP phone is
safeguarded from deteriorating when the data traffic on the port is high.

Table of Contents

Other manuals for NETGEAR GS408EPP

Question and Answer IconNeed help?

Do you have a question about the NETGEAR GS408EPP and is the answer not in the manual?
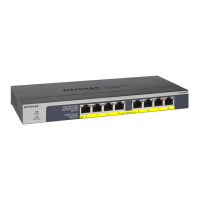
NETGEAR GS408EPP Specifications

General IconGeneral
Ports8
PoE+ Ports8
Switching Capacity16 Gbps
Forwarding Rate11.9 Mpps
MAC Address Table Size8K
VLAN SupportYes
QoSYes
Energy Efficient Ethernet (EEE)Yes
FanlessYes
Jumbo Frame Support9K
MountingDesktop, wall mountable
Operating Temperature0° to 40° C (32° to 104° F)
Humidity90% maximum (non-condensing)

Summary

Getting Started

Configure the Switch

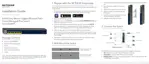
Guides users through the initial setup and configuration of the switch.

Access the Switch Using a Web Browser

Instructions on how to connect to and manage the switch via its web interface.

Network Settings

Specify IP Address Settings for the Switch

Configure the switch's IP address, subnet mask, and gateway for network access.

Optimize Performance With Quality of Service

Enable 802.1p/DSCP-Based Quality of Service

Prioritize network traffic based on 802.1p/DSCP packet header information.

Enable Port-Based Quality of Service

Assign traffic priority to specific switch ports for differentiated service.

Use VLANS for Traffic Segmentation

Create a Basic Port-Based VLAN

Steps to create and configure basic port-based VLANs on the switch.

Create 802.1Q-Based VLANs in a Basic Configuration

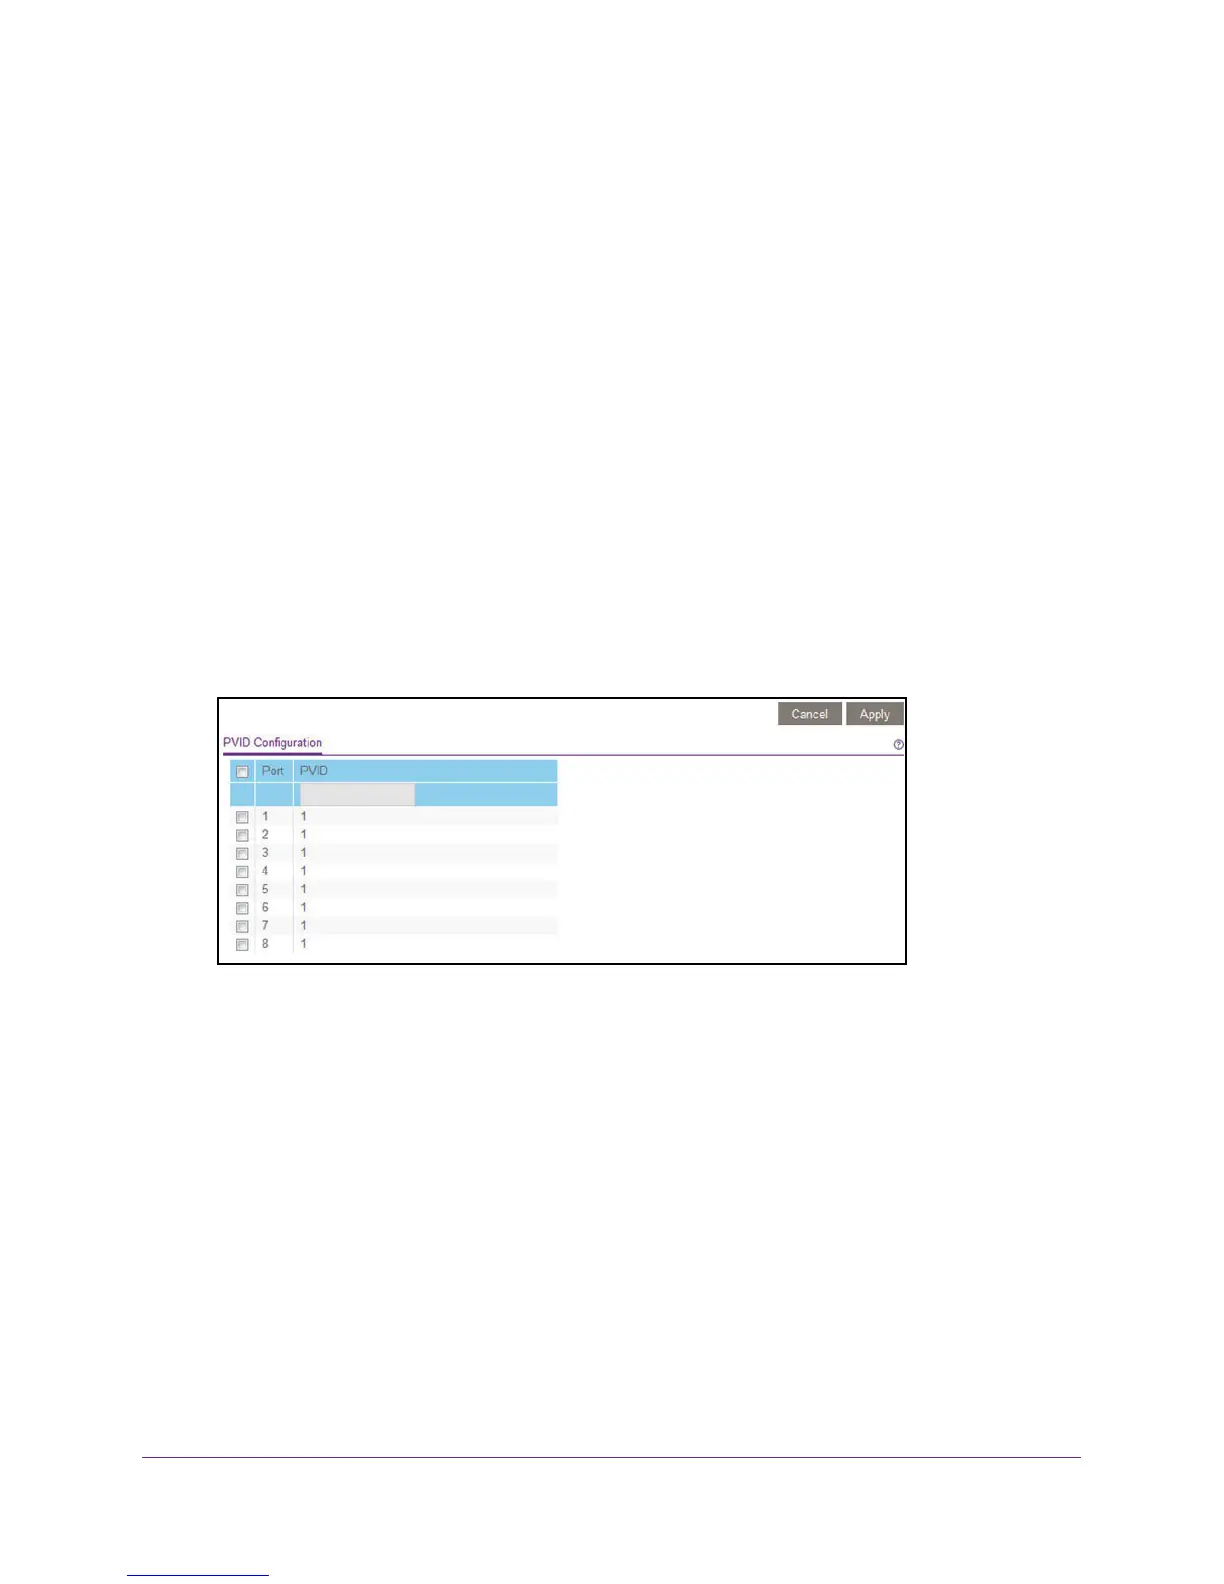
Guide to setting up 802.1Q VLANs with basic ID assignment.

Create 802.1Q-Based VLANs in an Advanced Configuration

Advanced configuration for 802.1Q VLANs, including tagged/untagged ports.

Manage the Voice VLAN

Configure dedicated VLANs for voice traffic to ensure quality.

Manage and Monitor the Switch

Upgrade the Firmware

Instructions for updating the switch's firmware to the latest version.

Restore Factory Default Settings

Reset the switch to its original factory default configuration.

Manage Power over Ethernet

Power Allocation and Power Budget

Understand how power is distributed and managed across PoE+ ports.

Manage and View the PoE Port Configuration

Configure and monitor individual PoE+ port settings and status.

Related product manuals