Configuring the network settings > 28
S
ETTING
UP
S
CAN
TO
S
HARED
F
OLDER
The Scan To Shared Folder function enables you to send and save scanned images to the
“shared folder” of a computer on the network. To use this function, register your machine
on the computer as a user and create a shared folder, and then create a profile on your
machine to register the settings for the computer.
C
HECKING
THE
NAME
OF
THE
COMPUTER
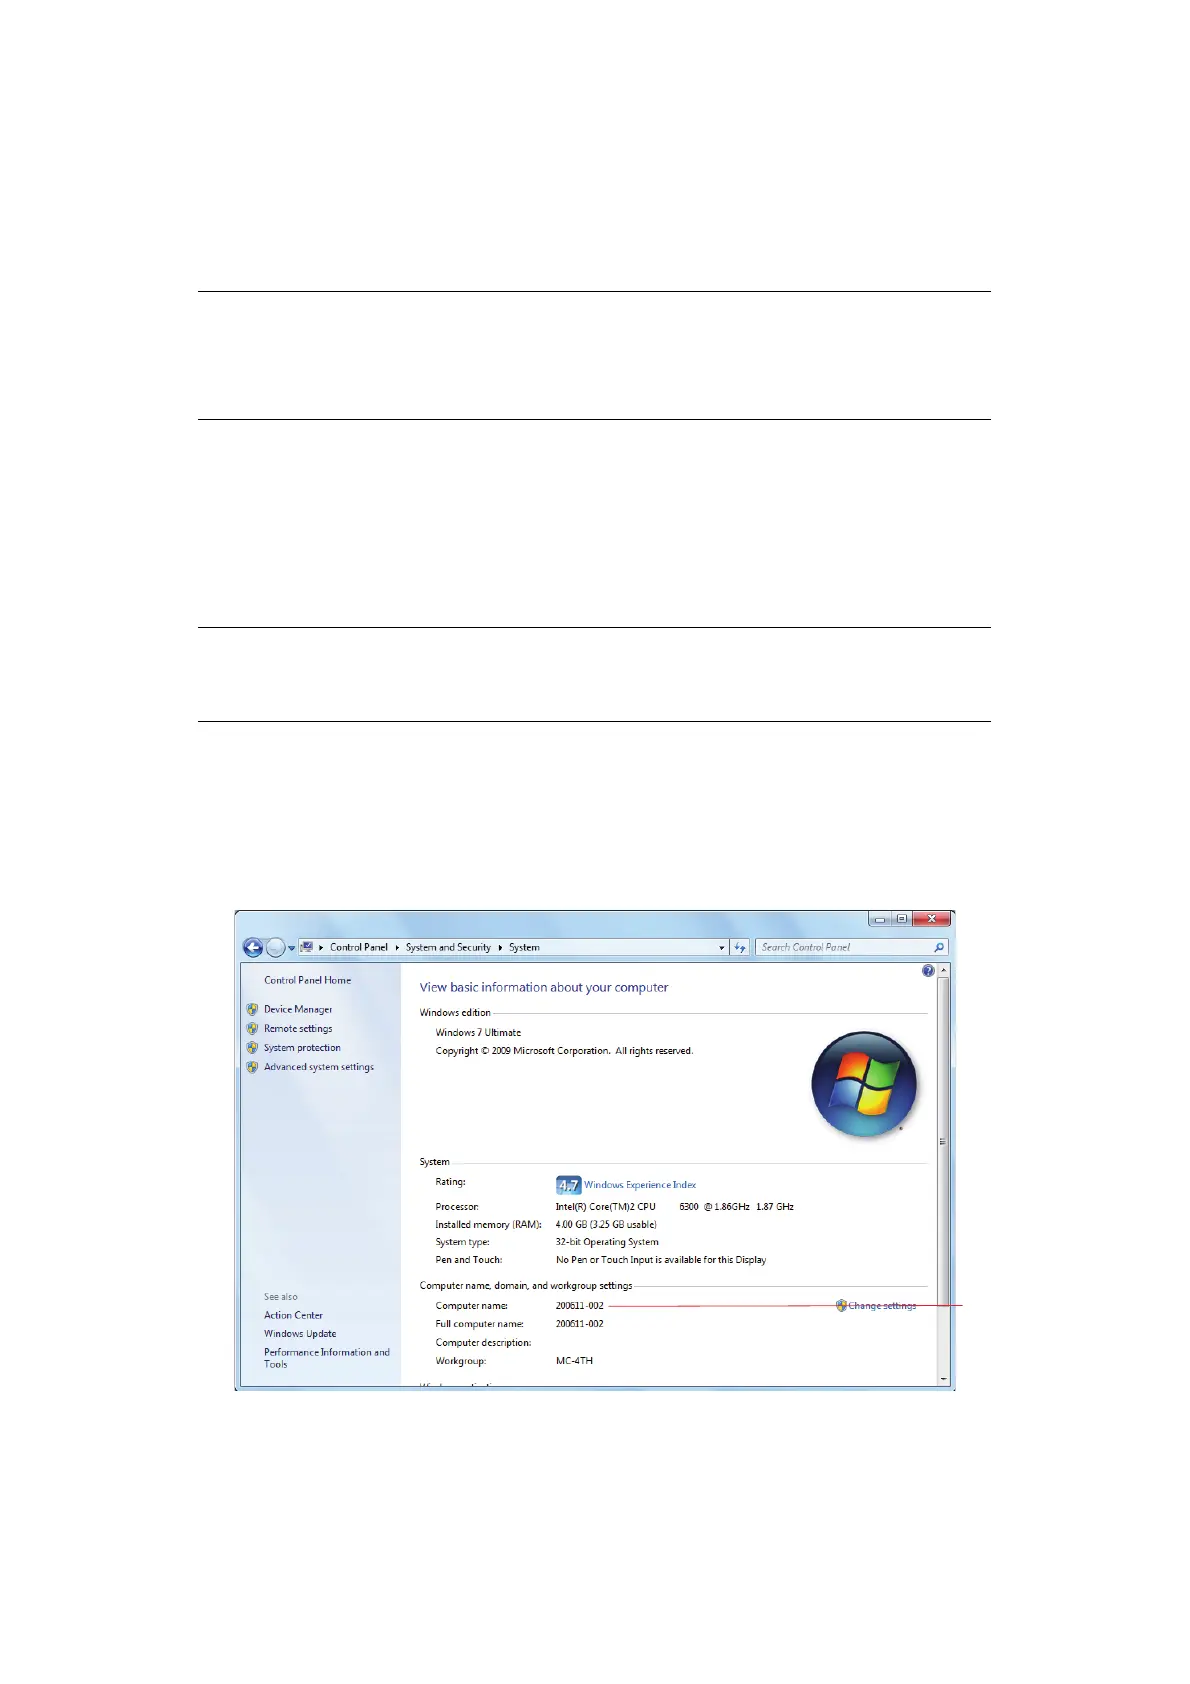
Check the name of the computer following the procedure below, and fill in C-1 of the "Setup
Information Form," on page 9.
Windows 8, Windows Server 2012, Windows 7, Windows Server 2008 R2, Windows Server
2008 and Vista
1. Click Start > Control Panel.
2. Select System and Security.
For Windows Server 2008 and Windows Vista, select System and Maintenance.
3. Click System > See the name of this computer.
4. Note the Computer name in C-1.
5. Close the window.
NOTE
Before starting the setup, get permission from the network administrator to
create a shared folder on the computer by following the procedure below.
The CIFS protocol is used in this procedure.
NOTE
The procedure below uses Windows 7 as an example. The display may differ
depending on the operating system.
 Loading...