Getting started > 12
3. Turn the take-up knob (1) in the direction of the moulded arrow to take up any
ribbon slack.
4. Close the access cover and turn the printer ON.
P
OWERING
ON
YOUR
PRINTER
1. Ensure that your printer power switch is set to OFF.
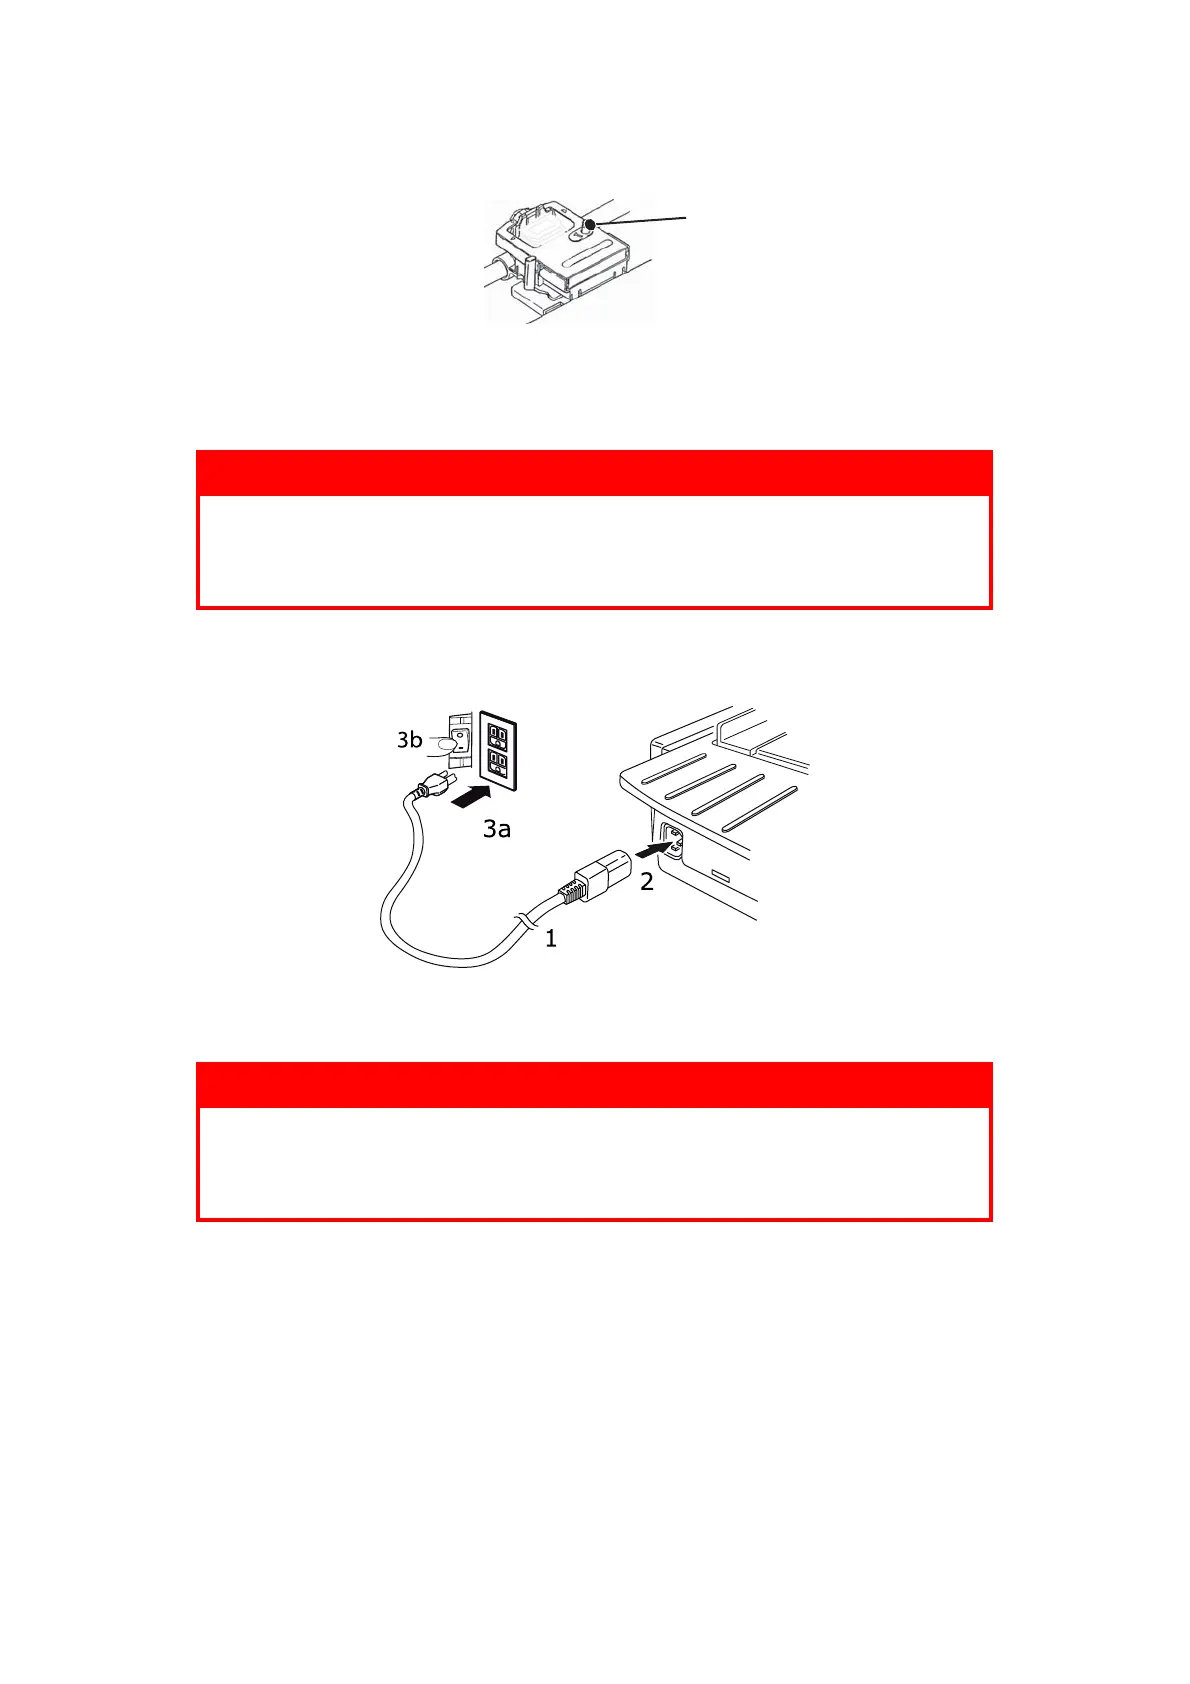
2. Connect the power cable connector (1) to the A/C input (2) on the printer.
3. Connect the power cable to a 220/240 V A/C power outlet (3a) and switch on the
outlet power (3b).
4. Turn the printer power switch ON.
5. Check that the power indicator on the control panel illuminates.
WARNING!
Operations of this equipment are not warranted when the
equipment is connected to UPS (Uninterruptible Power Supply)
and/or inverter. Doing so may result in damage of this equipment.
Do not use an UPS and/or inverter.
WARNING!
Be careful when inserting a three-pronged A/C plug. Before
plugging it in, check the position of the FG terminal. Incorrect
insertion may cause damage not only to the printer main body but
also peripheral devices and electric shock, smoke and ignition.
 Loading...