4 Maintenance and Inspection
4-2 Replacing the battery
BN50T/BN75T/BN100T/BN150T/BN220T/BN300T
4-16
7. Insert a new battery into the UPS as far as it will go. 1)
Replacement battery pack
For BN220T/BN300T: Model BNB300T
Attach the plate cover in order of 2) to 3).
Use a screwdriver to securely tighten (clockwise) the 2 screws you removed. 4)
Do not pinch the cable with the plate cover.
Tighten the 2 screws.
1)
2)
3)
4)
8. Insert a new battery into the UPS as far as it will go. 1)
Replacement battery pack
For BN220T/BN300T: Model BNB300S
Attach the plate cover in order of 2) to 3).
Use a screwdriver to securely tighten (clockwise) the 2 screws you removed. 4)
Do not pinch the cable with the plate cover.
Tighten the 2 screws.
4)
1)
2)
3)
9. Insert the connector until it is locked. 1)
Hold the battery connector, move the connector hook to the center of the fastening hole
in the plate (2)-1), insert through the hole (2)-2), and lower the connector to lock in the
hole (2)-3).
Do this for both battery connectors.
Note: You may hear a “pop” sound when you connect the battery if it is replaced after the
unit’s operation is stopped, but this sound is not abnormal.
Battery connector
Connector’s hook
align the hole
Connector
move
through
the hole
Connector
locked
2)
1) 1)
2)-1 2)-2 2)-3
4 Maintenance and Inspection
4-3 Cleaning
BN50T/BN75T/BN100T/BN150T/BN220T/BN300T
4
4-17
10
.
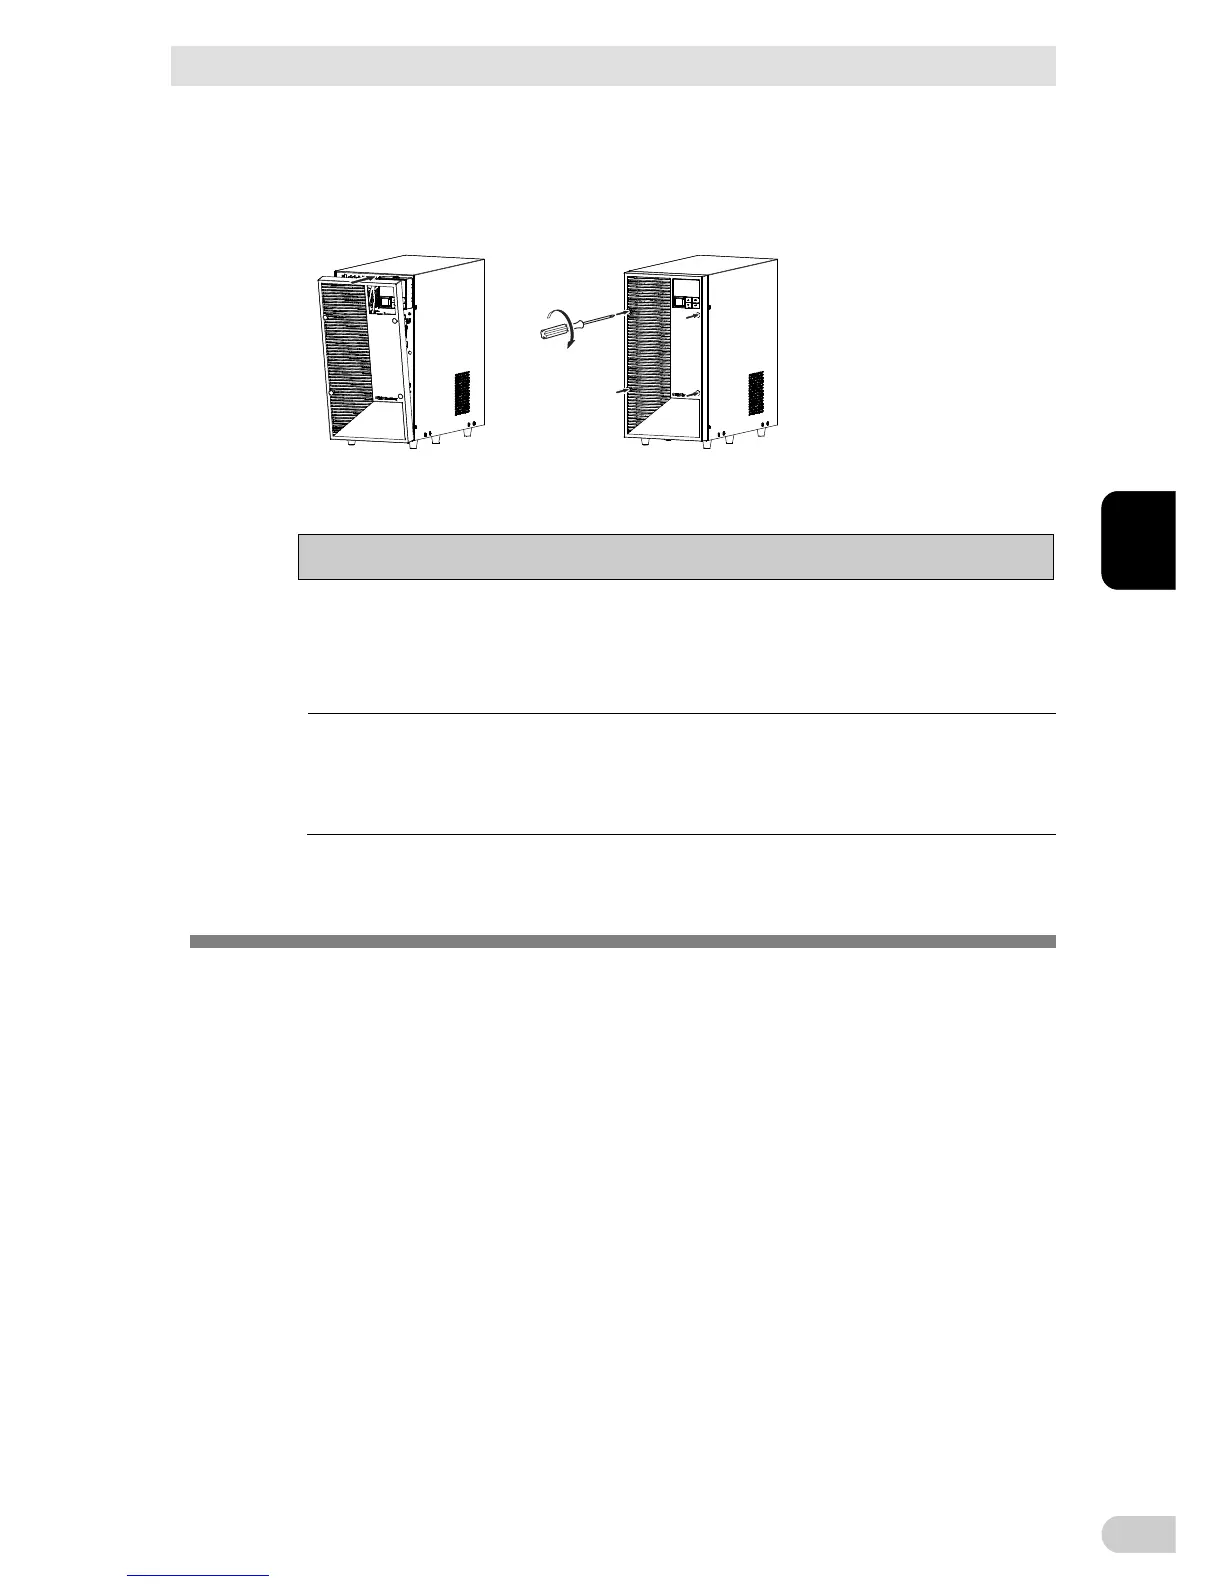
Attach the front panel.
Attach the front panel to the unit. 1)
Use a screwdriver to securely tighten (clockwise) the 4 screws at the top of the front
panel. 2)
Tighten the 4 screws.
1)
2)
Battery replacement is now complete.
Notes
Be sure to reset the battery life counter after replacing the battery.
After replacing the battery, reset the battery life counter from the “Control” - “Reset
B.life counter” screen in the menu on the unit’s LCD.
If you do not reset the battery life counter, a battery replacement alarm may occur
earlier than the expected battery life.
Write the battery replacement date on the included battery replacement date
label, and attach the label to the unit.
Or, enter the battery replacement date from the “Setting” - “Battery Settings” - “Battery
Installation” screen in the menu on the LCD.
4-3 Cleaning
1. Cleaning the UPS
Moisten a soft cloth with water or detergent, squeeze it tightly, and wipe the product
lightly.
Do not use chemicals such as thinner and benzene. (They cause deformation or dis-
coloration.)
2. Removing dust from the AC input plug, power supply output receptacles of the UPS
Stop all the connected devices and the UPS and disconnect the AC input plug from a
wall outlet (commercial power source).
Then, remove dust with a dry cloth and make the connection again. (For information on
the connection procedure:)
See also "2-2 Connecting the equipment"
 Loading...