67
6.2.3.4. Configure SMB Address Book
To scan documents to SMB server, you need to configure the SMB address book first. You can
send the scanned images to SMB server while scanning.
1. Log in the embedded Web server (please refer to Chapter 6.1 for login method).
2. Click "Settings", "Machine Settings" and then "SMB Address Book" to enter the setting
interface of SMB address book.
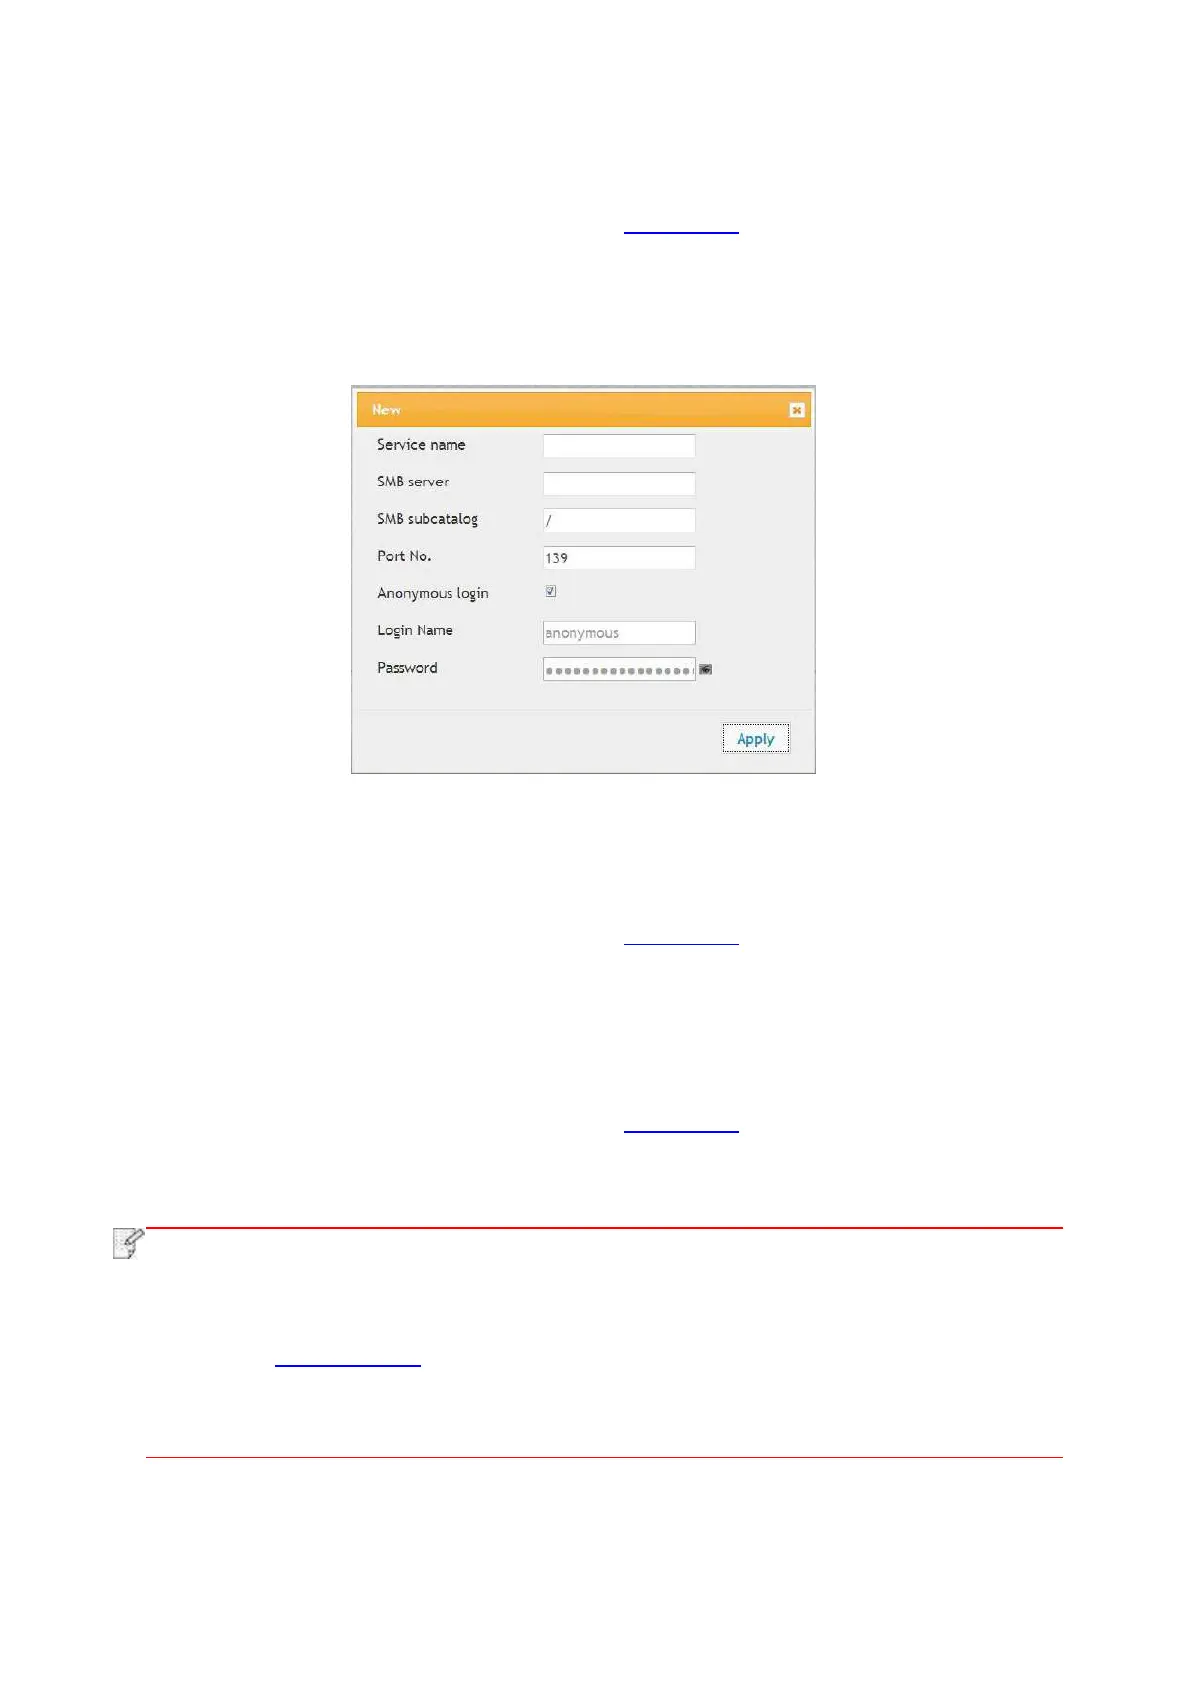
3. Click "Create" to pop out a window as below and set relevant parameters; after settings
completed, and then click "Apply".
6.2.3.5. Sleep time setup
The default sleep time of printer is 5 min and if you want to change it, you can set up via the
embedded Web server (the printer installed via network connection).
1. Log in the embedded Web server (please refer to Chapter 6.1 for login method).
2. Click “Settings” – “Machine settings” – “System”.
3. Select sleep time according to you need and then click “Apply”.
6.2.4. Recover factory settings via Web server
1. Log in the embedded Web server (please refer to Chapter 6.1 for login method).
2. Click "User Management" and input the correct “User name” and “Password”; then, click
“Restore to Factory Settings”. After completion, the printer will reboot automatically.
• After factory settings of printer are recovered, user name of the administrator will be
recovered to admin and the login password will be recovered to 000000.
• You can also recover factory settings via keys on the control panel of printer, please
refer to Chapter 12.1.3.
• If factory settings of your printer are recovered, the sleep time will be recovered to 1min
automatically.
 Loading...