Useful adjustment settings 11
59
En
English
(AV source)
(PC source)
4 Press HOME MENU to exit the menu.
To cancel this function, select “Off” in step 3.
Note
• For the Dot by Dot mode, see Selecting a screen size manually on
page 56.
Video Pattern
You can display the Video Pattern screen that also helps eliminate
after-image when it occurs.
1 Repeat steps 1 to 3 provided for
Switching the vertical drive
mode (AV source only)
.
2 Select “Video Pattern”
(/
then ENTER).
A confirmation screen appears.
3 Select “Start”
(
ENTER).
The Video Pattern screen displays.
Note
• The system is automatically placed into standby one hour after
the Video Pattern screen has started.
• While the Video Pattern screen is on, no buttons operate except
a on the remote control unit, STANDBY/ON and a on the flat
screen TV. If any of the above buttons is pressed, a message
appears on screen (the Video Pattern function is on).
• To cancel the Video Pattern screen, press a on the remote
control unit, press STANDBY/ON or turn a off on the flat
screen TV.
• The Video Pattern timer has priority over the sleep timer. When
the Video Pattern timer is on, the sleep timer becomes
ineffective.
Screen Protection
This function establishes multiple settings for a longer display life.
To select this option, follow the procedure below.
1 Repeat steps 1 to 3 provided for
Switching the vertical drive
mode (AV source only)
.
2 Select “Screen Protection” (
/
then ENTER).
The following settings are automatically entered:
• Auto Size: Wide-Zoom
• Side Mask - Detection: Mode 1
• Orbiter: Mode 1
• Energy Save: Mode 1
• AV Selection: OPTIMUM (when “DYNAMIC” is selected for “AV
Selection”)
3 Select “Yes” or “No” (
/
then ENTER).
4 Press HOME MENU to exit the menu.
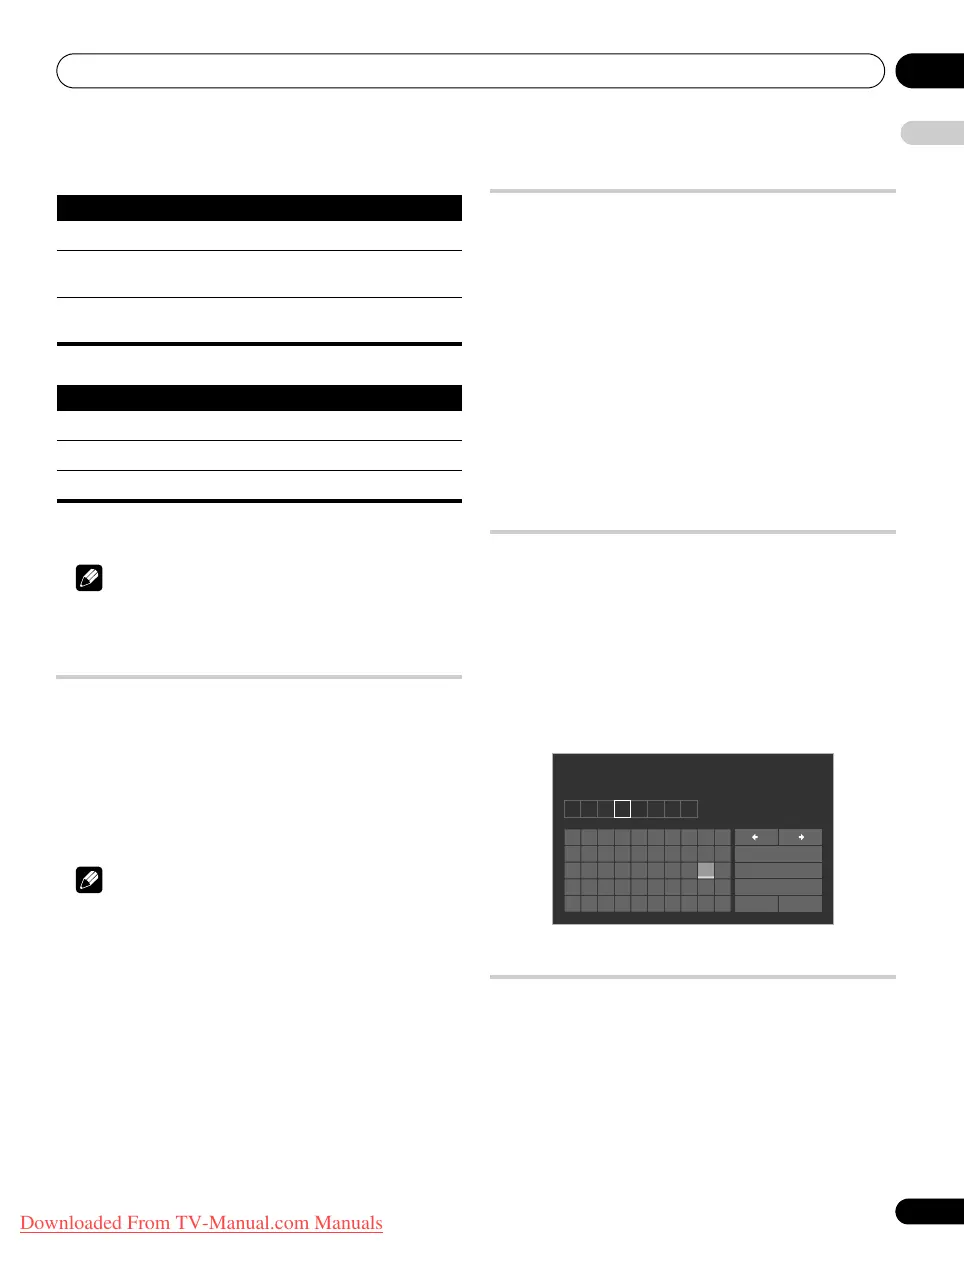
Label Input
You can enter the broadcast name in each channel using the on-
screen software keyboard. For entry, follow the procedure below.
1 Repeat steps 1 to 3 provided for
Switching the vertical drive
mode (AV source only)
.
2 Select “Label Input” (
/
then ENTER).
3 Select an input (
/
then ENTER).
The software keyboard appears.
For entry, highlight the desired key, then press ENTER. Up to eight
characters can be entered for each label.
Refer to step 7 for Labeling TV channels on page 32.
Sleep Timer
When the selected time elapses, the Sleep Timer automatically
places the system into the standby mode.
1 Press HOME MENU.
2 Select “Setup” (
/
then ENTER).
3 Select “Sleep Timer” (
/
then ENTER).
4 Select the desired time (
/
then ENTER).
Select “Off” (cancel), “30 min”, “60 min”, “90 min” or “120 min”.
5 Press HOME MENU to exit the menu.
Item Description
Off Disables the Orbiter
Mode 1 Enables the display protection function for any
screen mode other than “Dot by Dot”
Mode 2 Enables the display protection function for all
available screen modes
Item Description
Off Disables the Orbiter
Mode 1 Enables the Orbiter
Mode 2 Smoothes text/characters display
KIDS
1234567890
ABCDEFGH I J
KLMNOPQRST
UVWXYZ , . : ;
&' ()+-*/_@
OK Cancel
Caps
Space
Delete
Label
PDP-LX609H.book Page 59 Wednesday, August 6, 2008 4:00 PM
Downloaded From TV-Manual.com Manuals
 Loading...