5 - 27 ELECTRICAL
GEM Service Manual November 2007
CHARGING
WARNING: CHARGE BATTERIES ONLY IN
WELL-VENTILATED AREA. KEEP SPARKS OR
FLAMES AWAY FROM A CHARGING BATTERY.
Become familiar with the charger and follow the
instructions. See Charger in this section.
1. Batteries should be charged after each period
of use.
2. Lead-acid batteries do not develop a memory
and need not be fully discharged before
recharging.
3. Check electrolyte level. See Watering in this
section.
4. Tighten all vent caps before charging.
5. Do not undercharge the batteries. Under
charging causes stratification.
6. Do not charge a frozen battery.
7. Avoid charging at temperatures above 120°F.
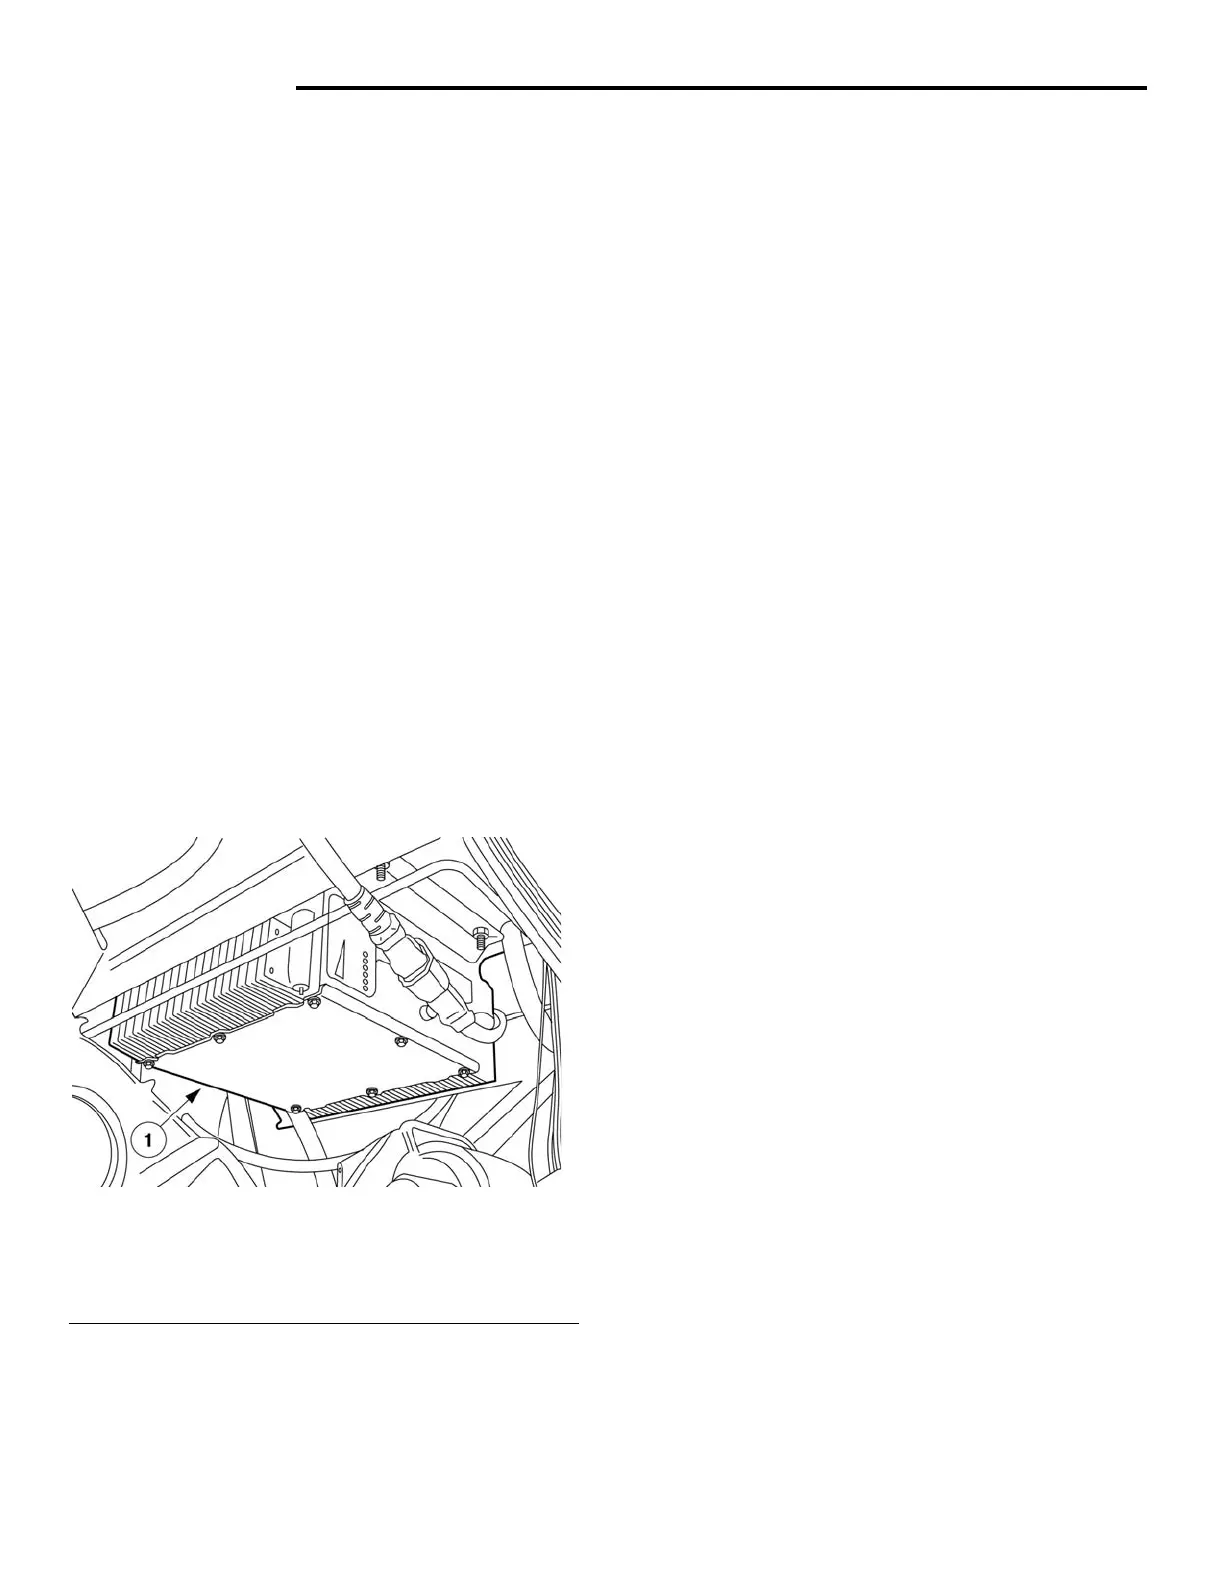
CHARGER
DESCRIPTION
Fig. 15 Delta-Q Charger
1 - Battery charger
The battery charger is located under the hood
assembly and is mounted to a plate above the
motor/gear box assembly, and is an integral part of
the vehicle. (See figure 15).
The battery charge receptacle is located on the
front hood assembly. It accepts a standard 3 wire
(grounded) extension cord and should not exceed
25 feet in length 12 gauge or heavier.
OPERATION
Insert the proper extension cord into the battery
charger receptacle and into a standard 110-volt
A/C, 15 amp-breaker outlet. (GFI is recommended).
If using a GFI protected charger cord, plug into
a standard circuit breaker that is NOT GFI
protected.
NOTE: Make sure the master disconnect switch
is in the ON position.
When the battery charger is active, the control
circuit prevents operation of the vehicle and the
LCD is disabled. The indicator light will inform you
of the battery charge status.
CAUTION: Fully charge batteries before
extended periods of use and/or storage. In
extreme temperature (hot/cold) climates, battery
self discharge will increase. Batteries will also
freeze if not properly charged.
REPLACEMENT
1. Turn the master disconnect switch OFF.
2. Remove upper and lower dash panels.
3. Disconnect electrical connections, noting
connection and orientation, from harness,
controller and MC.
4. Open the hood.
5. Disconnect the charge receptacle wire from
the charger.
6. Raise and support the vehicle using a
suitable hoist.
7. Remove four mounting nuts and bolts from
the charger.
8. Reverse procedure to install.
 Loading...