© 2016 by Proceq SA 12
4.4. Performance Check
1. Verify that the Equotip test block is supported by a solid worktop to ensure it is immovable and
free of vibrations.
2. Peel off the protective sheet, which should be stored for subsequent reuse. Ensure that the test-
ing surface is clean, smooth and dry. If required, use acetone, isopropanol or similar (no water!)
to remove any residues of adhesives or dirt.
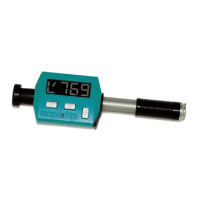
3. Power on: To turn on the instrument on, press any key or perform a loading movement.
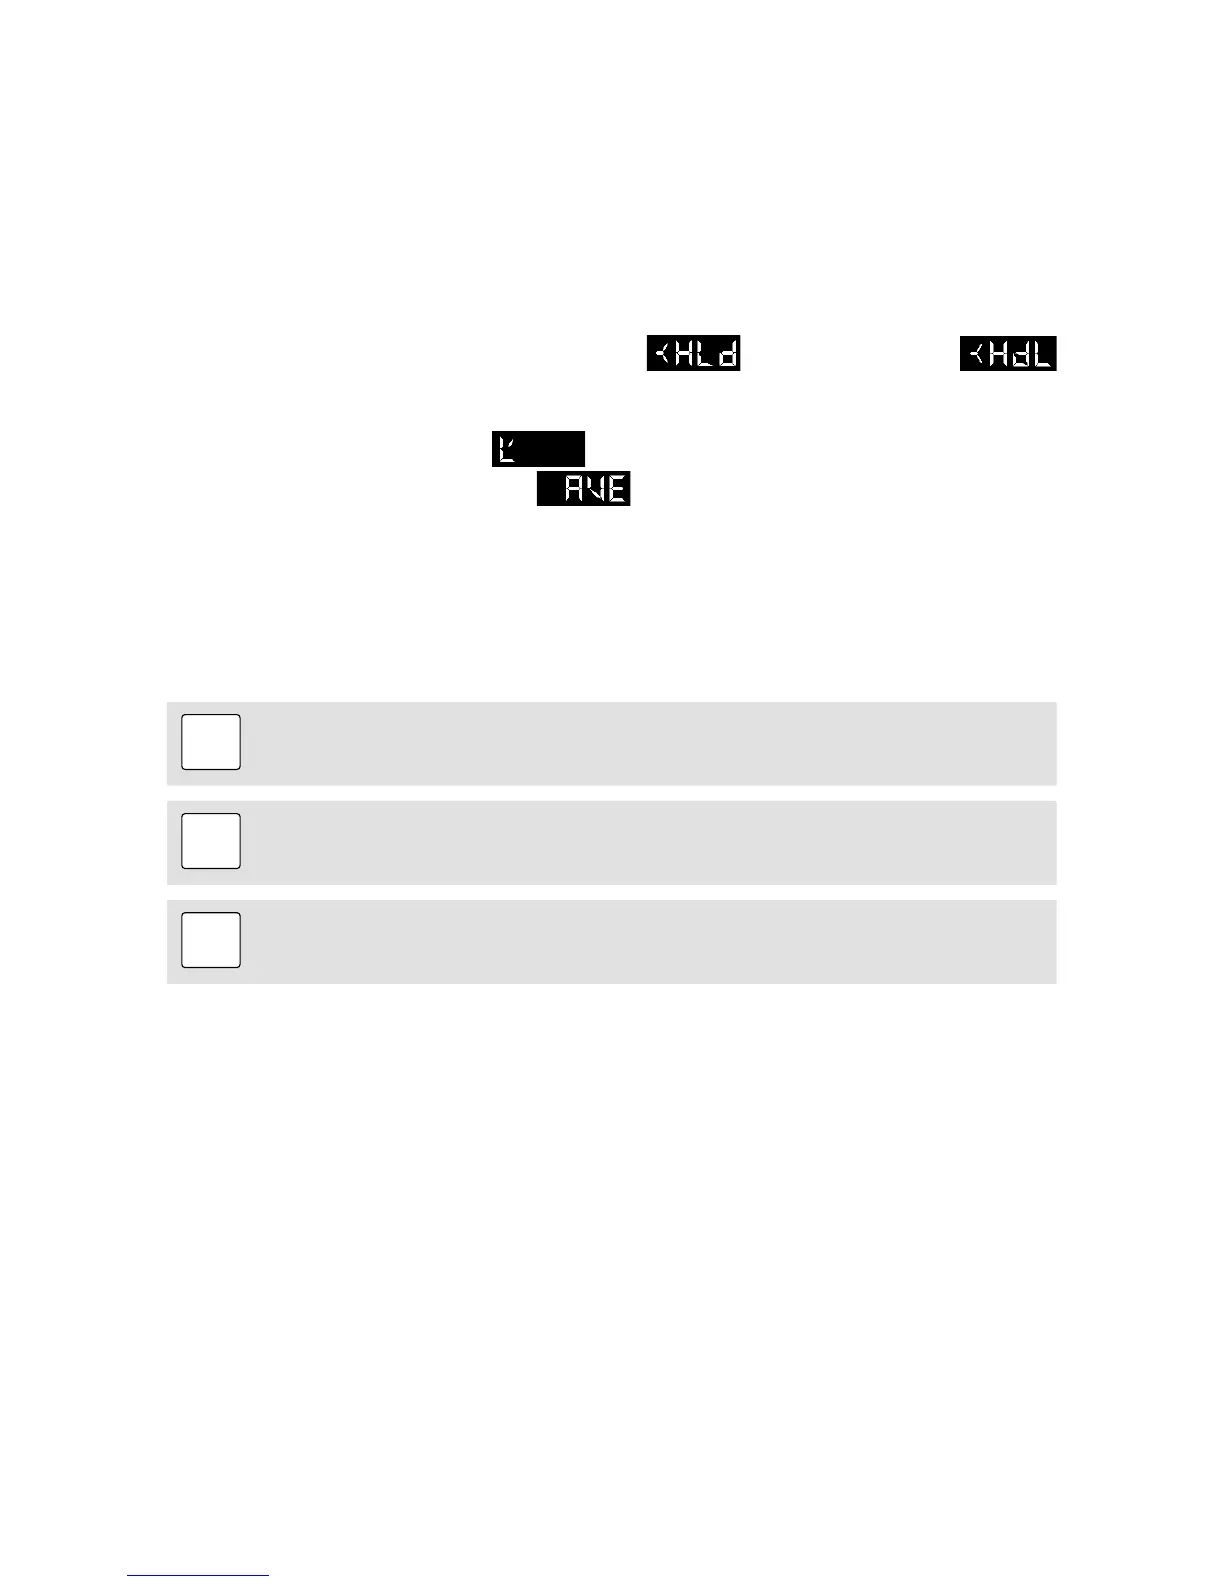
4. Settings: Enter the Conversion Scale menu level ( for impact body D, and
for impact body DL with slim test tip included in the DL Accessory Kit) by pressing the key .
Press the key again to enter the Selection menu level of the hardness scale Leeb. Select au-
tomatic direction compensation using the key or . To confirm the selection press
the key . Start the averaging mode by pressing the key .
5. Perform 10 indentations, which ideally shall be evenly distributed across the diameter of the test
block.
6. The average setpoint hardness of the block is engraved in the block surface. The measured aver-
age shall coincide with the target range.
Congratulations! Your new Equotip Piccolo 2 / Bambino 2 is fully operational and you can now con-
tinue with your measurements.
Note:
Ensure that the testing surface is clean, smooth and dry before you stick the protec-
tive sheet back on the test block.
Note:
Please refer to “Advanced Settings” – “Using the DL Accessory Kit” to change the
device setup from D to DL probe, and vice versa.
 Loading...