56 ESP-LX+ & LXi+ Installation, Programming, & Operation Guide
WARNING: To prevent electrical shock, make sure all
supply power is OFF before connecting these wires.
Electrical shock can cause severe injury or death.
All electrical connections and wiring runs must be
made according to local building codes.
Connect Main Power Wires
ESP-LX+ (Outdoor / Indoor Controller)
NOTE: To connect main power wires on the
ESP-LXi+ indoor-only controller, see the instructions
on page60.
The ESP-LX+ controller has an internal transformer that
reduces standard supply voltage (117 VAC in U.S. models;
230 VAC in international models) to 24 VAC to operate the
valves connected to the controller. You will need to connect
power supply wires to the transformers three wires.
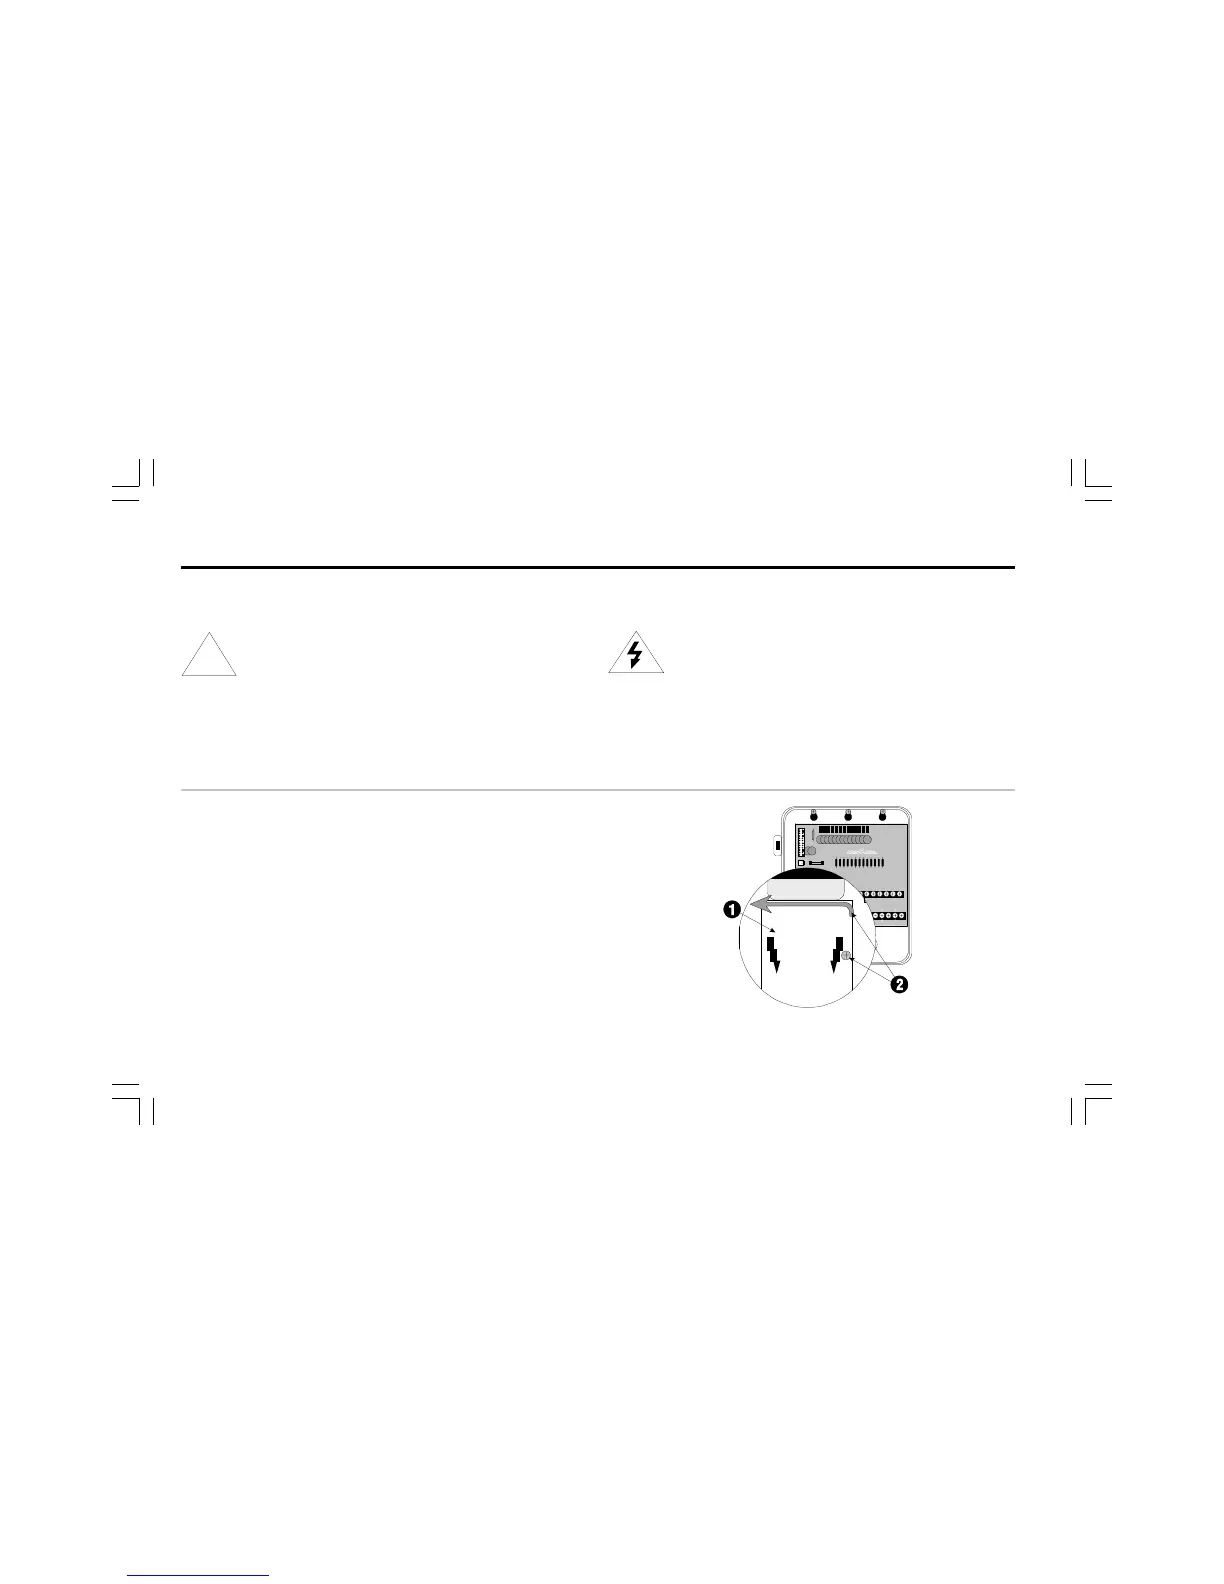
➊ With the door and face panel removed, locate the high-
voltage compartment in the lower left corner of the controller
cabinet.
➋ Remove the screw on the right edge of the compartment
cover. Then swing the cover open to expose the
transformers primary input wires.
 Loading...