4
4. Setting Up and Connection
Setting Up
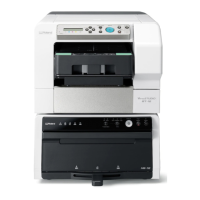
Use the PNC-1610 while installed on the special stand that is sold separately. If you do not have this stand, use the PNC-1610
while installed on a level and stable base. For assembly and installation of the special stand sold separately, refer to the
assembling the DPS-470 that comes with the stand, or the instructions in "- Using the Stand" given below. Assembly and
installation should always be carried out by two or more persons.
Using the Stand
Contents
The items listed below are packaged together with the stand. Before using, be sure to check that all items have been
included. The part numbers below correspond to the numbers shown in the assembly and installation diagram at the next
page.
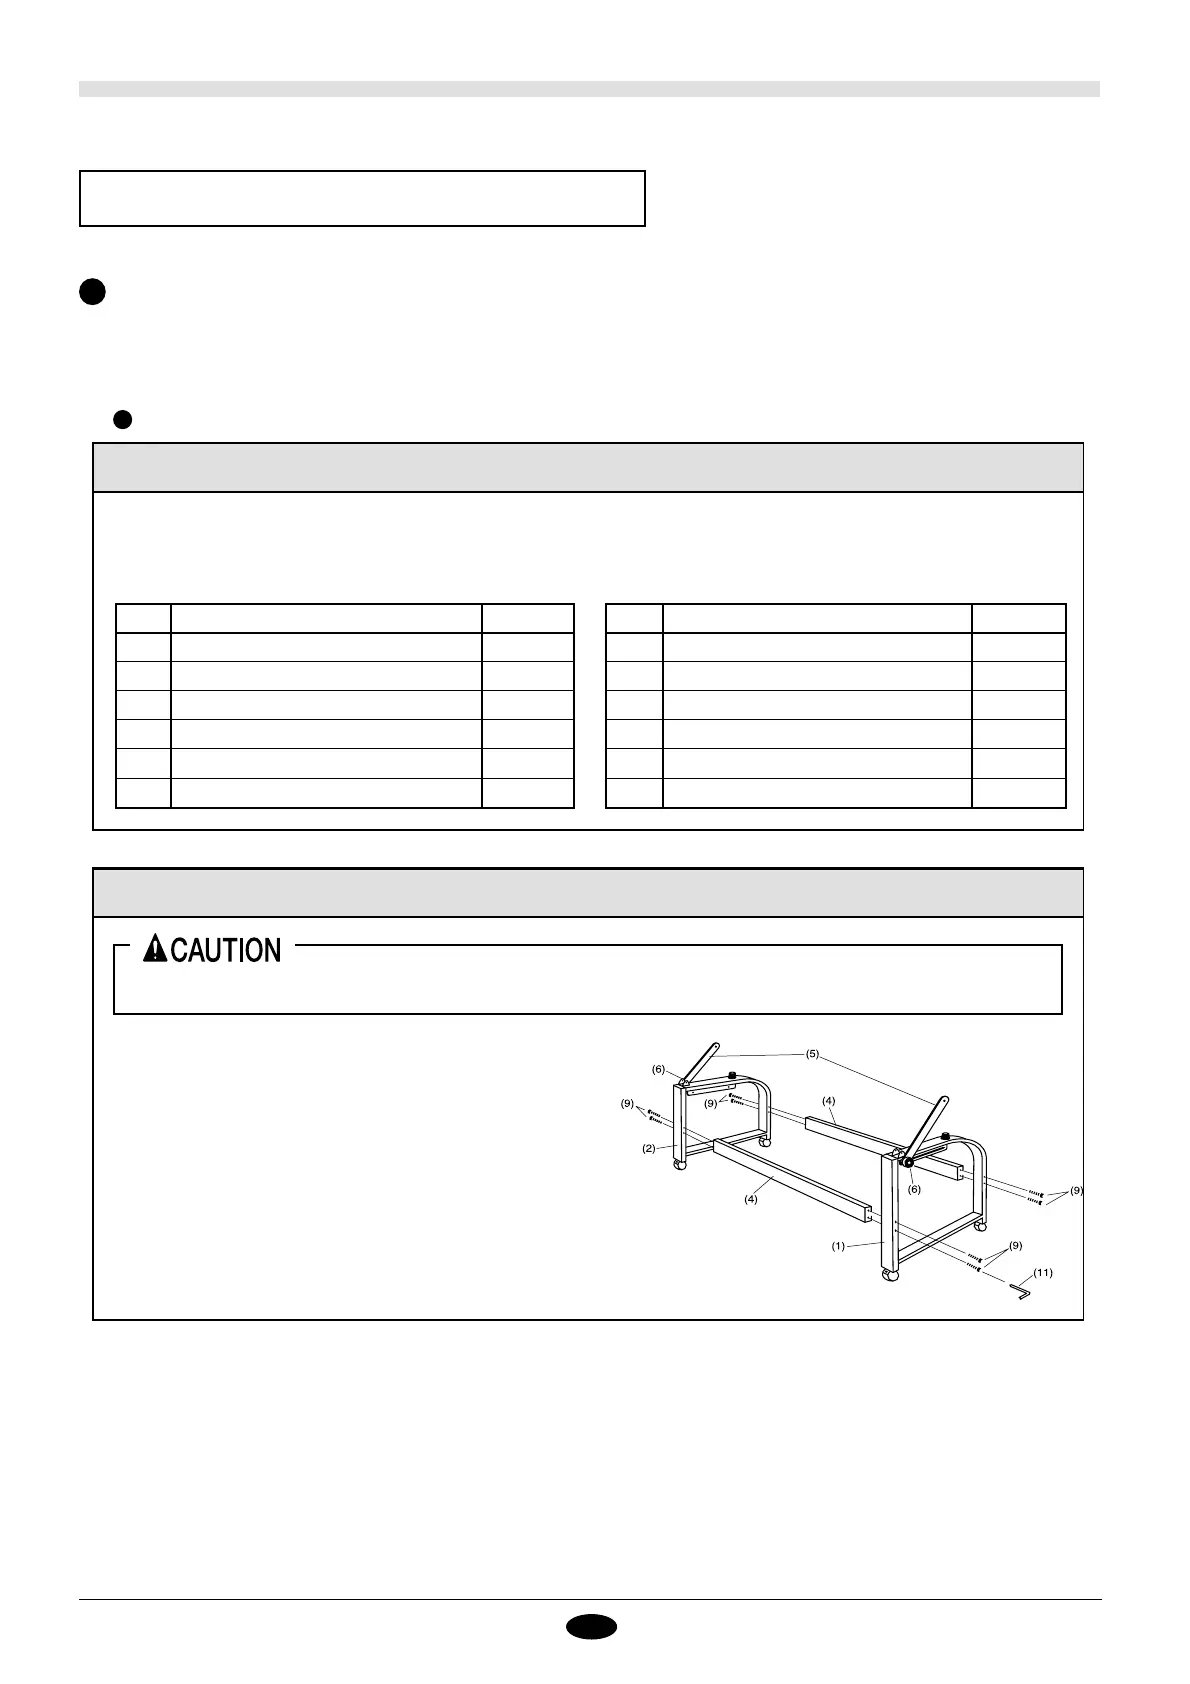
Assembling the stand
Assemble as shown at right, matching the parts with the part
numbers given in the tables to the upper right.
After tightening the eight button cap screws(9) by hand, use
the hexagonal wrench(11) to tighten fully.
No. Parts Description Quantity No. Parts Description Quantity
(1) Right Stand 1 (7) Pin 4
(2) Left Stand 1 (8) Clip Ring 4
(3) Plotter Rack 1 (9) Button Cap Screw(M8 x 70 mm) 8
(4) Stay 2 (10) Cap Screw(M6 x 50 mm) 2
(5) Arm 2 (11) Hexagonal Wrench 1
(6) Knob Bolt 2 (12) Plain Washer 2
Assembling the stand and mounting the cutting machine on it must be done by two persons.
 Loading...