21
4. Care and Maintenance
3. Plotting on Paper Media
- Do not use CP-A3 when attaching paper to the device. Not only will the paper tear, but the CP-A3 will also be
rendered unusable.
- When setting the conditions for pen plotting, be very sure to follow the conditions shown below in "Setting the
Plotting Area and Plotting Conditions." If tool force is set too high, the cutting table and pen may be damaged.
PenChange : Pen No.3
Press PAUSE key
VS Command[OFF]
Tool Stop[ ON ]
Select from the top menu 2 times. Press and the key to make the
message shown at right appear on the screen.
When outputting using software other than software designed exclusively for cutting, it is possible for the computer to
send instruction to change pens. If it is necessary to change pens, perform the below operation. If it is not necessary to
change pens, you need not perform the below operation.
When the pen change command is received from the computer, the display shown at right
appears on the screen and the tool carriage stops at the lower-left of the cutting table.
When replacing the pen on the tool carriage, be sure to do so with the proper type of
pen. Once replacement is complete, press the key. The device will return to the
operation that was in progress using the settings for the displayed tool number (tool 3 in
the above example).
Press the key turning [Tool Stop] to [ON].
Changing the Pen
The unit can use plotter pens available from Roland DG Corporation to make plots on paper. This can conveniently be used
to check the drawing before performing actual cutting.
Please use the water-based fiber tipped pen, pens included with the unit, or any of the 32 color plotter pens or thick water
based fiber tipped pens that are optionally available. Use of high-quality paper is recommended.
The unit does not have the various advanced drawing functions available on a plotter.
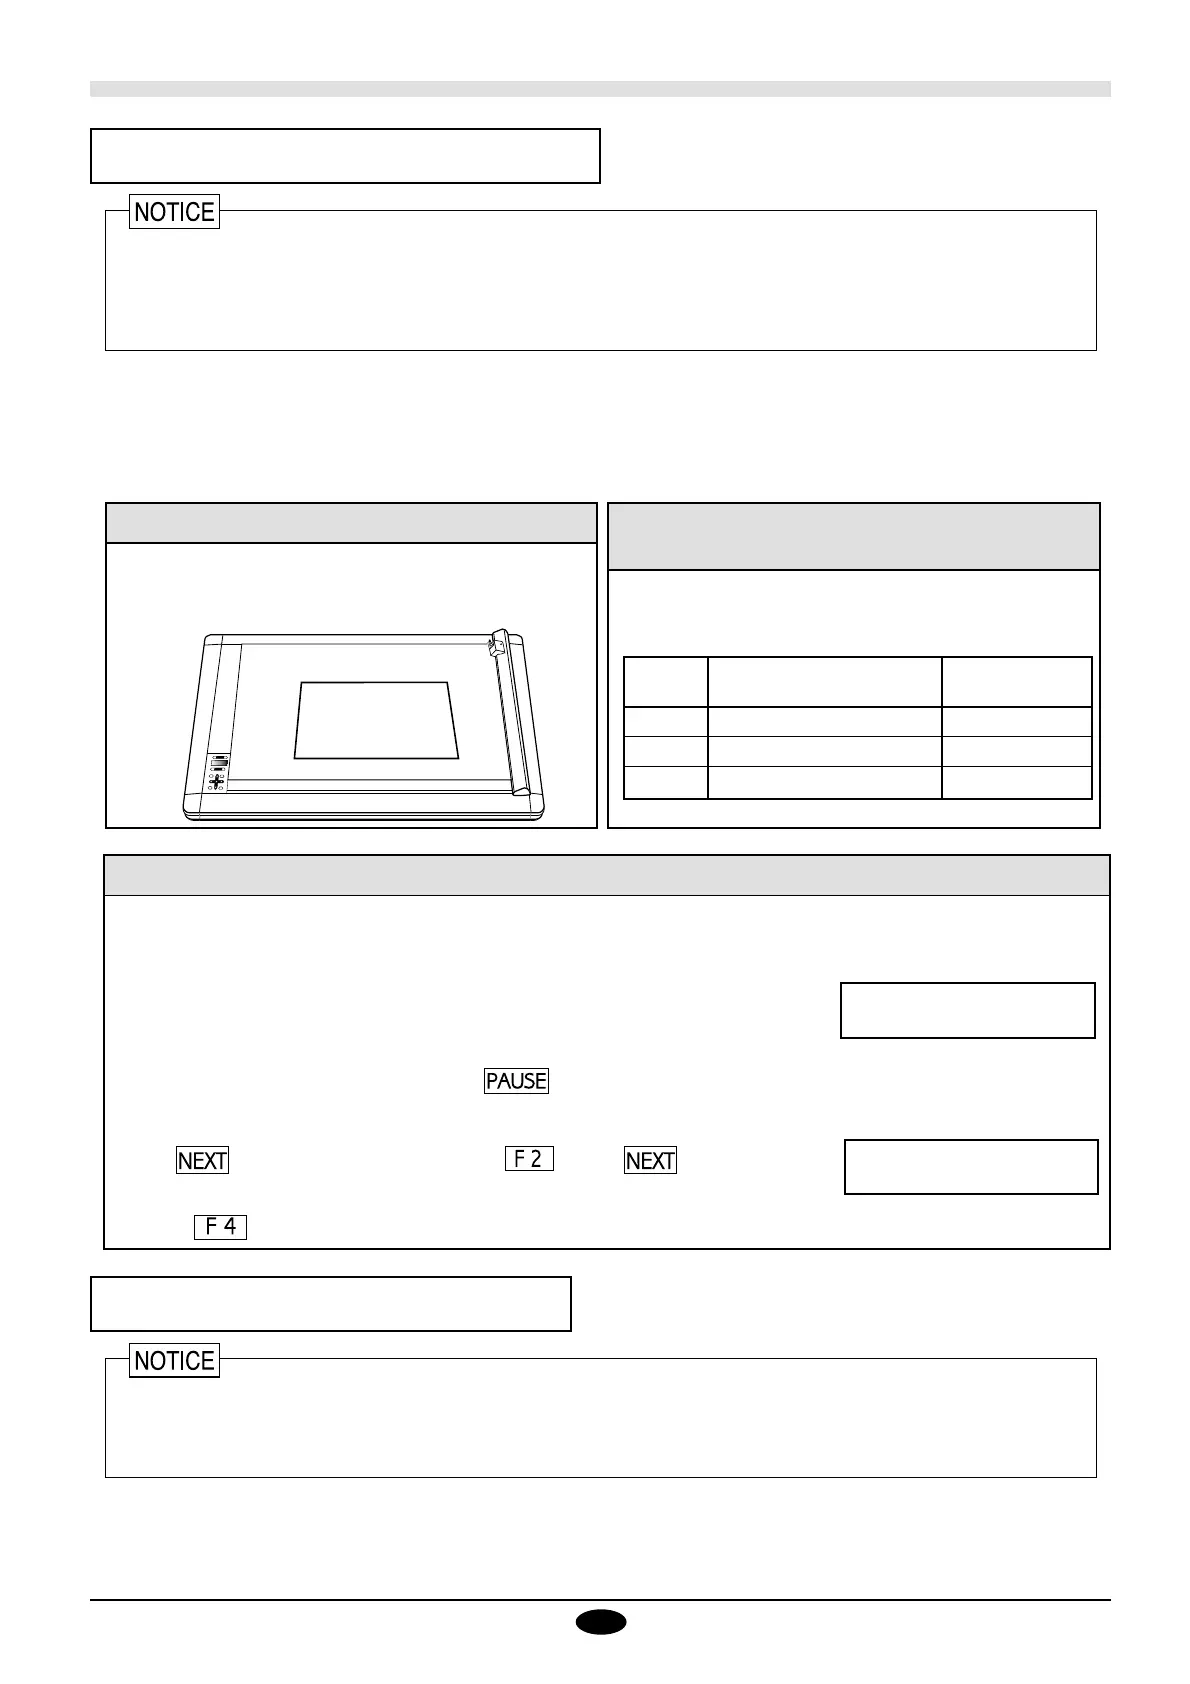
Load the paper and the pen. Use cellophane tape or the
like to secure the four corners of the paper in place.
See "5. Material Set-up Example ", "6. Installing the
Blade . "
Loading a Pen and Sheet
Water-based fiber-tipped pens
32color plotter pens
Thick water-based
fiber-tipped pens
Force 30 g 100 g
Speed 25 cm/sec 10 cm/sec
Offset 0 mm 0 mm
Setting the Plotting Area and
Plotting Conditions
Set the plotting area and plotting conditions. See "7.
Setting the Cutting Area" , "8. Setting Cutting Conditions. "
At this time, set the tool conditions as follows.
- Turn off the power supply to the unit before cleaning.
- Never use thinner of other strong detergents to clean your unit.
- Never attempt to oil the internal workings of your unit.
- When the cover of the unit requires cleaning, gently wipe the soiled area using a clean cloth dampened with either water or
alcohol.
- Use a dry cloth to clean the display of the operation panel.
- When using commercial spray paste, be sure to clean any paste off the product that may have become attached.
 Loading...