54
Detailed Settings for Various Functions
Using a Specic Part’s Sound as a
Guide (MUTE VOL)
This setting lets you specify that when the RIGHT TR (p. 54), LEFT TR
(p. 54), or ACMP TR (p. 54) setting is set to “MUTE,” the muted part is played
at a lower volume, rather than being completely silenced. This allows
you to play a specic part at a lower volume, so you can use it as a
guide while you play along.
Setting Explanation
0–10 Higher values make the sound louder
Playing Back with the Right-hand
Part Muted (RIGHT TR)
This lets you carry out playback while muting the right-hand part of
the internal song or the SMF music les.
This is a convenient way to practice along with a song one hand at a
time.
Setting Explanation
MUTE
No sound will be heard.
* You can change the MUTE VOL (p. 54) so that
the part will play back at a low volume,
allowing you to use it as a guide for your
own playing.
ON The sound will be heard.
- - - - No data exists.
* The setting will be “ON” when you switch to a dierent song.
What is a Mute?
You can “mute” a specic part so that it will not be heard.
Playing Back with the Left-hand Part
Muted (LEFT TR)
This lets you carry out playback while muting the left-hand part of the
internal song or the SMF music les.
This is a convenient way to practice along with a song one hand at a
time.
Setting Explanation
MUTE
No sound will be heard.
* You can change the MUTE VOL (p. 54) so that
the part will play back at a low volume,
allowing you to use it as a guide for your
own playing.
ON The sound will be heard.
- - - - No data exists.
* The setting will be “ON” when you switch to a dierent song.
Playing Back with the Accompaniment
Part Muted (ACMP TR)
This lets you play back while muting the accompaniment part of the
internal song or the SMF music les.
Setting Explanation
MUTE
No sound will be heard.
* You can change the MUTE VOL (p. 54) so that the
part will play back at a low volume, allowing you
to use it as a guide for your own playing.
ON The sound will be heard.
- - - - No data exists.
* The setting will be “ON” when you switch to a dierent song.
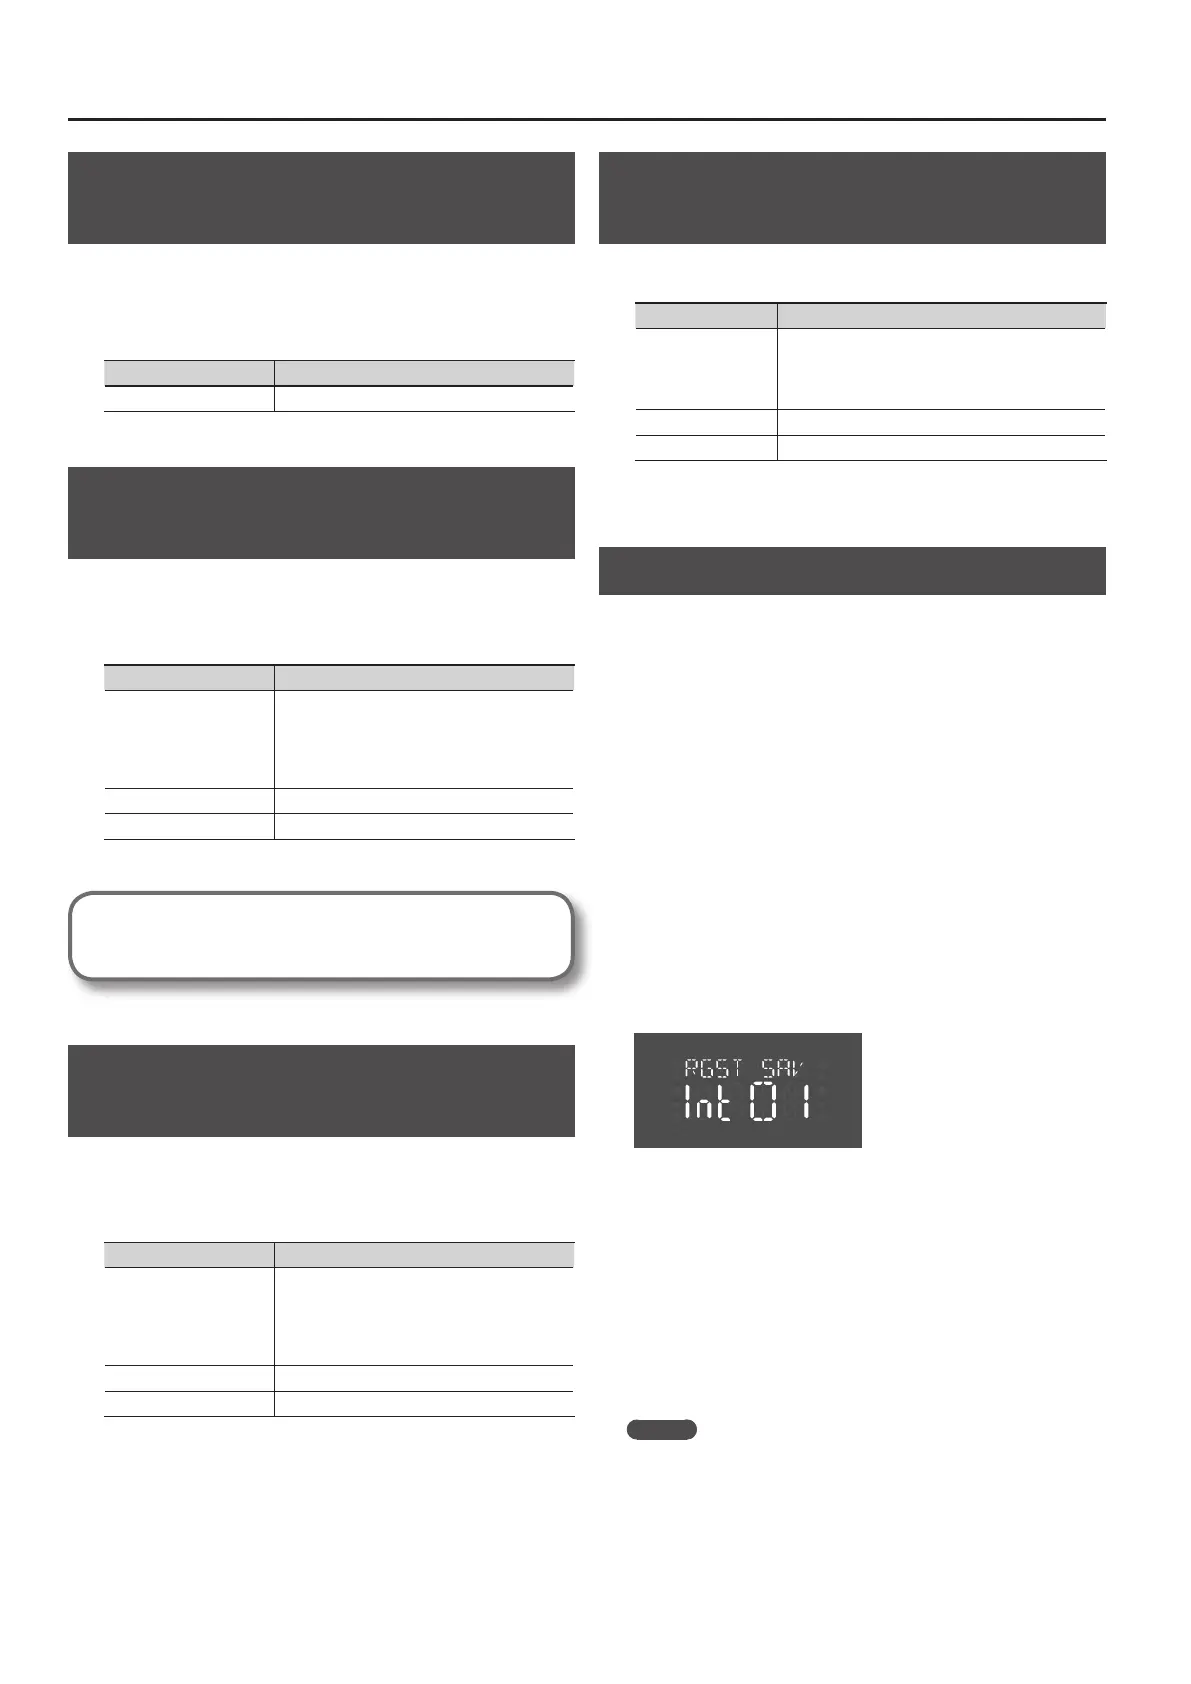
Saving a Registration Set (RGST SAV)
Here’s how the 20 registrations stored at the Tone buttons can be
saved as a single set to the FP-4F’s internal memory or to USB memory.
If you’re saving to USB memory, connect your USB memory to the EXT
MEMORY connector.
1. Hold down the [REVERB] button and press the [EQUALIZER]
button.
You’ll enter function mode (p. 48).
2. Use the [-] [+] buttons to select “RGST SAV.”
3. Press the [DISPLAY] button.
4. Select the destination in which to save the registration set
using the [-] or [+] button.
For internal memory, select “INT”; to save to USB memory, select “EXT.”
5. Press the [PIANO] button.
With this, the storage destination has been determined.
6. Select the number of the destination for the save using the
[-] or [+] button.
For numbers where a song has already been saved, a period is
displayed at the left of the number (for example, Int. 01).
7. Press the [PIANO] button.
The registration set will be saved.
If you select a number where data has already been stored (a period is
appended to it) and press the [PIANO] button, you’ll be prompted with
the message “SURE?”
Press TEMPO [+] to overwrite existing data; press TEMPO [-] to cancel
the procedure.
* Never turn o the power while the display is blinking.
MEMO
• If desired, you can reset the contents saved at the TONE buttons
to their factory-set condition. Refer to “Restoring the Factory-set
Condition (FCT RSET)” (p. 56).
• For details on how to select a saved registration set, refer to
“Loading a Registration Set You Saved (RGST LD)” (p. 55).
• Anytime from step 6 onwards you can press the [DISPLAY] button
to cancel the procedure.
 Loading...