-49-
Optical Adjustments
Before taking optical adjustments below, remove the Cabinet Top following to the "Mechanical Disassemblies".
Adjustments require a 2.0mm hex wrench, Philips Screwdriver and a slot screwdriver. When you adjust Integrator
lens or Relay lens adjustment, you need to disconnect some connectors and FPC cables of LCD panels on the main
board.
When adjusting optical component, adjust each adjustment item in numerical order. Incorrect adjustment steps
may produce improper adjustment. The items adjusted correctly can be omitted from the steps.
Note: Do not disconnect connectors on the main board, because the projector can not turn on or operate properly for
adjustment.
WARNING : USE UV RADIATION EYE AND SKIN PROTECTION
DURING SERVICING
CAUTION: To prevent suffer of UV radiation, those adjustments
must be completed within 25 minutes.
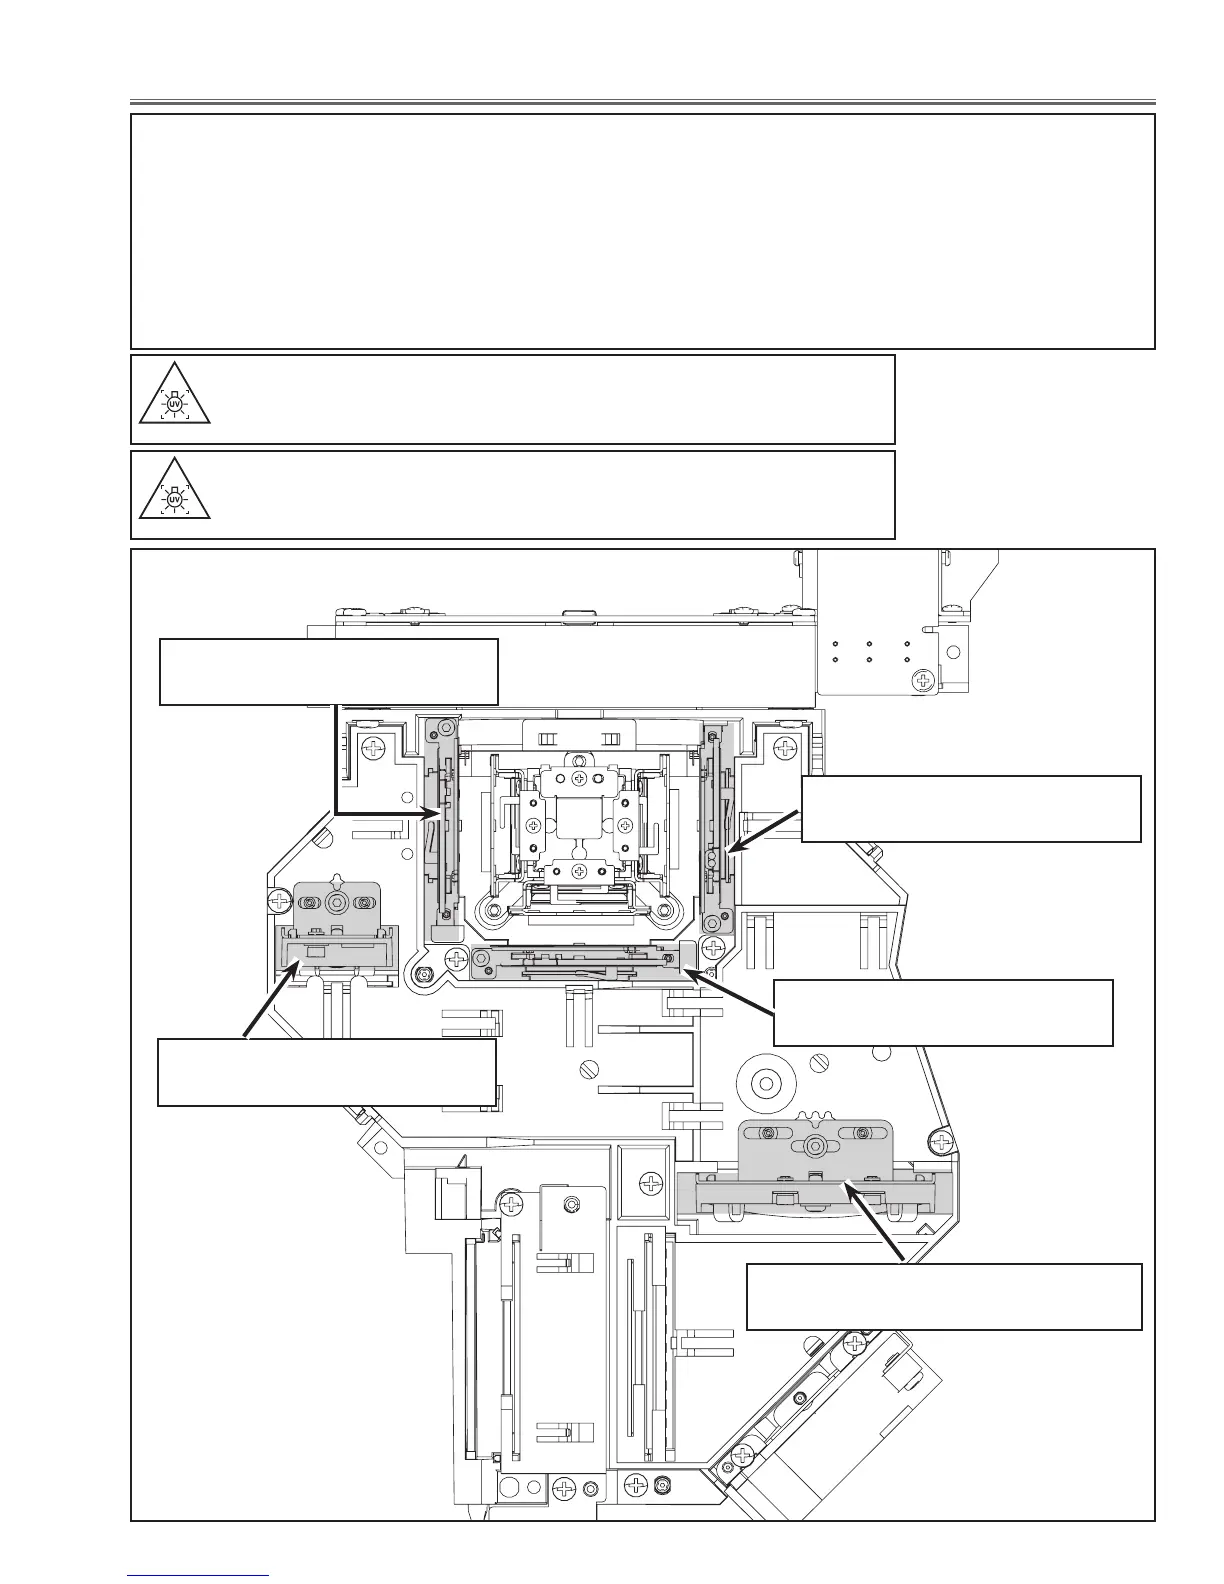
1.Optical axis adjustment
(Relay lens adjustment)
1.Optical axis adjustment
(Condensor lens adjustment)
2.Contrast adjustment (POL)
3.Contrast adjustment (WV)
2.Contrast adjustment (POL)
3.Contrast adjustment (WV)
2.Contrast adjustment (POL)
3.Contrast adjustment (WV)
 Loading...