Chapter 6 Editing 6-9 (E)
(3) Move the cursor over the IN or OUT point time data display with the
MULTI CONTROL knob. Press the B2 (MANUAL TC ENTRY) key and
enter the desired time data directly.
(4) When the IN or OUT point is already set, move the cursor over DUR
(duration), press the B2 (MANUAL TC ENTRY) key, and enter the length
of the edit interval. The other edit point is calculated and set automatically.
*1 When item 2001: Edit Point Entry Method in CP Setup mode is set to With Entry.
Alternately, when it is set to Alone, the edit point can be set only by pressing the
IN button.
*2 When item 2001: Edit Point Entry Method in CP Setup mode is set to Alone, the
edit point can be set by pressing the ENTRY button instead of the B1 key.
Regardless of which of the four setting methods you use, the basic operation
flow remains unchanged. This section first describes procedure (1), the
procedure for setting edit points using the IN, OUT, or ENTRY buttons in the
same manner as when setting points with an HD VTR, then goes on to explain
how procedures (2) to (4) differ from procedure (1).
Notes
• On the control panel, edit point settings are normally set to “continuous
editing” (on the recorder, the previously edited OUT point is automatically
set as the IN point).
• Regardless of the selected time mode, the value of Timer2 is entered at the
Recorder, and this Timer2 setting is also used for editing.
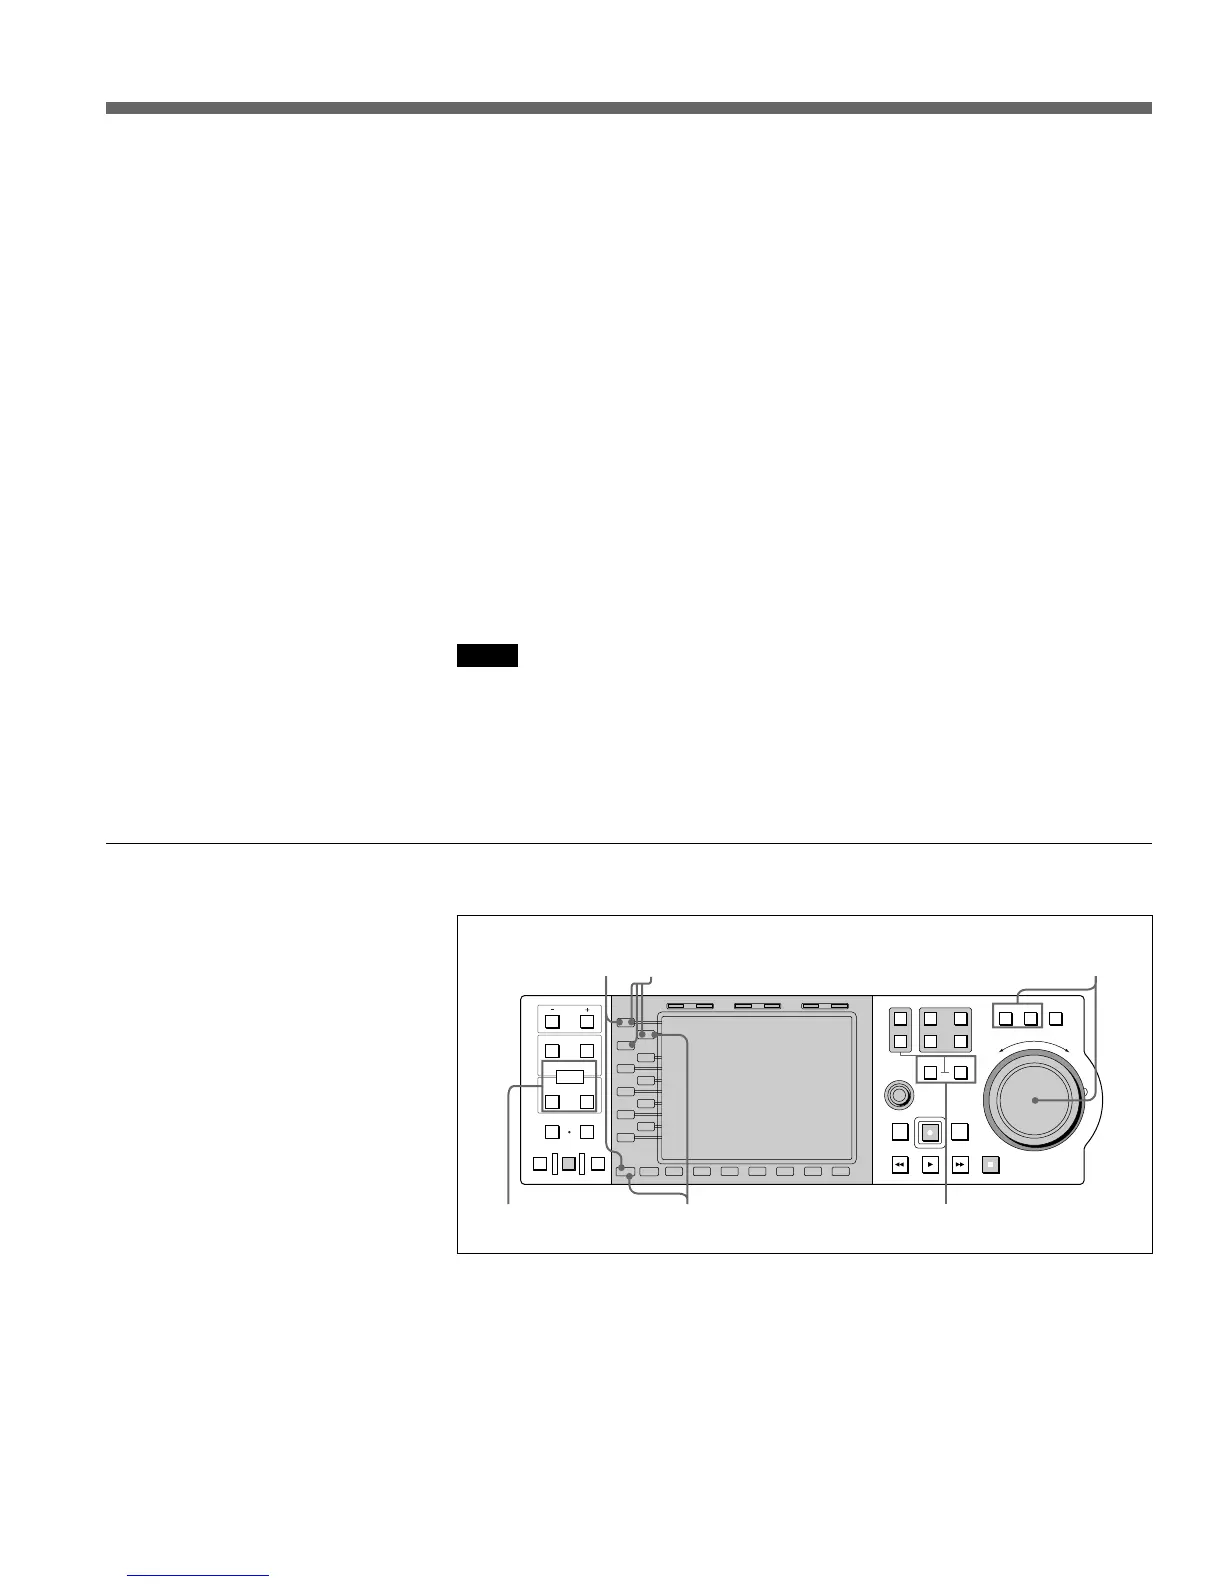
To specify edit points using the IN, OUT, and ENTRY buttons
 Loading...