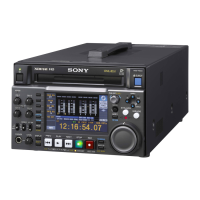
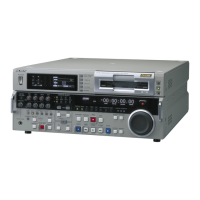
6-8 (E) Chapter 6 Editing
6-2 Basic Editing Operations
6-2-5 Selecting Edit Channels
Any of the following can be selected as an edit channel.
Video/Audio mode
Assemble/All All channels are used for editing.
Video Video is selected as the edit channel.
Audio Audio is selected as the edit channel.
To select an edit channel, enter Edit mode and select L1 (Assemble/All), L2
(Video), or L3 (Audio) before setting edit points, editing, or performing
PREVIEW.
Note
If you select the Audio channel, all Audio channels are edited simultaneously.
Audio Channel mode
Assemble/All Edits all channels in one batch.
Video Selects Video as the editing channel.
Ch1 to Ch4 Selects Audio Ch1 to Audio Ch4 as the editing channel.
To select an edit channel, enter Edit mode and select L1 (Assemble/All), L2
(Video), or L3 to L6 (Ch1 to Ch4) before setting edit points, editing, or
performing PREVIEW.
Note
After Audio Channel mode has been selected, material cannot be handled as
pages.
6-2-6 Setting the Edit Points
The following edit settings can be made.
• Specification of the source material (loads material to be used for editing
from the port that is currently specified as PLAYER)
• PLAYER IN and PLAYER OUT points
• RECORDER IN and RECORDER OUT points
This unit provides four ways of specifying PLAYER and RECORDER IN and
OUT points, as follows. Any of the edit points can be set using any of these
methods, at any time.
(1) Search for the point that you want to set as the IN (or OUT) point. When
the image for that point appears, press the IN (or OUT) and ENTRY
buttons simultaneously
*1
.
(2) Search for the point that you want to set as the IN (or OUT) point. After
moving the cursor over the IN (or OUT) point time data display with the
MULTI CONTROL knob, press the B1 (CURRENT TC ENTRY) key
*2
.
 Loading...