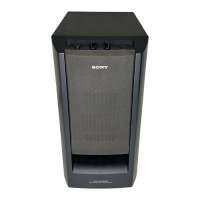
HT-GT1
13
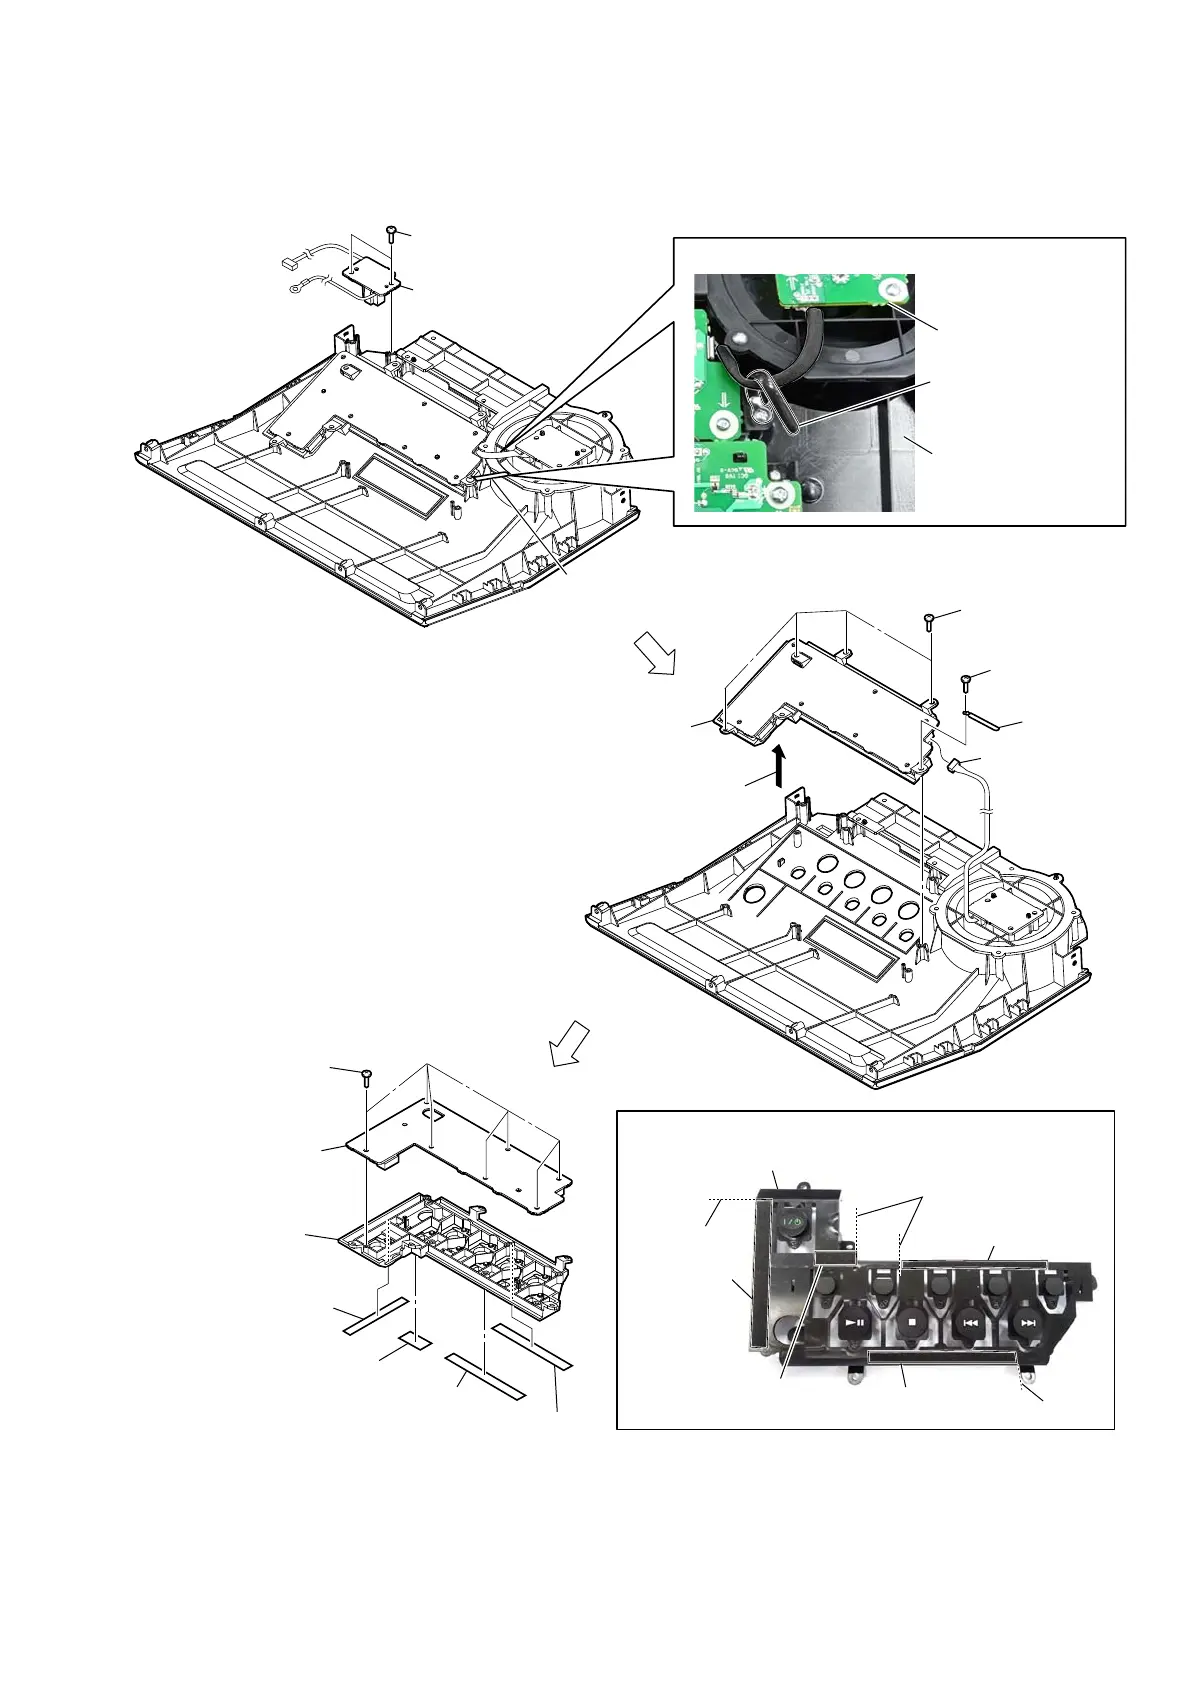
2-8. BUTTON ASSY
– Top panel block rear bottom view –
4 four screws
(BVTP2.6)
4 screw
(BVTP2.6)
5 clamp
8 BUTTON board block
7 connector
(CN302)
9 seven screws
(BVTP2.6)
0 BUTTON board block
qd button assy
button assy
guide line
guide line
guide line
qa saranet cushion (7T25)
qs saranet cushion (7T25)
qa saranet cushion (7T25)
qa saranet cushion (7T25)
saranet cushion
(7T25)
saranet cushion
(7T25)
saranet cushion
(7T25)
saranet cushion
(7T25)
1 two screws
(BVTP2.6)
2 USB board
6
Lift up the
BUTTON board block
in the direction of the arrow.
,nVtallation poVition oI tKe Varanet cXVKion T
:ire VettinJ
top panel assy
clamp
Note:
Do not touching to
top panel assy.
VOL board
3 Remove the wire
from the clamp.
 Loading...