60 034, 036, 036 QS
Installing the prefilter (034, 036):
– Slide the prefilter in the guides in
the carburetor box cover and
make sure its snaps into position.
Installing the main filter:
– Assemble the two halves of the
main filter.
– Fit the filter over the two collar
studs and tighten down the
slotted nuts firmly (see
"Tightening Torques")
– Fit the carburetor box cover, see
also 4.3, and secure by turning
the twist lock one quarter turn to
the right.
Troubleshooting chart - see
"Standard Repairs, Trouble-
shooting" handbook.
Important:
In the case of problems with the
carburetor or fuel supply system,
also check and clean the tank vent
- see 12.6.
The carburetor can be tested for
leaks with the carburetor and
crankcase tester 1106 850 2905.
– Remove the air filter - see 12.1.
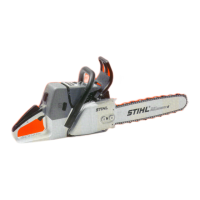
Pull fuel hose off the carburetor’s
elbow connector.
VA
148RA050
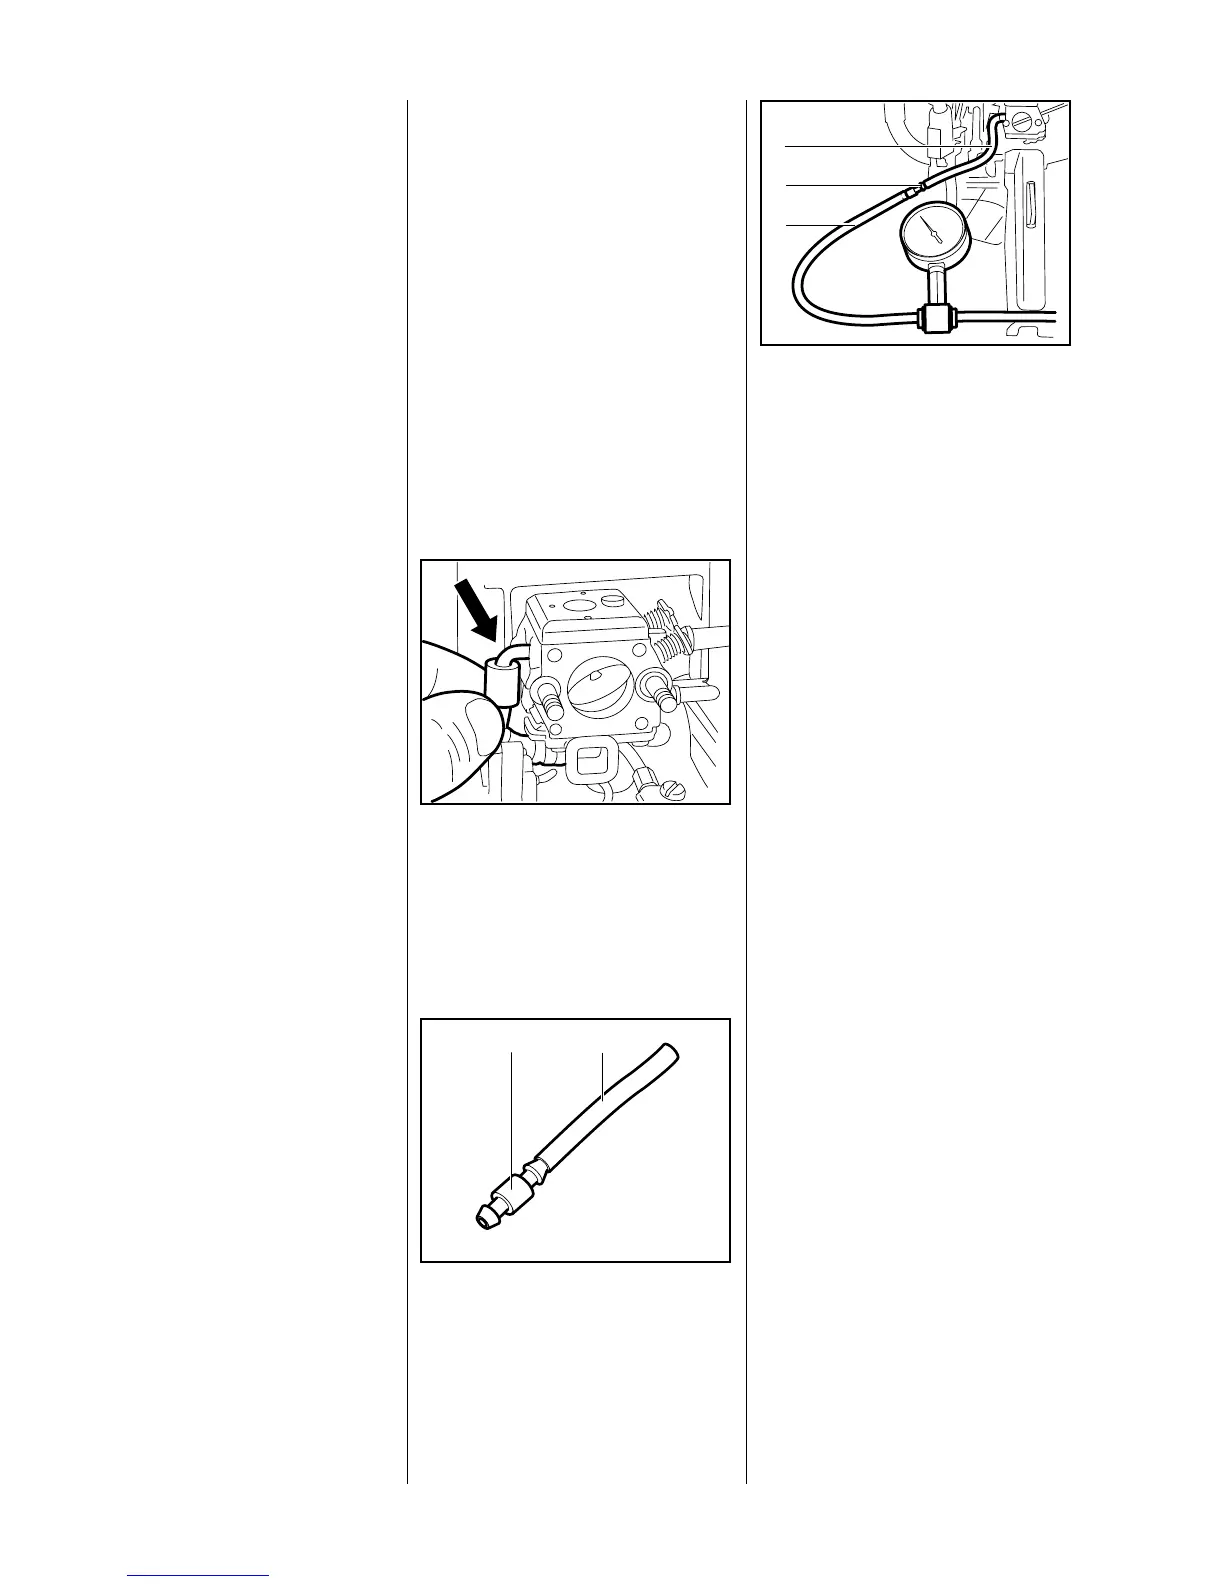
Push fuel hose 1110 141 8600 (1)
onto one end of the nipple
0000 855 9200 (2). Connect
nipple to tester’s pressure hose.
VA
143RA172
2 1
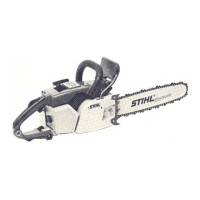
Push fuel hose (1) with nipple (2)
and tester (3) onto carburetor’s
elbow connector.
– Close the vent screw on the
rubber bulb.
– Squeeze rubber bulb to pump air
VA
138RA218
1
2
3
into the carburetor until the
pressure gauge shows a reading
of approx. 0.4 bar.
If this pressure remains constant,
the carburetor is airtight. However, if
it drops, there are two possible
causes:
1. The inlet needle is not sealing
(foreign matter in valve seat or
sealing cone of inlet needle is
damaged (see 12.4) or inlet control
lever sticking).
2. The metering diaphragm is
damaged.
In either of these cases the
carburetor must be serviced.
– After completing the test, open
the vent screw and pull the fuel
hose off the carburetor.
Reassemble in the reverse
sequence.
Repeat the leakage test after
finishing repairs.
12.2 Leakage Testing the Carburetor
 Loading...